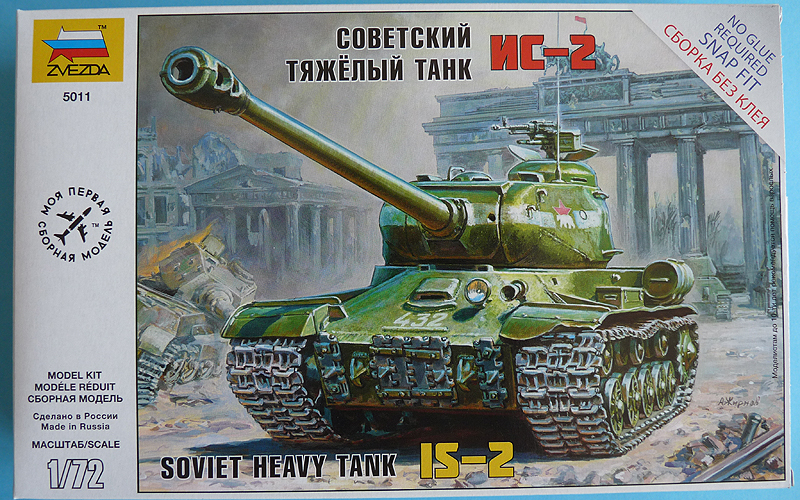
Earlier this month the long-awaited Zvezda quick-build IS-2 finally reached the local hobby shops, so I was quick to grab myself a copy. It’s close to an year late and I was anxious to see what do we actually get.
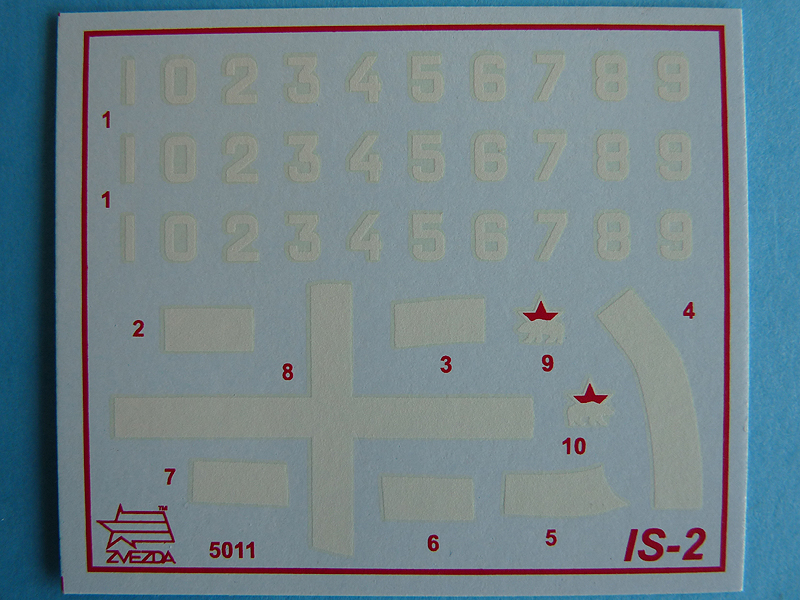
There are a hull tub (discussed lower), two grey sprues with parts for the hull and turret, a black one for the tracks, decals for 1 main variant (as on the box top) and additional generic numbers.
The first sprue shows the upper hull and most of the suspension and running gear parts. Yes, just as advertised the set does represent the later war production variety, the IS-2m with the “straight nose”, so it supplements rather than replaces the Italeri kit. As opposed to the Italeri kit, the cooling louvres here are molded angled, with spaces between them, so you can see through the grid.
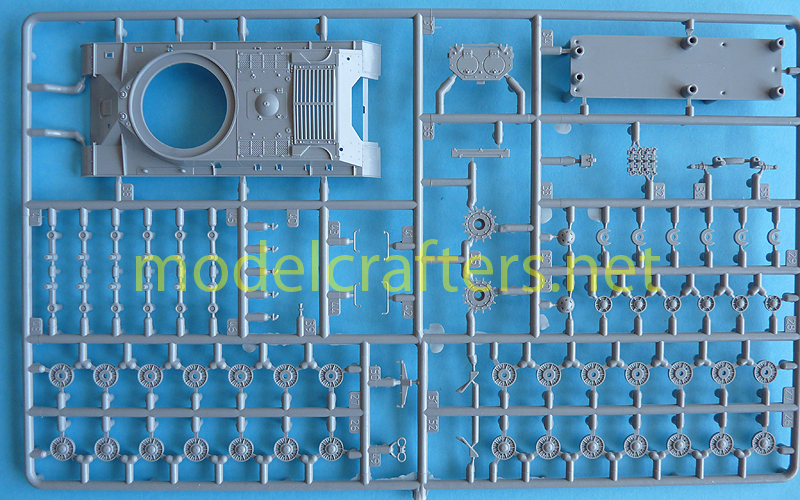
Again, we get separate suspension arms, wheels in two separate halves each with detail on either side (the sprockets have separate hubs), and even a segment with spare track links for the lower glacis. There are also separate towing hooks, a bunch of infantry grab handles for the turret, and a separate engine access plate. Zvezda has even supplied two late-war separate mud-scrapers. The big rectangular part in the upper right connects the hull halves together.
Sprue 2 has the turret parts, the external fuel tanks (4 of them) and some additional details.
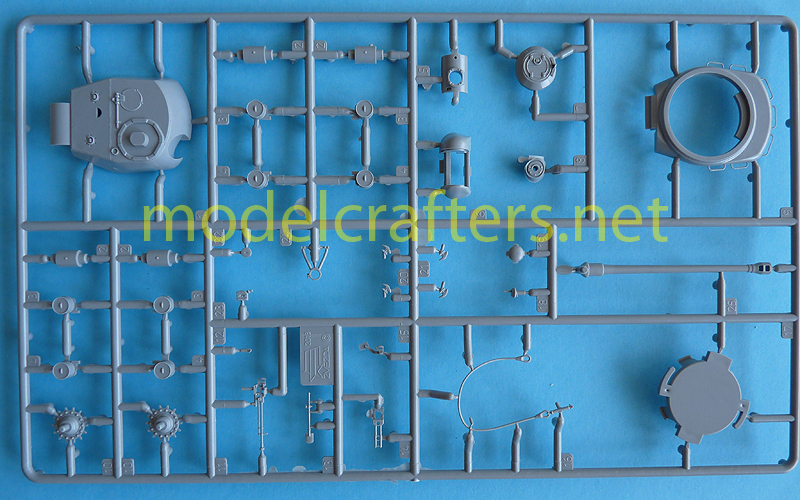
Regrettably only 1 towing cable is supplied – there were usually 2 per tank. The strange-looking piece in the lower right is the part that fixes the turret to the upper hull.
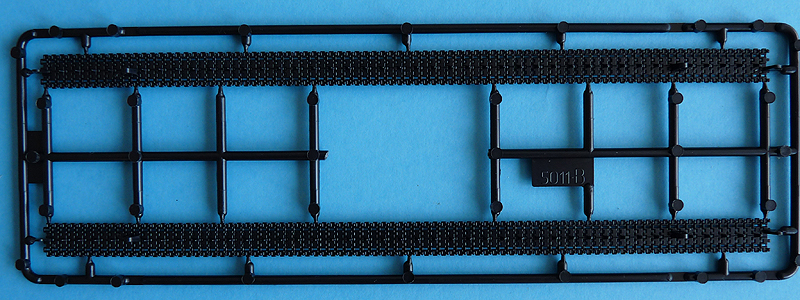
Tracks – as on earlier kits they are sinlge-piece hard polystyrene parts, with attachment points for the wheels and molded-in channels that will help bend each run around the sprocket and idler.
Decals were a pleasant surprise, and I mean it. Rarely would a company supply generic numbers, which deals away with the limit of possible options for this kit. The main point, of course, remains building the tank from the box top – a popular example from the 104th Heavy Tank Regiment, 7th Guards Independent Heavy Tank Brigade.
Photographs in front of the captured Reichstag show more machines from the same unit, among them:
– 414 (possibly “Boyeviye druzya” – “War buddies”),
– 441 (NO white cross on the turret top),
– 443,
– 434 , the famous “Boyevaya podruga” (“War [girl]friend”) .
Last but not least is the instruction sheet with 9 steps and painting scheme for tank 432.
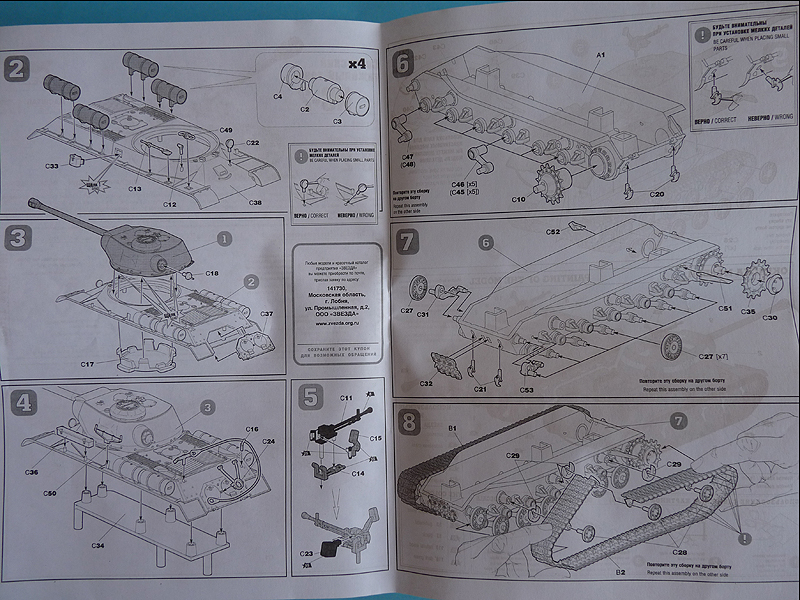
Let’s now take a detailed look in the subassemblies – turret, hull and running gear.
Turret: three main blocks – turret base, superstructure, and a “lock” that holds the turret to the upper hull.
The superstructure is mostly made up of a single casting. The mold quality is very good, there is a small amount of flash, but details are well defined, and there are very nice weld seams around the perimeter of, and on the turret roof itself.

You can also sort of see the envelope-shaped extension on the left turret side is represented. The reason it is NOT as pronounced as one expects (at leas on the photos) are the glossy sides of the turret.
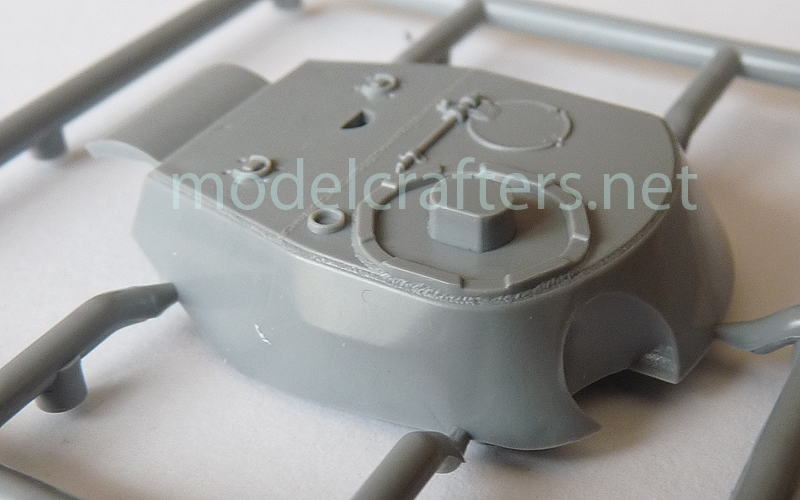
On the real thing the turret was cast and had the characteristics typical of all such turrets on Soviet tanks – rough texture.
Being a simplified model this IS-2 does not have such texture, so detail does look sort of soft. The Mk. IV periscopes on the turret look a bit small, but I own no references for its size, so it will be up to you to make up your mind.
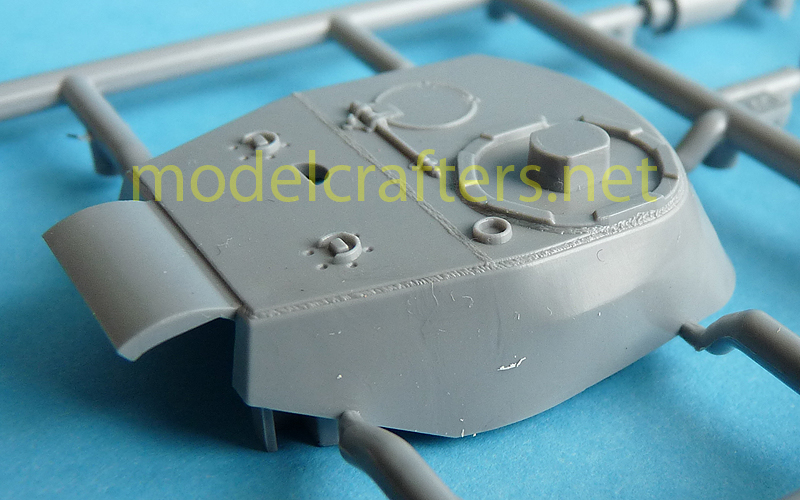
What you will definitely notice is the lack of pistol ports on either sides of the turret. Indeed – on some post-war modernized IS-2M (the one with the toolboxes) the ports were welder, but still visible.
Angle changed a bit to allow light to expose the “envelope” better from the front. Notice the rain cover over the gun mask is an integral part of the turret and has its vertical sides also molded on.
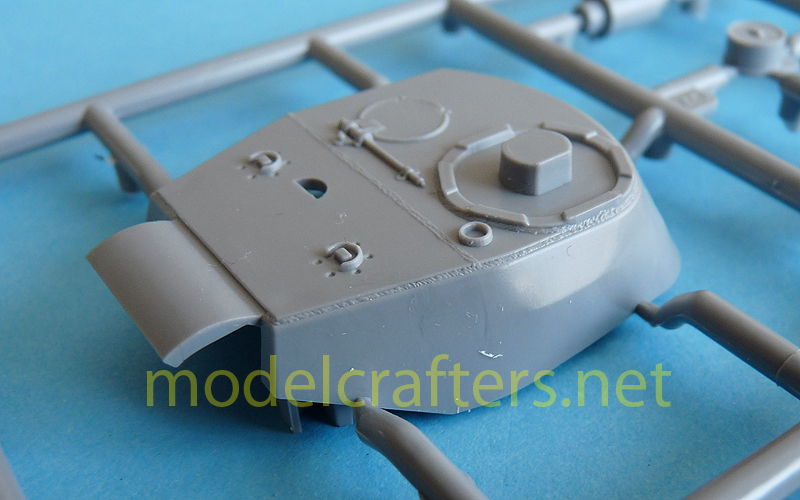
Right side. The first pic displays the first casting issue – a small sinkhole on the rear right edge.
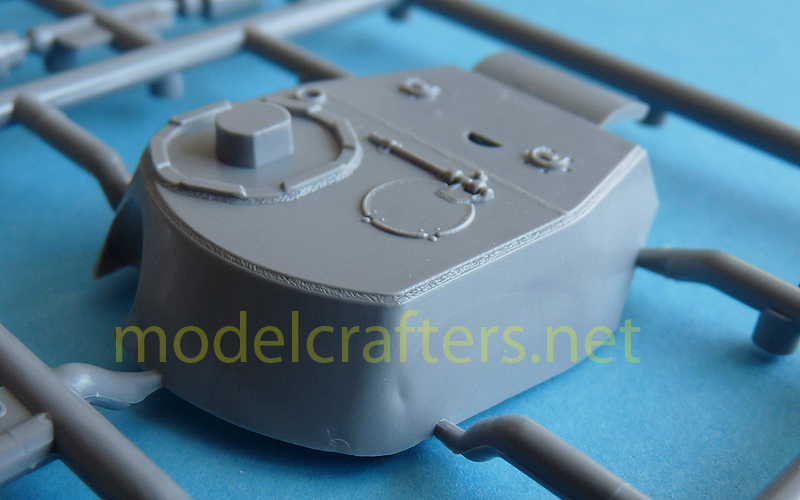
The double weld seam continues around the perimeter.

The the base of the commander’s cupola is well-defined, almost hexagonal, and again surrounded by a weld seam. The supersctructure is one-piece part, molded with the hatch closed (and sort of simplified).
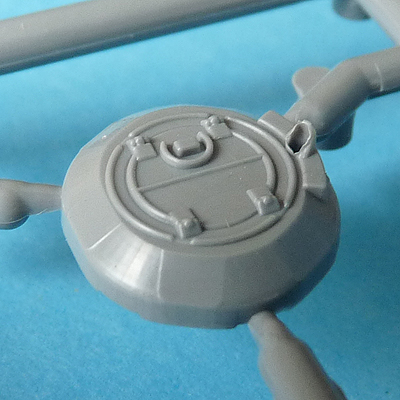
What you can see here is that the “guard rail” of the Mk.IV is a tad low.
The cupola was cast, so some rough texture will not be out of place.
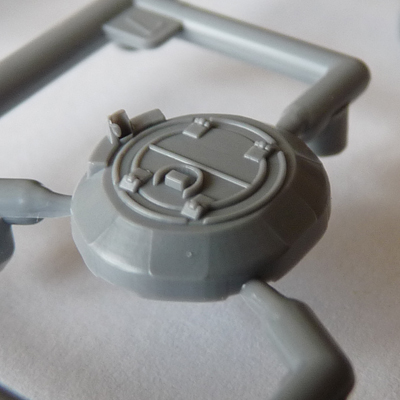
Also, the flat sloped areas around the perimeter are the places where the detail connected to the metal feeds in the mold; they were later cut off with torches, so adding somewhat parallel scratches on these spots will help the appearance.
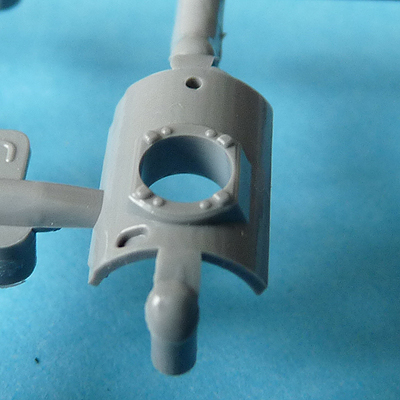
The base for the circular DT mount at the back of the turret is a separate detail.
There’s a second part for the flexible segment of the mount, including the gun barrel itself.
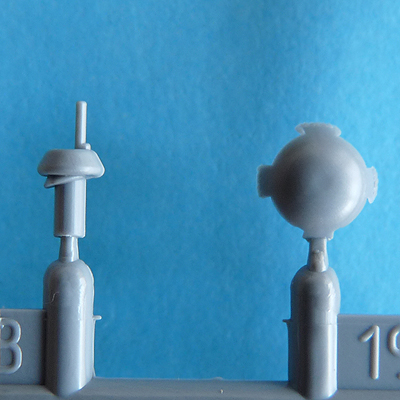
There is a separate ventilator cover part, which also has a weld seam on it’s 4 “legs”; it’s mounted using a semi-circular pin to match the opening in the turret roof.
The turret nose appears to be shaped close enough to the original.
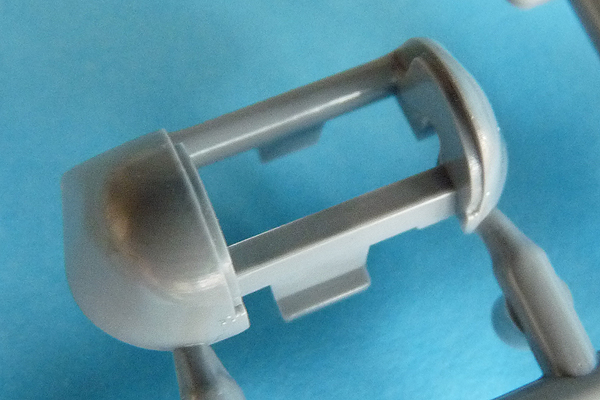
On the actual tank it was another cast detail, which does not have the texture in the kit. It also lacks the two circular patches marking the gun trunnions.
The main gun mask has bolt detail, but also lacks the cast texture.
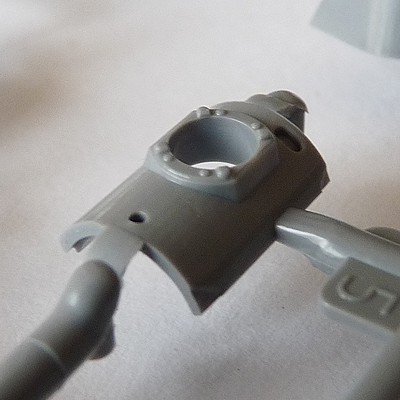
Next is the D-25T 122mm tank gun.
Nice looking, circular cross-section, NO seam down its length, however…
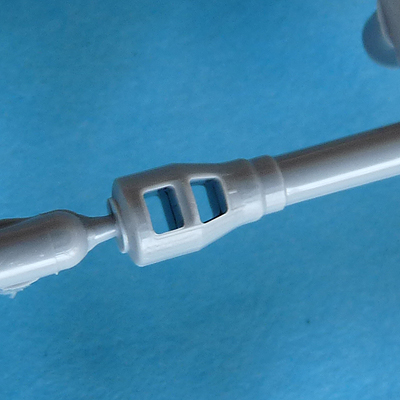
If you missed it – here we go again…
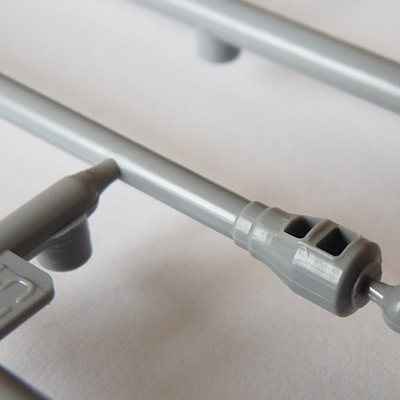
The proportions of the muzzle brake openings have nothing to do with the real thing. The overall detail in the kit is shorter, while on the actual vehicle it looks like this:
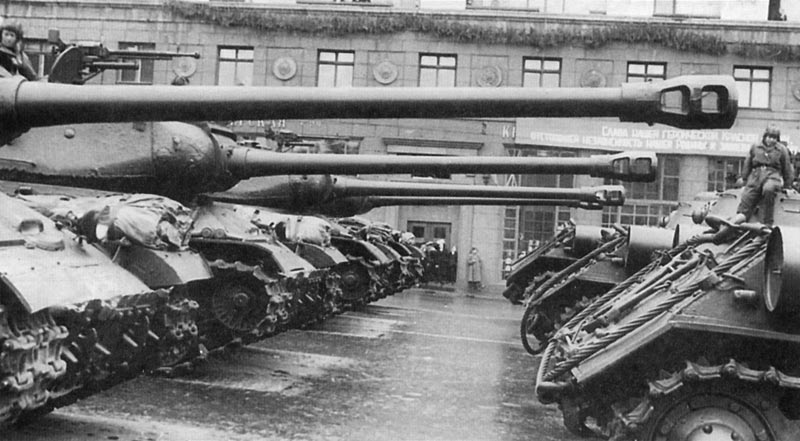
Also note there is a horizontal seam between the upper and lower halves of the detail, which is not represented – as isn’t the cast texture. On the second tank, just below the gun tube of the first one you will see the missing gun port and the trunnion spot on the turret nose detail. The 4 lifting hooks are provided as separate details.
The DShK up top:
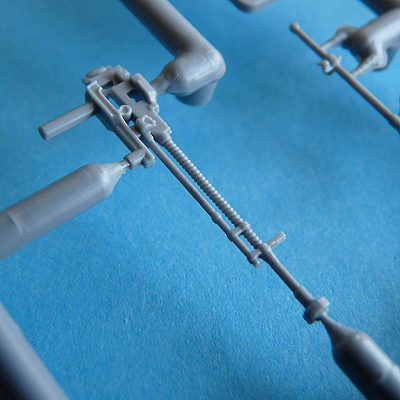
The cooling ribs are a bit simplified, but acceptable considering the scale. The muzzle brake looks good; drilling it for will be required.
Onto the turret base:
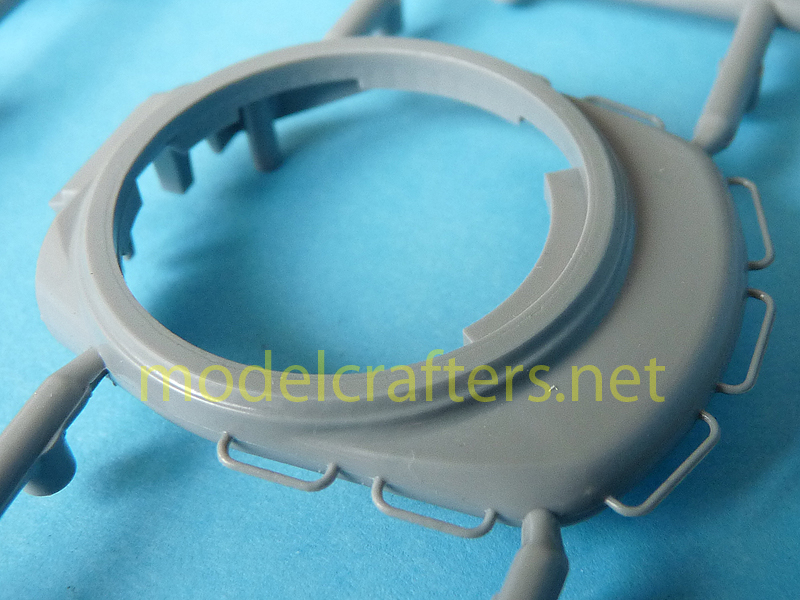
Some of the grab handles are molded as a part of this detail. The parting line between this detail and the superstructure is made to match the line on the real deal, so it’s up to you how the weld seam would look.
Hull:
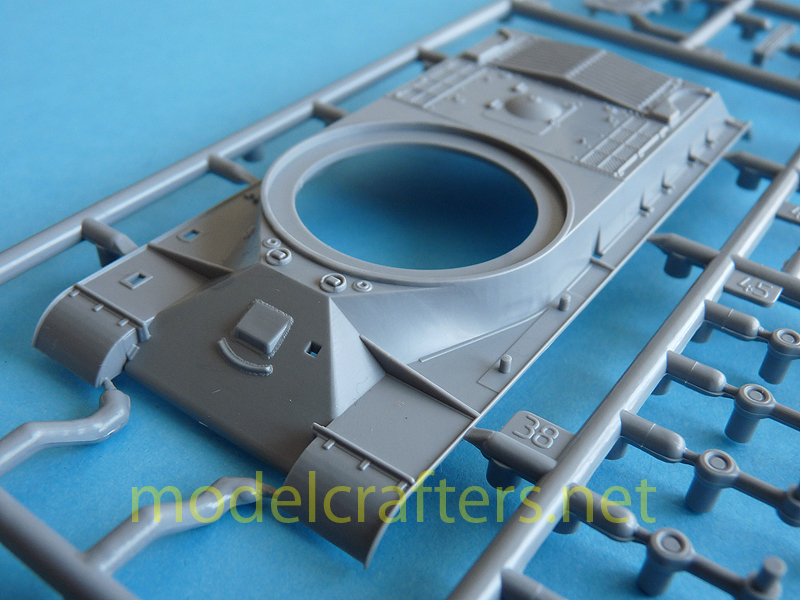
As is usual with Zvezda’s snap kits fenders are an integral part of the hull, and feature a number of locating pins for various accessories. The hull on this has the later, straight-line upper glacis, and the “covered” driver’s visor, and a welded splash guard in front of it – the molded-on weld seams are visible enough even on the small image.
The whole “nose” section is late cast variety rather than welded one – the nose is prominently rounded. The problem is either case the join lines around the driver’s “dog house” are too pronounced; they are more rounded on the actual vehicle.
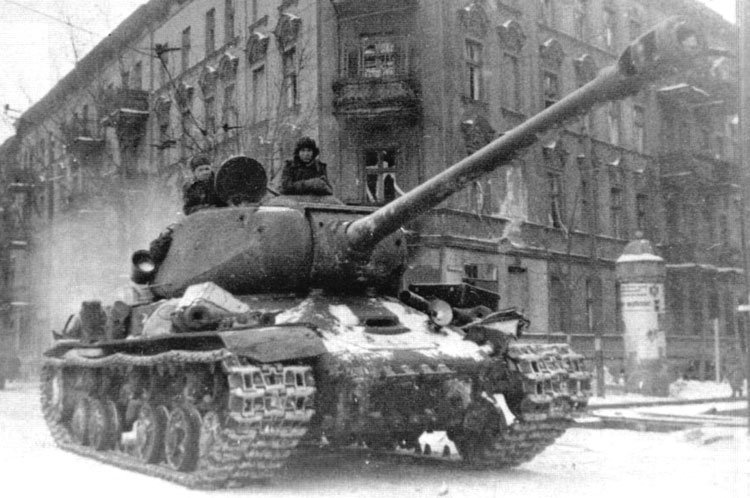
The driver visor’s cover also needs to be rounded off – it’s a bit too squared-off in the model.
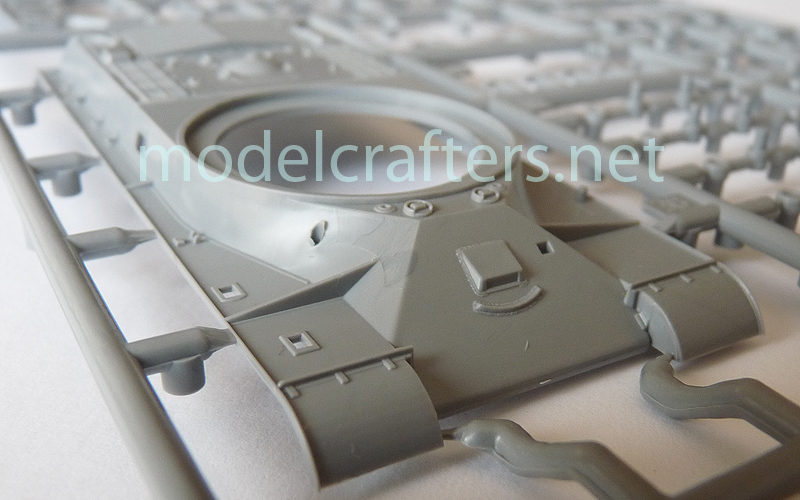
There are two Mk.IV visors above the driver’s station, which are even lower than those on the commander’s cupola. The rectangular opening on the upper glacis is for the driver’s light.
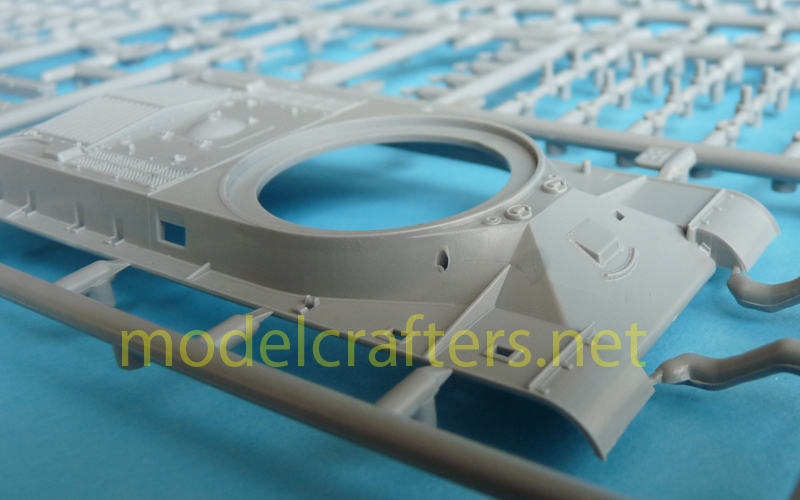
Zvezda instructs you to place the shovel on the right fender – its actual place in on the hull wall.
Further down: the see-through cooling grills over the engine are a welcome addition. Again, pleasant weld seam around the hull top.
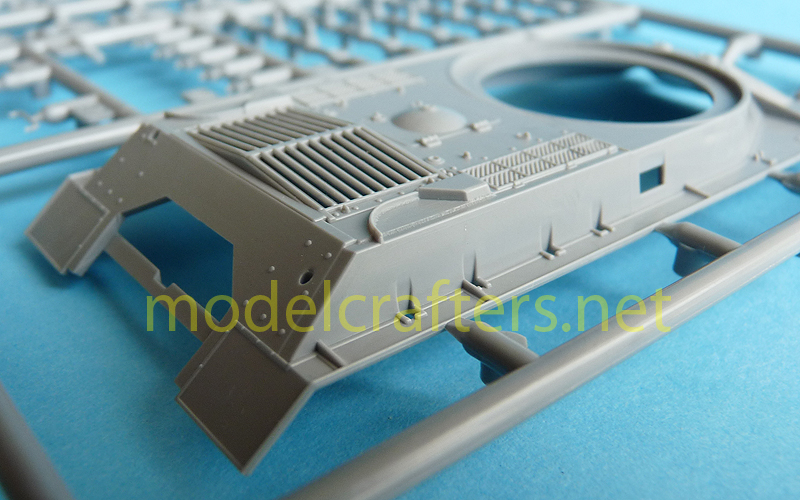
For an OOB build the mesh screens over the air intakes do look good. All that needs to be done is to drill the exhausts 🙂
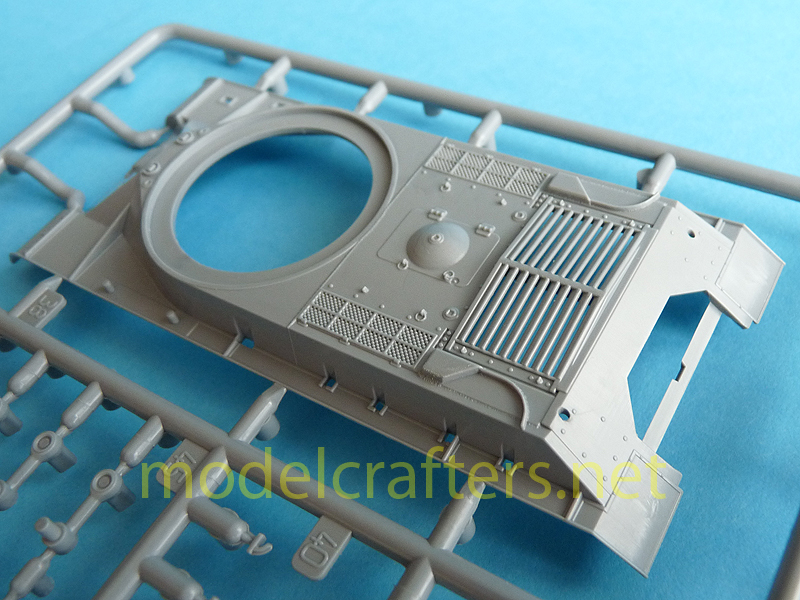
The rear engine access plate – a separate detail:
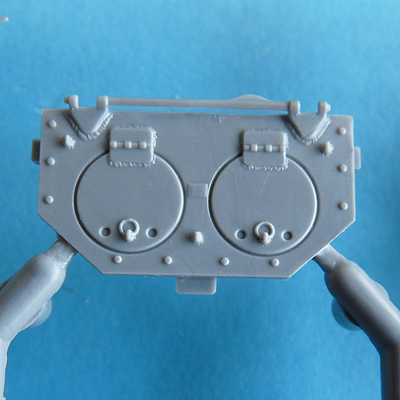
Note weld seam and molded-on hinges. Even the pull rings look good – the plate is about 4 times smaller in real life 😉
More details. This toolbox sits on the front left of the fender. Fot war time examples its lid must be flat. The ribbed tops are a post-war improvement.
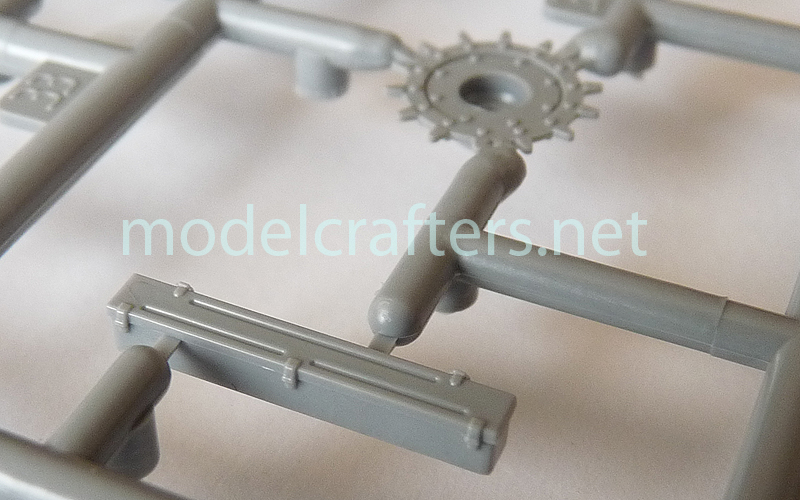
Another box – this time for the right side of the hull – pretty good.
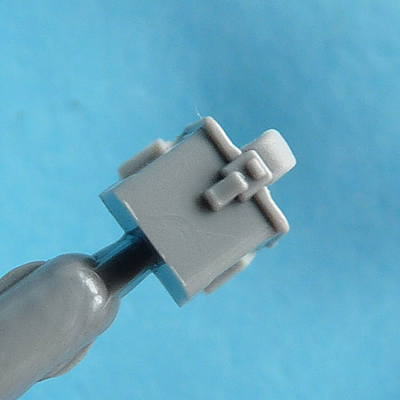
The ubiquitous woodsaw and a pair of towing rings.
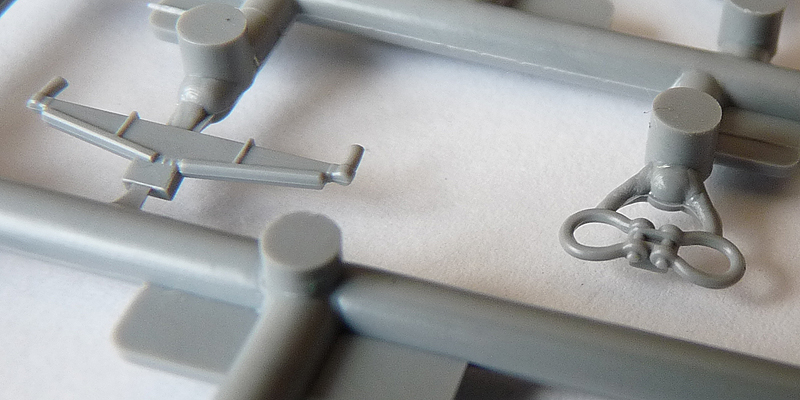
Another nice detail – a separate gun support for the rear plate.
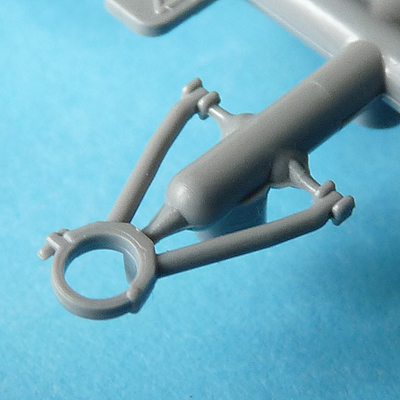
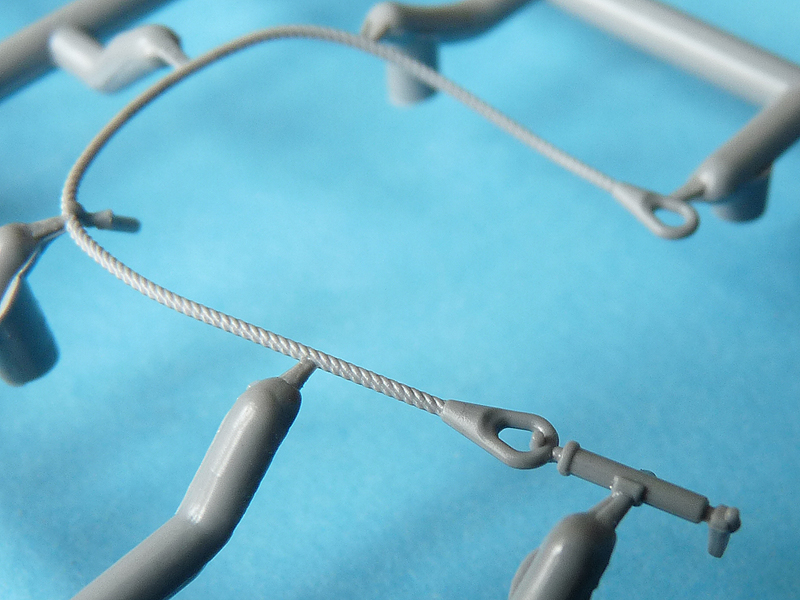
Annoyingly there is just one tow cable in the kit (two are standard for an actual IS-2). To make matters worse Zvezda has actually made a pretty good job of the one-piece part. Oh well…
Onto the hull tub. Bottom.
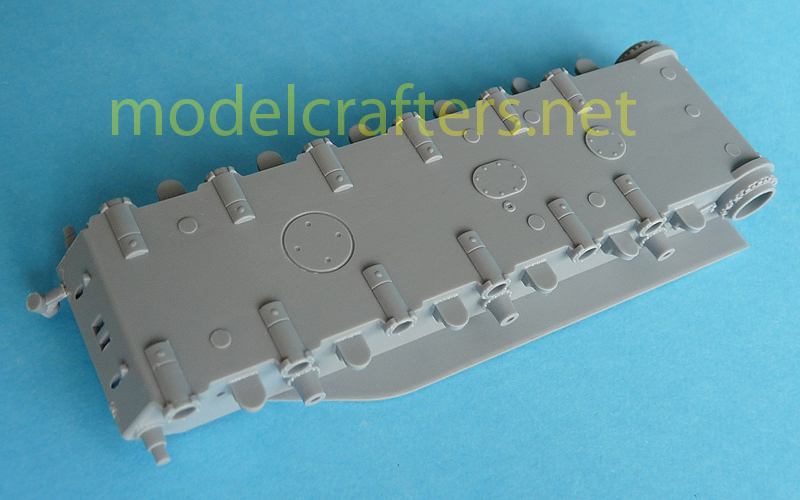
Sides.
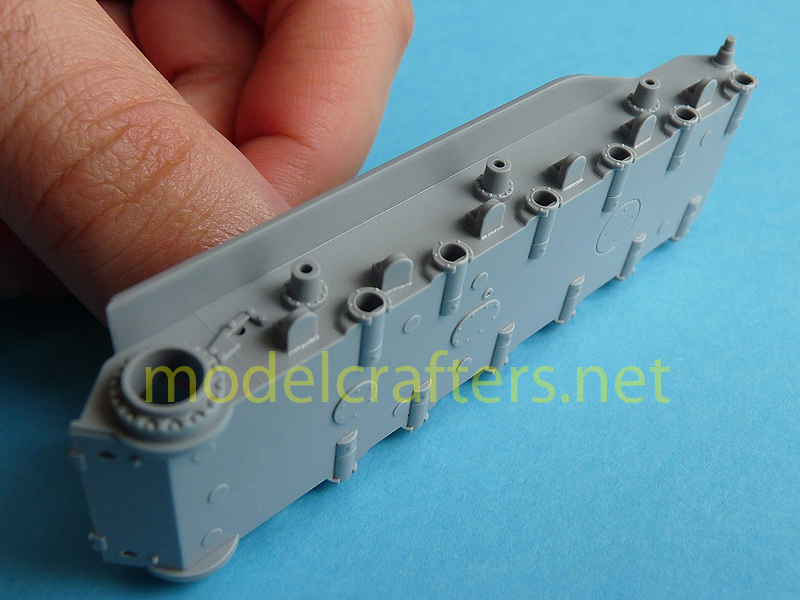
As you can notice the bottom has the access hatches, the wheel stations are appropriately stagerred since the suspension uses torsion bars. There are bolt details where appropriate, the suspension arm travel stops are in place.
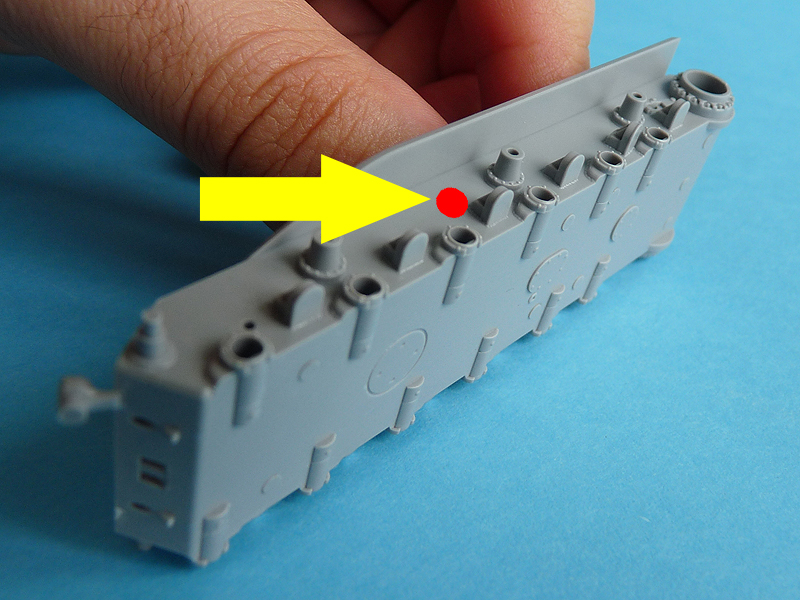
But why am I showing this side? Because the hinged ammo-loading hatch is missing – it should be where the red dot is. Easy to simulate with a disc of plastic and some fantasy for the hinge 😉
Details:
– 4 spare track links for the middle slots on the lower glacis.
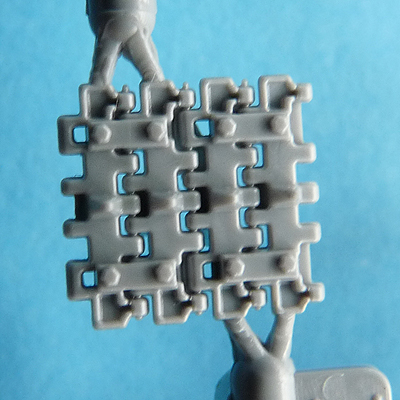
– tow hooks.
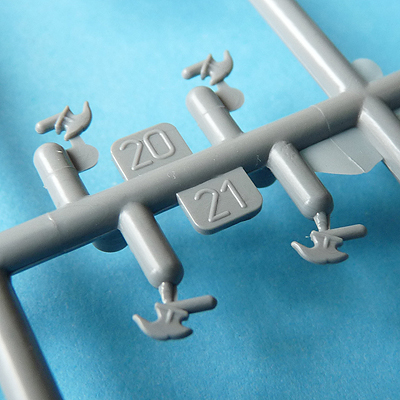
Running gear
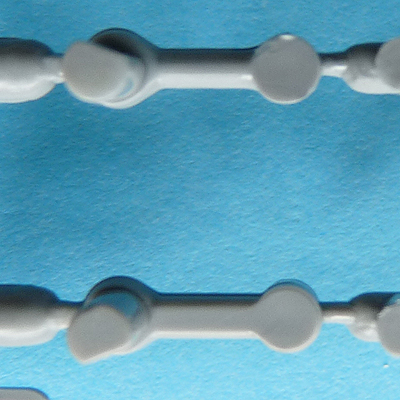
Let’s start with the suspension arms.
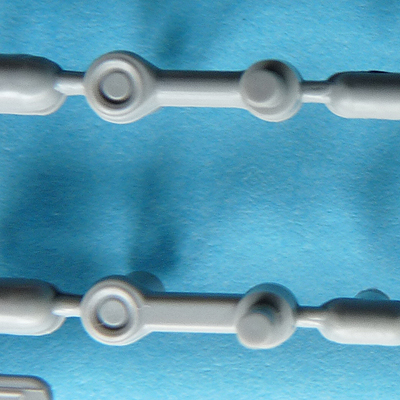
The lower one is to be fitted on station No.1; it has a different cross section as on the real deal.
Reverse – note the mounting pin shape is different:
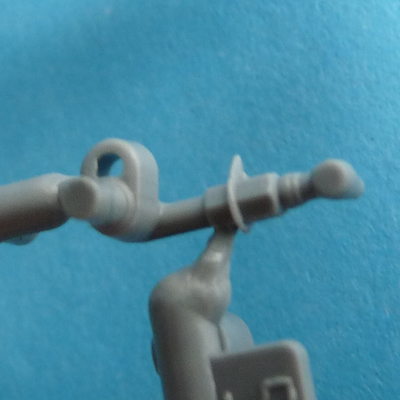
Next up is the idler arm/tension adjusting mechanism.
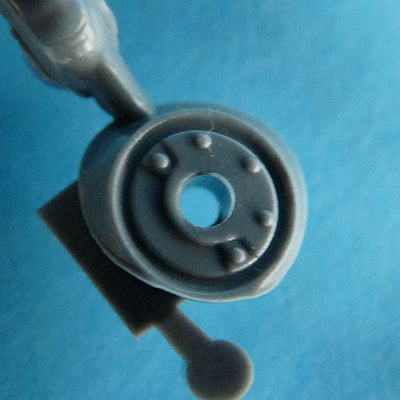
The outer wheels half. Overall positive impression, though boltheads are seriously undernourished.
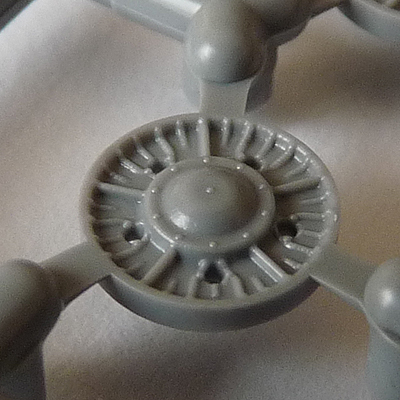
Note: 10-bolt hub covers are post-war mod; WWII examples had 5 bolts on the hub cover.
The sprocket’s inner half – very nice.

Outer half, inside face – notice the spline matching the key seen above:
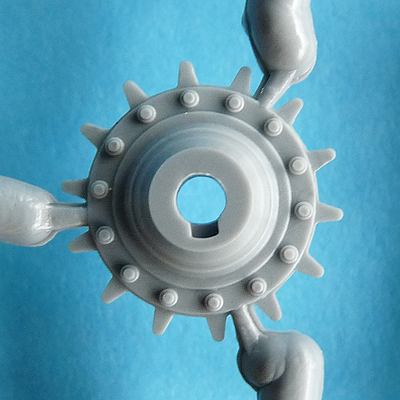
Outer face:
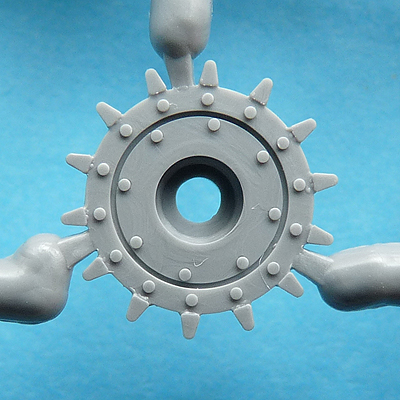
Wish the boltheads were hexagonal, but oh well… The hub here is a separate detail, see below:
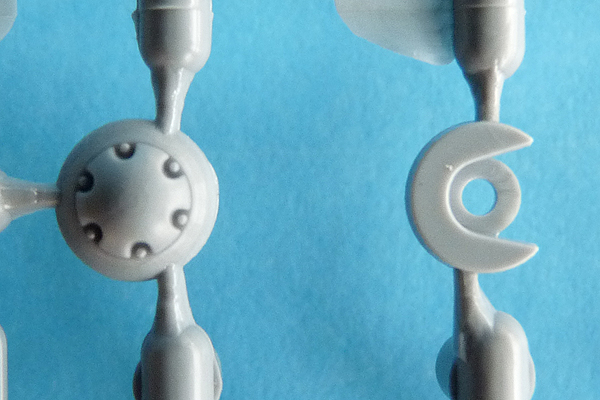
The return roller’s inner half (on the right) will accept the mounting pins of the track – hence the cutout.
Here’s the outer half:
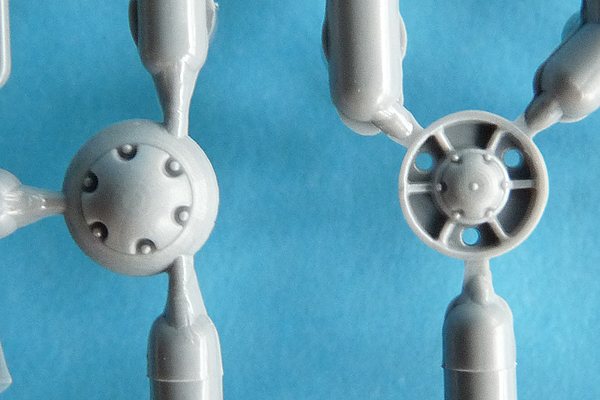
Maybe it will be easier to glue the inner halves directly to the track runs, and then pin them with the outer ones?
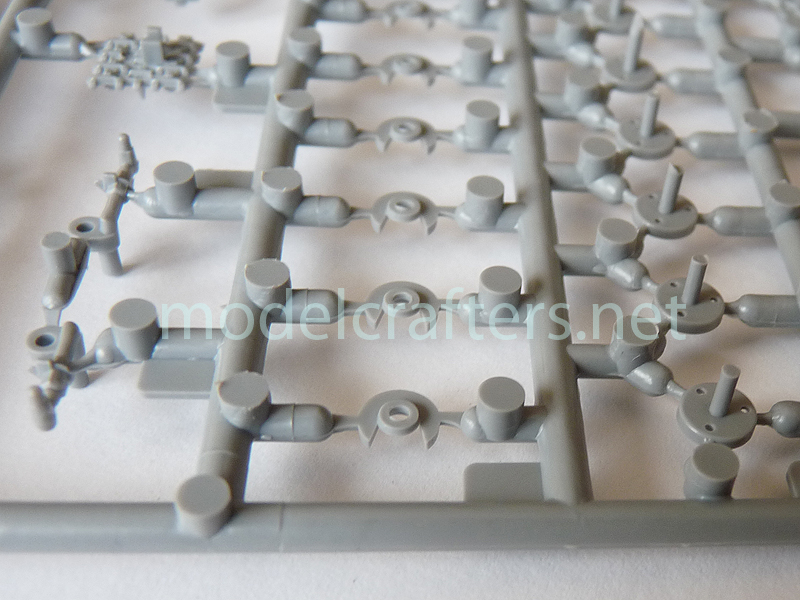
Tracks themsleves:
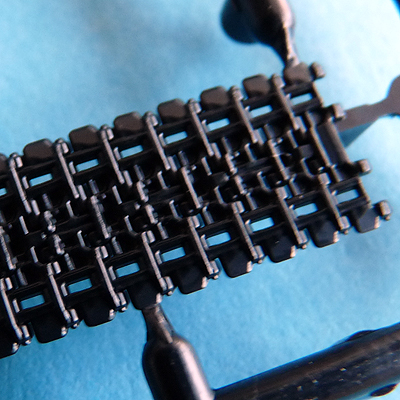
Notice that there are SPLIT tracks, as appropriate for wartime vehicles. What I mean is that the tracks that did NOT carry guide teeth were made up of two halves. This is also noticeable on the heavy SPGs based off the IS-2.
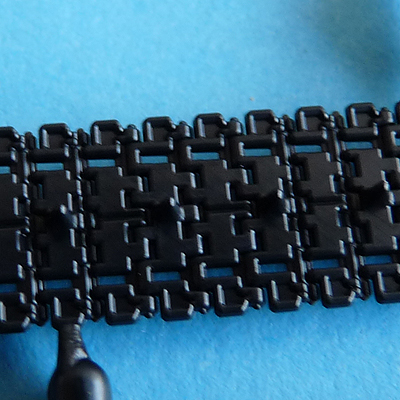
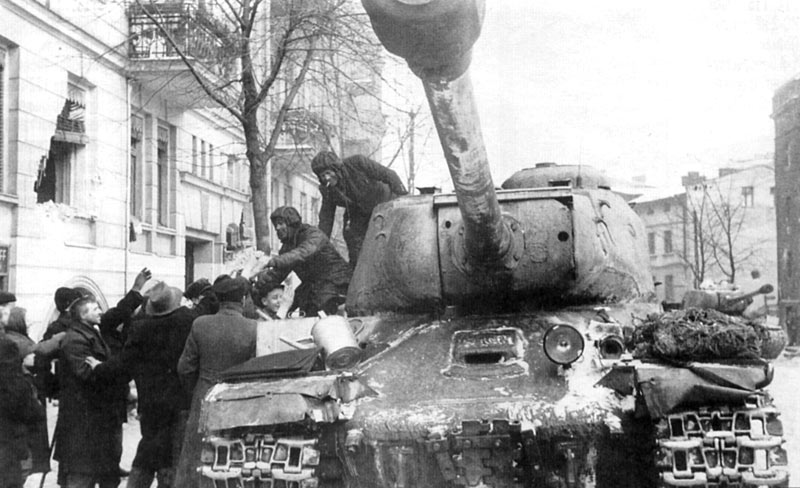
As noted above every other track is split down the middle. Notice this is evident on the image below:
Overall not really impressed by the shape of the guiding teeth themselves – too narrow at the top and too pointy.
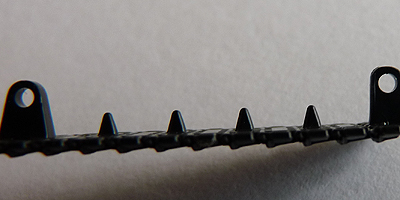
At the same time the mounting lugs for the tracks are pretty large – hope they will not be too visible.
Step 9 in the instructions mentions the 5 lifting hooks for the turret, 4 more grab handles and the signal horn can be GLUED (they do not have pins and holes made for them.
So – to sum up:
Pros:
– a complete, nicely done kit of a 1944 model IS-2.
– realistic general layout and fittings.
– separate tools, gun travel lock, rear engine plate, etc.
– separate suspension arms (you could be using other tracks 😉 ).
– bolt, mesh and suspension detail.
– accurate track link pattern.
– one-piece track.
– easy-to-drill out exhausts – hollow on the inside.
– competitively priced – about $10.
Cons:
– missing cast texture on appropriate parts.
– missing pistol ports on the turret.
– missing ammo loading hatch.
– wrong muzzle brake.
– side join lines of upper glacis too sharp.
– track guide teeth too sharp.
– only 1 tow cable.
– tiny bits of flash and a couple of small sinkholes on the turret.
Is that “your” IS-2 then? Hopefully this review will help you make up your mind.
What it certainly proves is that it’s way too early to bin the Italeri kit; the best result will come from combining the two kits together.
