It is out and the world will never be the same. This blog has now also changed and I need to remove the “Braille scale” from the title… The definitive 21 so far – and not just in the Quarter scale.
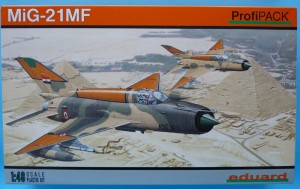
I am certainly not THAT mucher of a sucker for 21s to have ordered the special edition from Eduard, the Profipack will do (heh-heh). The box is literally packed with details on total of 8 sprues, 2 photoetched frets, two resin UB-16 FFAR pods, an express mask, as well as two decal sheets of monstrous proportions. Each of the 6 color options is represented in detail within the magazine-sized booklet.
I’ll go for broke and start off with the transparencies (aka Sprue G), spelling some good news – the lack of rear-view mirror on one of the canopies suggest an M version and its derivatives are to be available in the near future.
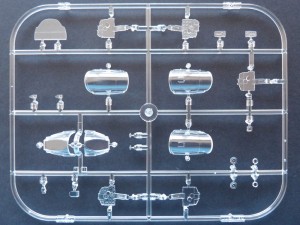
It appears that there are at least three variations of instrument panels as well. What’s after the MF and SMT? A BIS, maybe? 🙂 Anyway, the quality looks good, details are clean and distortion-free – some of the best I’ve seen on a model really.
Sprue A contains the two fuselage halves – or maybe rather “quarters” due to the cutouts seen on either side, expecting to receive some insets to complete the rocket-shaped look of the body.
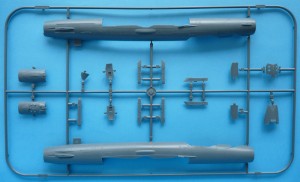
You can see one of them holding the ventral aerodynamic brake, which you can have either closed or extended. You can also pose the two forward brakes open (details seen to the left of the separate ventral one), but this requires cutting out the molded-in ones from the lower wing (part B3, see further down).
A detail on the fuselage:
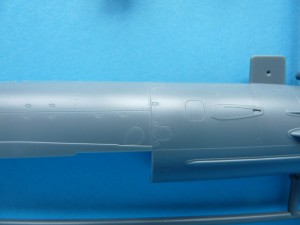
Are you in love already? Because I am 🙂 Here’s the other side for your viewing pleasure:
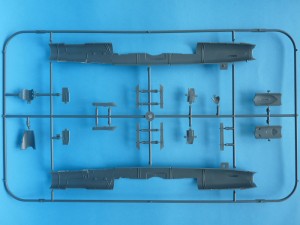
You can see that the various bulkheads have their spots designated from the outset. Let’s now move over to sprue B, which has the wings, the ventral fin, and the separate control surfaces.
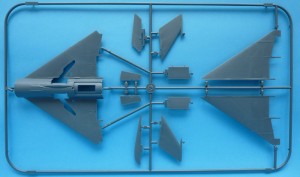
A look at the other end – structural detail at the top wing halves, sockets fot the gas bottles (visible in the wing cavities through the wells) and landing lights.
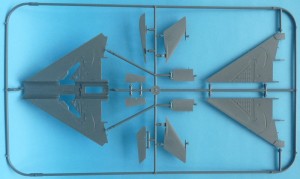
Sprue C: cockpit details, bulkheads, wheel well details and more.
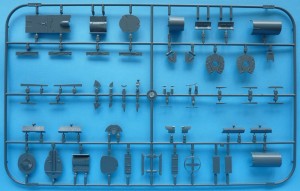
Detail – final turbine stage before the afterburner (part 45) and the rear cockpit bulkhead with ejection seat rails:
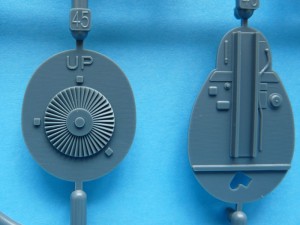
Reverse:
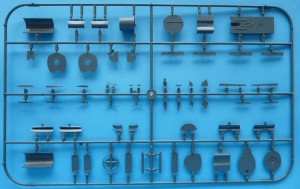
Sprue D: bang seat, undercarriage details, nose cone, intake ring, exhaust feathers…
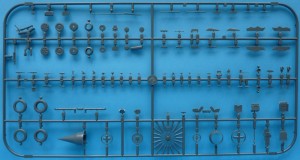
Below: visible are the hollow tyres – that might be useful if you decide to represent them flattened and bulged.
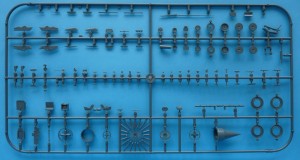
Sprue E (2 per kit) brings the destructive power – air-to-air missiles (R-60s are shaded in parts diagram as not used), rockets (S-24), rocket pods, bombs, MERs and drop tanks.
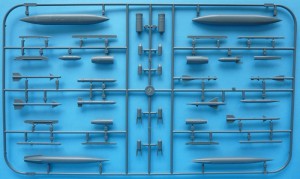
Of interest are also the 490 and 800l tanks with fine raised detail adorning the surface. There are separate diagrams for armament and tanks placement, printed just before the painting diagrams. The inclusion of the SPRD-99 solid fuel take-off boosters (5,508 lbf each ) is also a nice touch, though I am not sure they were used on third generation 21s.
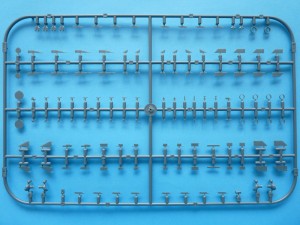
A separate sprue (F) caters for some of the details on the external stores (fins and stabilizers). A lot of small parts on this one:
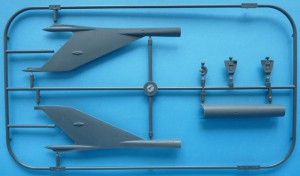
Sprue G holds the third-generation wide-chord vertical stabilizer and the dorsal fuel tank.
Next step: the masks.
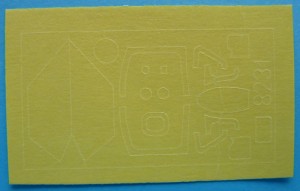
Aside from the transparencies there is a mask for the green “birth spot” at the top of the vertical stabilizer.
Etched frets with engine details, gun vapor shields, wing fences and other details (L) and cockpit details (R).
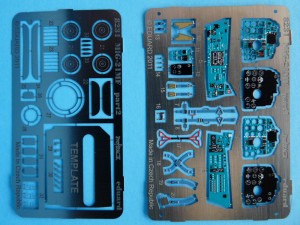
The oval template seen in the left fret is for scribing a panel on the top of each wing, just before the flaps. Alternatively you could use the respective decals, provided on one of the two Cartograf-printed sheets (seen on this photo at the top right corner):
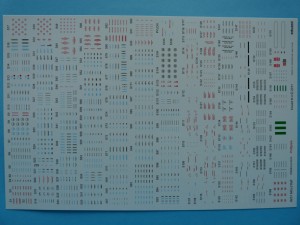
Decals are printed beautifully and each and every one is readable. There is a 4-view driagram on the back of the instruction, showing the position of the airframe stencils. Guidance for decalling and painting the stores and associated pylons is printed on a separate glossy sheet.
The second set of decals contains the designs for the available variants:
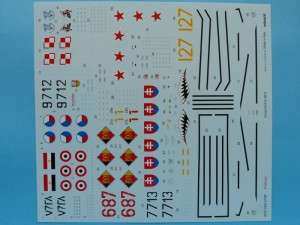
You could build an Egyptian, Czechoslovak, Slovak, Polish, Soviet or East German aircraft.
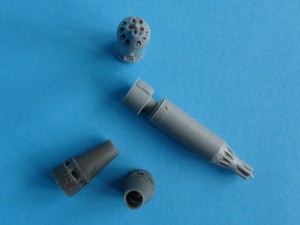
A Brassin set of two resin UB-16 pods for 57mm FFARs rounds up this beautiful issue.
So… Whoa. Anybody counted the number of parts? 500 sounds like good estimate with probably about 200 further decals to place on it. This brings the count up there with 1/35th separate-track-links armor kits …
Eduard continues their tradition of feature-packed kits that just blow your mind both in terms of part count and quality. With SMT release looming we could only hope they release a BIS before switching to weekend editions or a different subject…
In conclusion I have a question for you. What would the next after “Very highly recommended” be, ’cause I would like to use it for this kit?
Many thanks to HobbyCult for the review sample!!!