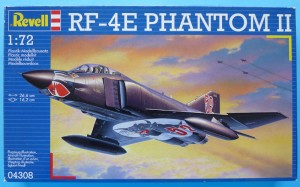
This Revell kit represents the main NATO version of recce Phantoms in 1/72. It’s the first of the Phantom kind in my collection, but certainly not the last one. My issue is set to depict eiher a commemorative all-black scheme for the disbandment of AG52 (Recce Group 52), or a regular AG51 “Immelman” bird, painted in the “Norm 83” pattern of three greens.
The attractive scheme is achieved using the decals below. The main artwork for the aircraft bottom has been pre-cut by Revell to match the various gear covers when open.
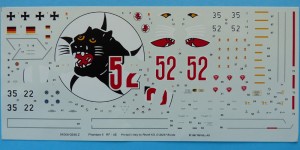
You can also see the various stencilling and note an intriguing fact – Revell has also included just four German crosses. This is because on these aircraft crosses are only painted on 4 positions – just like the USAF “star and bars”. It’s kind of annoying there are only options for two machines – several more numbers wouldn’t have hurt the financial results of Revell. Oh well…
Let’s continue with RF-4E-specific parts – here represented by a separate nose assembly. This whole sprue is dedicated to the recce version, with the notable lack of any kind of weapons sighting system. (During the 80s the Luftwaffe added cluster bomb dropping capability, via additional wiring and a detachable aiming device. It was called REVI (Reflexvisier – Reflector sight) and mounted to the top canopy frame of the front cockpit prior to a mission.)
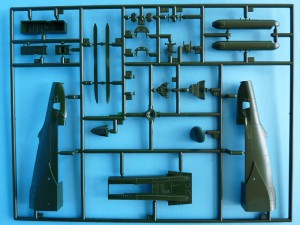
Four cameras and their attachments, as well as the custom instrument panels are among the smaller parts. Two strakes fill the recesses for the Sparrow missiles at the bottom of the Phantom fuselage. Although the fit is good there is some styrene sinking down the centerline of both details, so filling and sanding shall ensue.
The other side of the sprue shows the attachment points for the cockpit tub – it’s a pretty snug fit really.
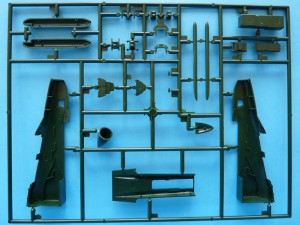
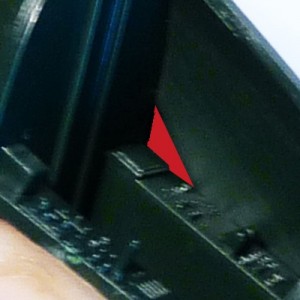
When you align the part with either nose half you however you notice the hole that appears at both sides of the back cockpit. This is due to the engineering of the two splitter plate-bases – you will need to fill/blank the holes out.
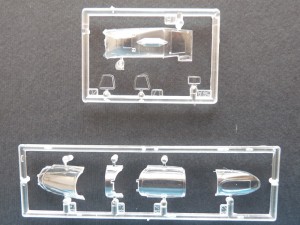
Transparencies look good. In additional to the 4 canopy parts there are panels covering the camera objectives, and a landing light cover.
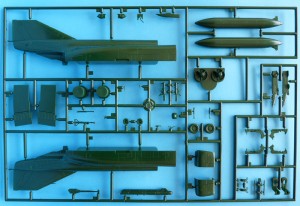
The fuselage components are on a separate sprue. The body shape will be retained without a problem, since the two halves support each other at the bottom as well. The part with the compressor faces will act as an additional stiffener.
A detail on the exhaust nozzles, and the flattened and bulged tyres.
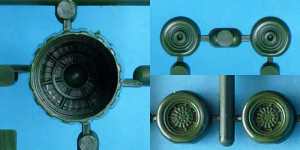
Please note there are no “feathers” represented on the inside of the nozzles, so you would have to build and detail those yourselves.
Another grudge – intake parts. Details appear unnecesarily thick and have ejection pin marks on them.
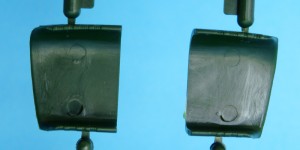
These have to be filed away and the whole inside smoother out. I am also concerned about the join lines and the actual lack of intake trunking as such. On the model the fuselage halves represent the trunk walls, and the flat detail with the turbine faces is where the whole thing ends. Not very pretty, but that’s what your hands are for 🙂
Overall the kit looks easy to build, with some neat details and certain glaring omissions. I will deal with the latter in the next articles.