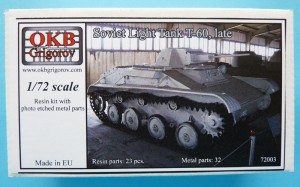
This tiny, but important tank, is the third venture of OKB Grigorov into the “complete AFV kits” world. The set is completely made up of resin castings (23 parts) and etched metal (two frets with a total of 32 parts). It represents the later variety of the T-60: the road wheels and the idler are identical and maximum armor thickness reached 35mm.
To protect “the precious” the company has placed it in a small, sturdy box – everything carefully packed in bubble wrap.
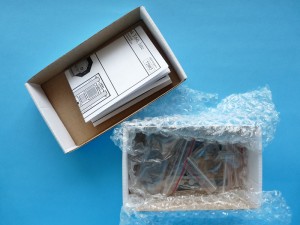
You can see that resin castings and the etched frets are in separate zip-lock bags to prevent loss, bending and scratching.
I’ll start off with several views of the turret:
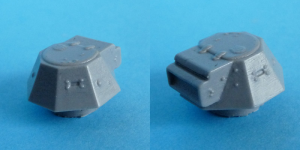
Vision ports, hinges, boltheads – it’s all there. You can see the oval recess at the turret front – that is where the armament is placed. It’s on the next casting – an automatic 20mm TNSh tank gun, and a coaxial 7,62mm DT machine gun. (The TNSh is also known as ShVAK to those of you that are into the VVS stuff.)
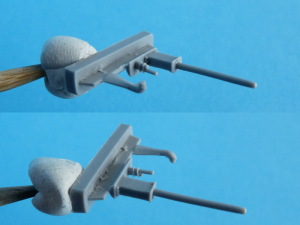
The exhaust is on the same casting stub.
Onto the hull. All the bolt heads are present, as is the guard to the left of the turret. Hinges on hatches are clearly molded. Notice the support for the light to the left of the driver’s position.
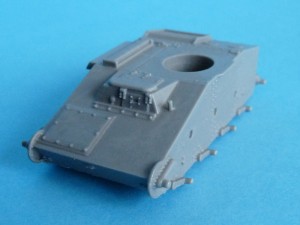
The next two views show clearly all the details present and the delicate casting of the gills over the radiator.
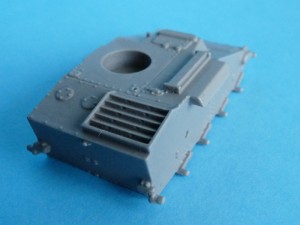
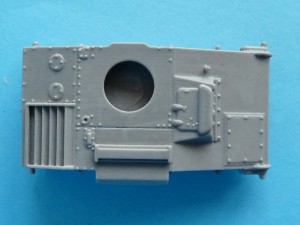
The turret casting stub is wider than the opening at the hull top by a fraction of a millimeter. With some careful sanding everything should fit snugly where it belongs.
Next – the wheels & idlers, return rollers and driver sprockets all in one picture.
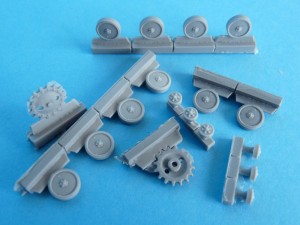
Though roadwheels and idlers could be broken off the casting stubs – I’d advise removing the sprockets carefully from theirs to avoid losing teeth. Flash and connectors are easily removed by a #11 blade (the sharper – the better).
The etched parts on two frets. The one on the top is 0,1mm brass, and the lower – 0,3mm copper. Beyond the easily discernible big parts there are a number of mounting brackets for the fenders, as well as protection for the vision ports on the turret.
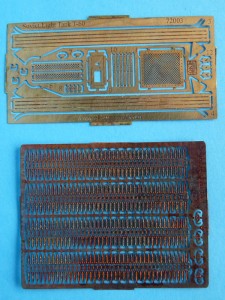
The fenders feature very thin sides, so take care when bending them. It might be a good idea to heat the front and back ends of the fenders to ease their shaping. Instructions don’t make it totally clear, but the two rectangular meshes have to be bent down the middle of the long sides in order to fit the raised cooling intake to the right of the turret. You’d want to bend the gun armor’s long sides first.
Instructions are printed on an A4 sheet, folded to fit in the box. There is a parts plan on the front.
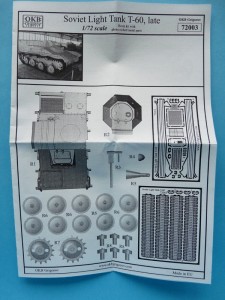
4 construction steps are provided. It appears my copy got the pages switched – hard to get confused on this build 🙂
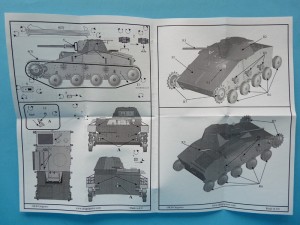
Considering the relatively small number of parts the kit shouldn’t be posing construction problems.
Many thanks to OKB Grigorov for the review sample.