While the Squadron putty was drying I cut the nose of an ESCI FFAR pod:
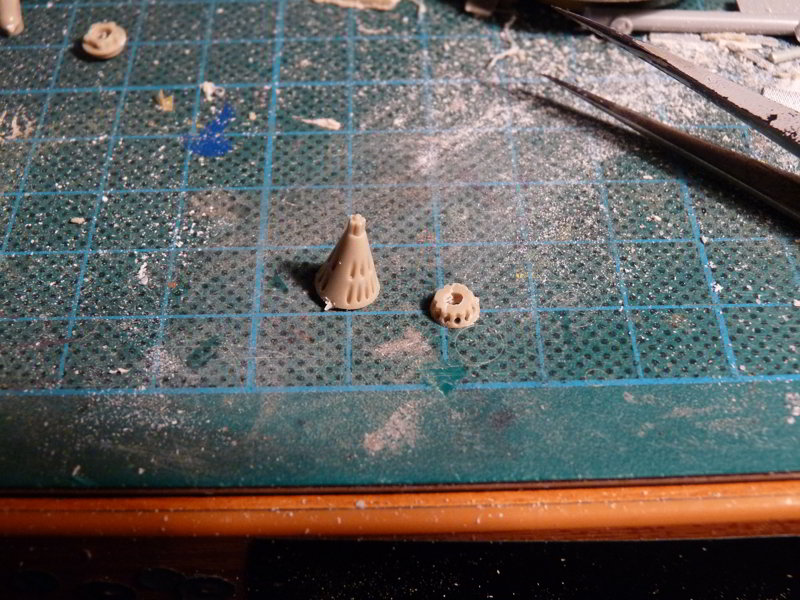
and inserted the base into the inlet of the APU to give it some detail.
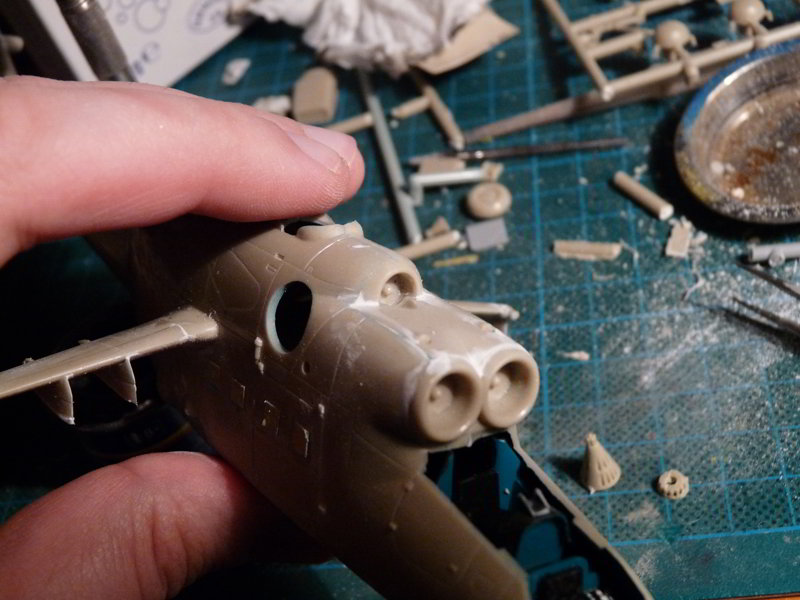
Here’s how the outcome looks before paint:
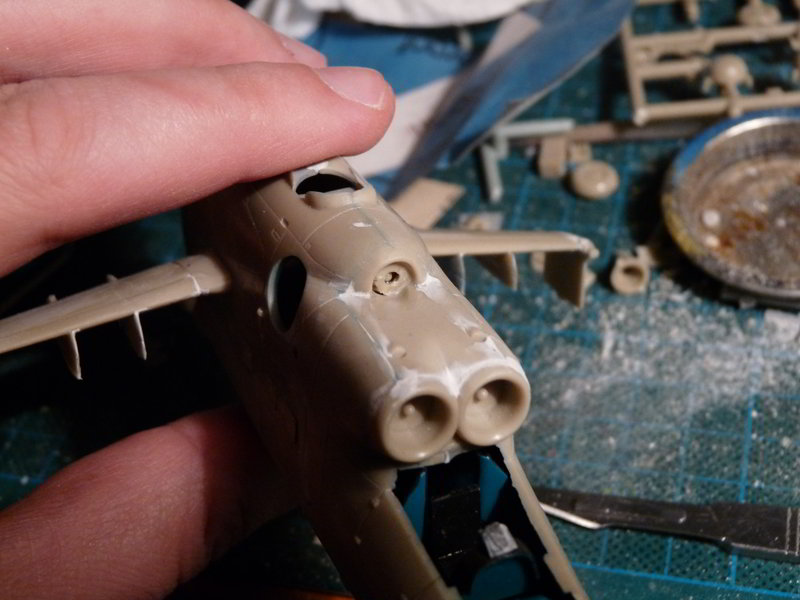
The amount of putty required and the sanding is obvious on the series of pictures above, but let me tell you – this is a great stress-relief technique.
I also created a new gun mount to replace the missing part, using brass barrels of a design closest to the original GSh-30. These are fixed into a block of laminated styrene. The white brackets are scrap styrene sheet.
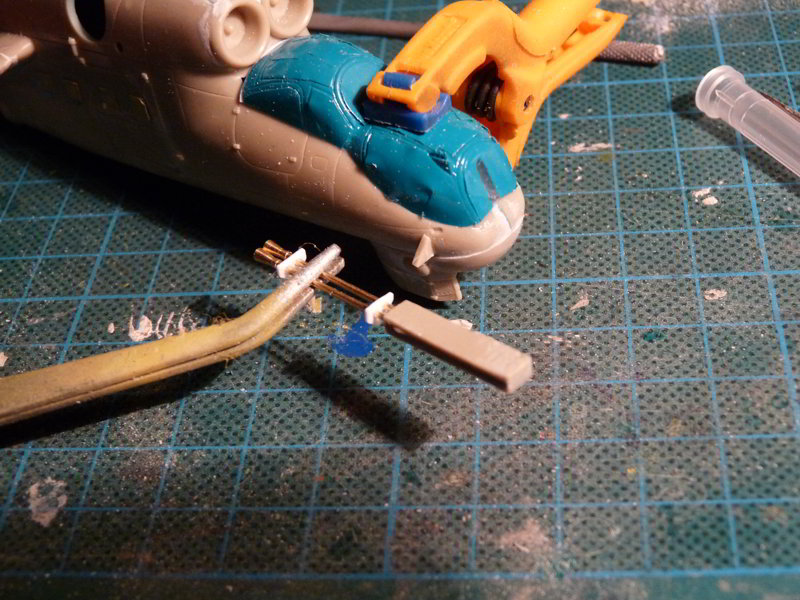
The masked canopy is attached using PVA glue. Note extension by virtue of a plastic strip added at the rear end – the canopy turned a tad too short. Note kit part on the right side of the nose is intended to join with the double bracket joining the gun barrels.
The gun pack was then “riveted” to the right side of the nose:
– the plastic block was drilled through,
– corresponding holes were first marked and then drilled on the fuse side,
– lengths of stretched sprue were used to attach the pack to the body. You can just make them out as grey spots.
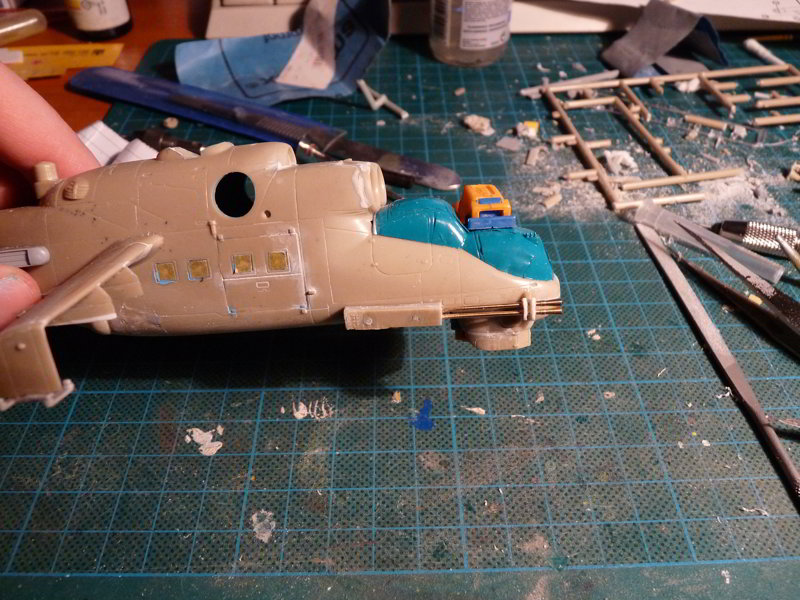
You can see I’ve been a bit overzealous in shortening on the of the winglet pylons, so some plastic had to be added back.
I also took the supports for the Shturm anti-tank missiles from the Hobby Boss kit and added them to the wing tip pylons. The chaff dispenser next to my thumb is from the Zvezda kit.
More destructive power: OFAB-250 bombs from the Hobby Boss Mi-24 kit. As the circular stabilizer was way too thick I simply left it off and substituted with a piece of drinking straw. The mounting points of the bomb were also cut down.
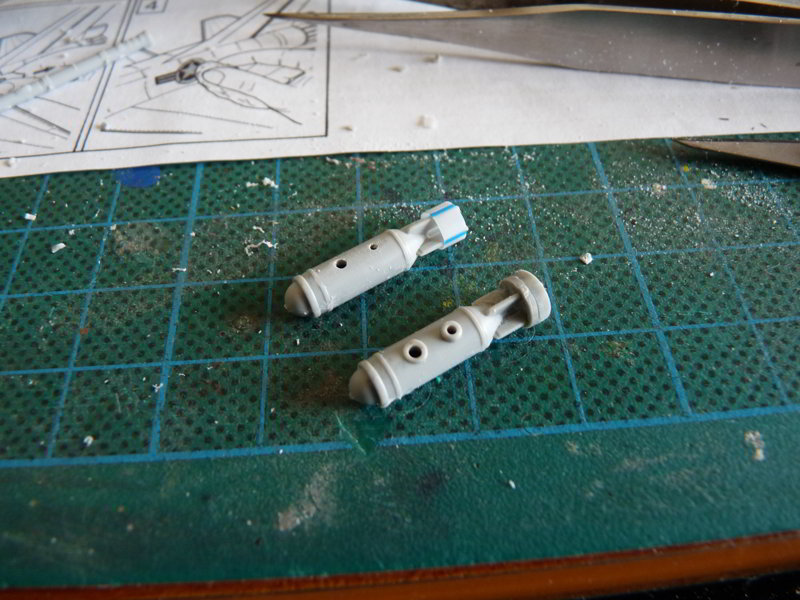
Next – notice the smart way Hobby Boss has devised to help the modeller get the Shturm missiles fit the right way – a circular and a square locating pin:
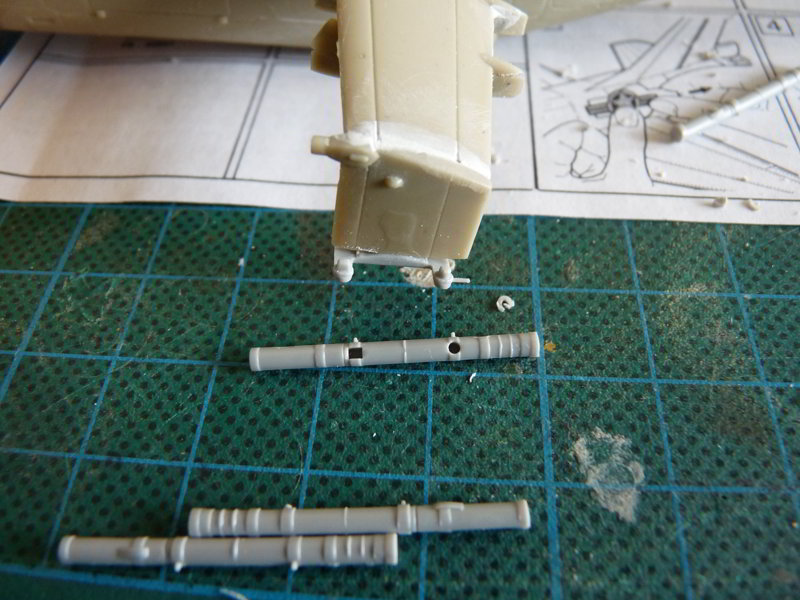
Back to some airframe work. The front wheels well is rather large – about 3mm too wide, so some shimming was in order.
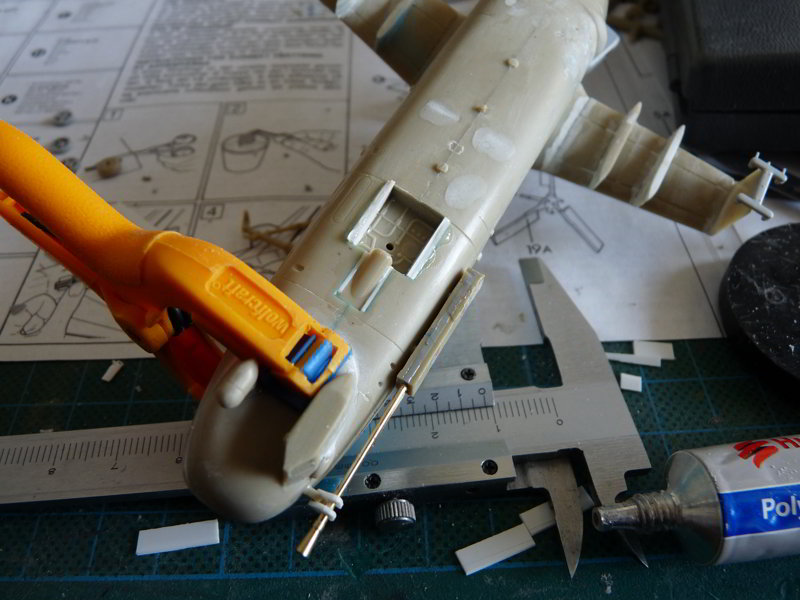
You can see the styrene layers of the gun pack and how the barrels remain parallel to the axis of symmetry.
Next stop: ready for priming. A lot of smaller details, and some heat dispensers from the Zvezda Mi-24V kit were added.
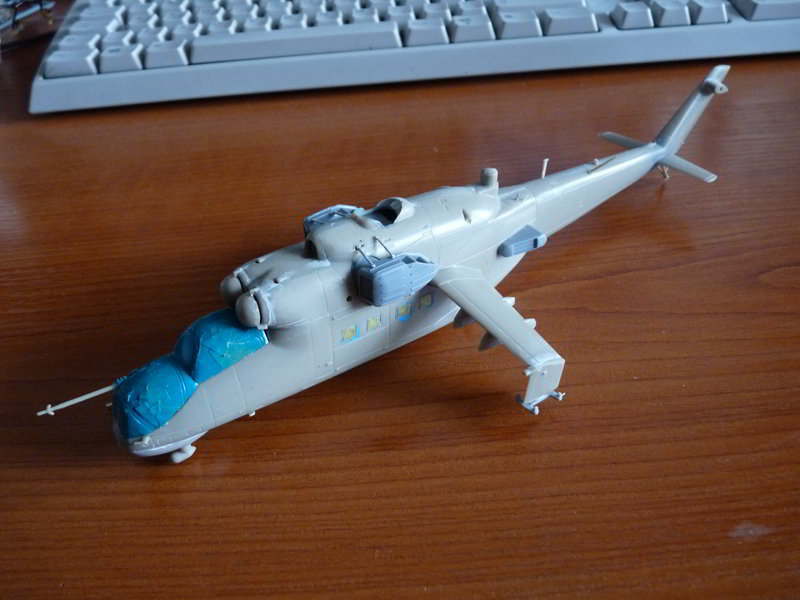
Then there’s the other side, with a scratchbuilt gun cover added:
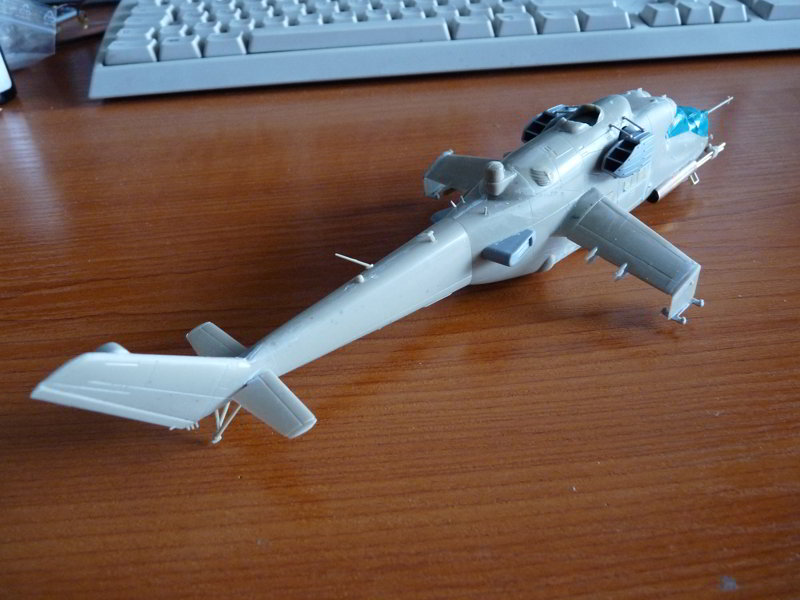
How the cover was made:
– a scrap piece of 0,1 mm brass was cut to size using the Mk1 Eyeball,
– it was then bent over the shaft of a screwdriver, using the back of another one to make it follow shape,
– the piece was then filed to follow the lines of the aircraft and superglued in place.
The step is the only part in the kit that was left unmodified, simply glued to the cover.
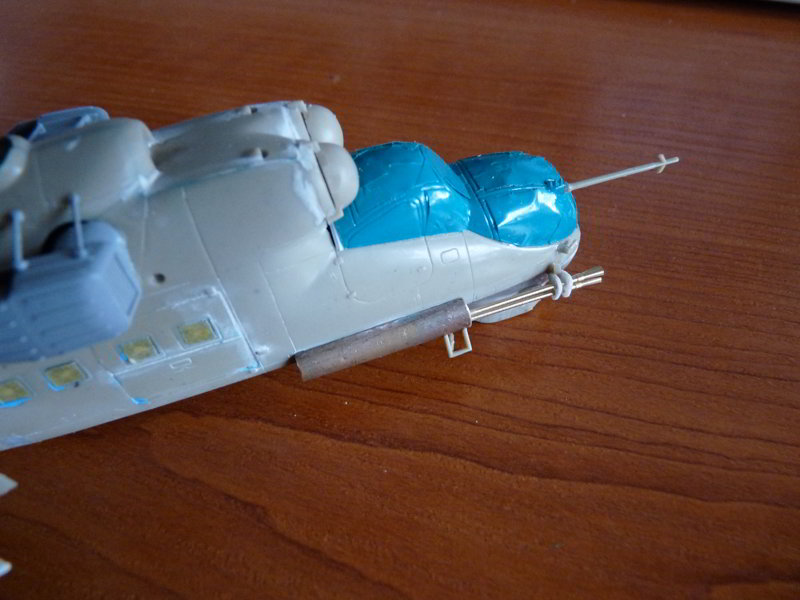
And another angle – from the front:
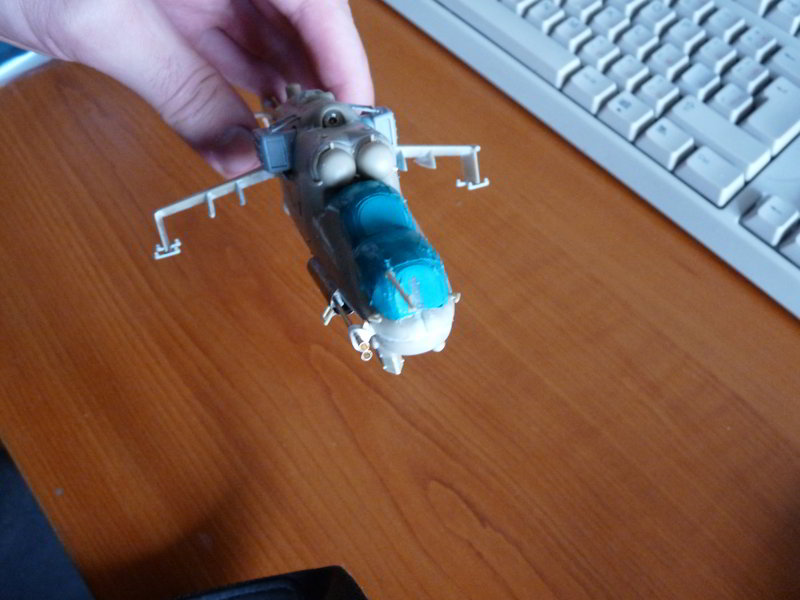
Note mounting braces for the boxy heat dispensers.
Next: after priming the first layer of paint is applied – a blue concoction for the bottom. A hard-edge demarcation line courtesy of Tamiya tape follows, then a mix of Vallejo Russian green and RLM 76 😀
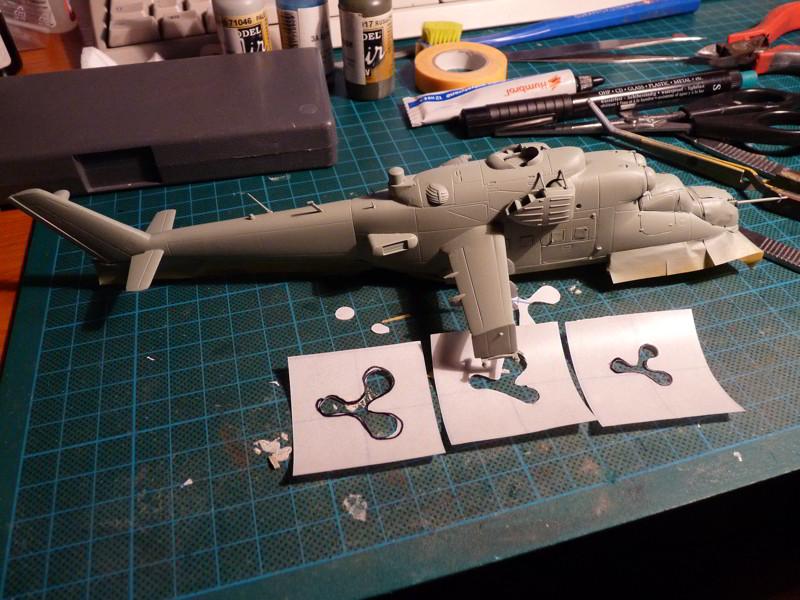
Pieces of Hansa masking film were used as a mask for the amoeba camouflage. Left to right are the first, second and third attempt (TLAR method).
Spots applied using Vallejo Russian green + less RLM 76:
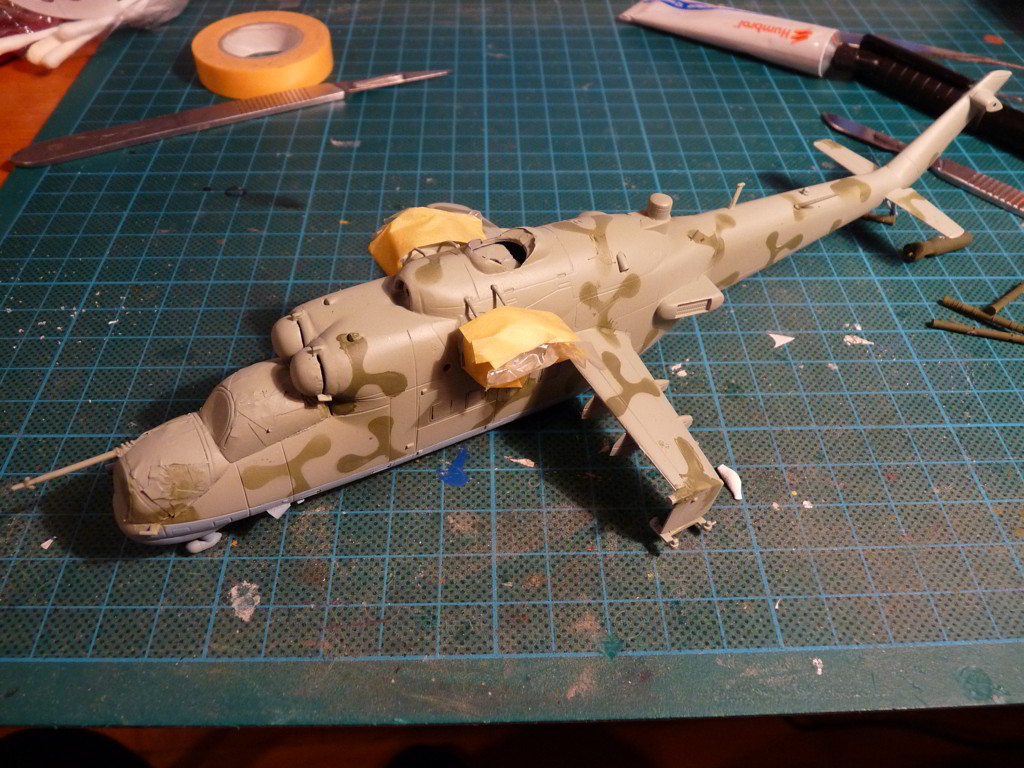
In the next installment – some finishing touches and the ready aircraft.