I built this kit for a group build in April this year. My goal was to finish the build in the shortest time possible – it was intended as a kickstart after for quite some time I did not finish a kit.
The basic airframe used has been an ancient ESCI release which I bought dirt-cheap from a guy that regularly renews his collection. He had used certain parts from the kit, the gunpack included, so I was up for some scratchbuilding fun.
I started with the cargo hold doors, which were rather thick. I had to thin them around the edges in order for them to fit.
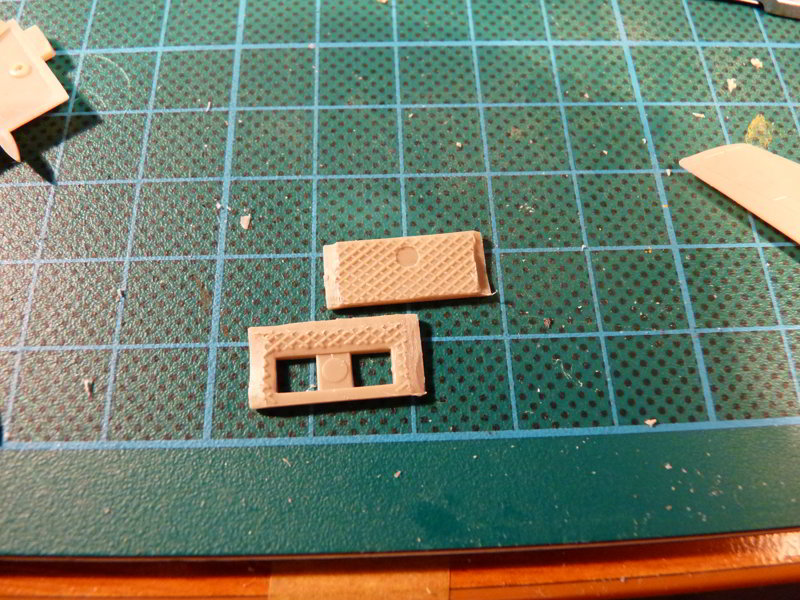
Luckily only the right side doors were separate parts, so this was dealt with quickly. You can see segments of the fuselage halves on the image below:
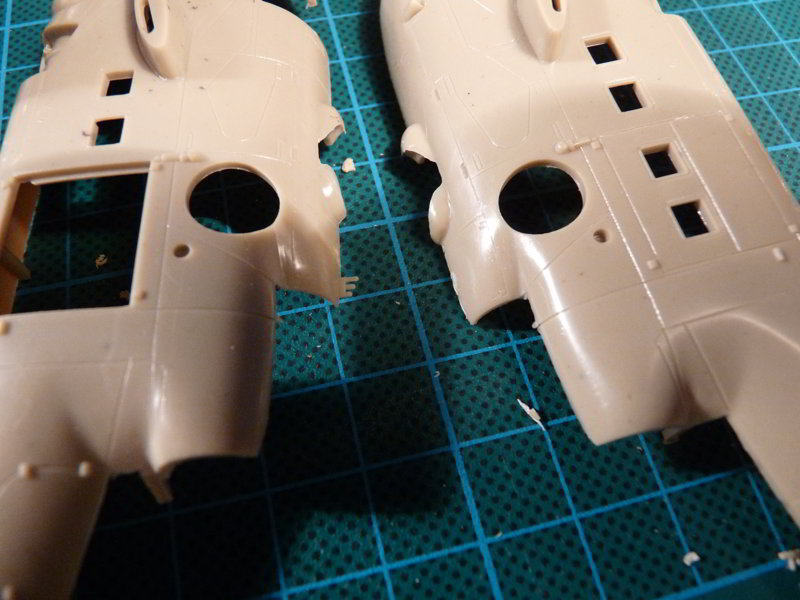
The Odd Rods IFF antenna you see on the right fuselage half is also on the left one, but I broke mine off. I also removed this one later on. In total ESCI provides three Odd Rods locations – this one, at the base of the Pitot tube, and below the tail rotor. The one seen here is wrong, hence me chopping it off.
As usual I switched to a different part after this – the underwing pylons. ESCI provides them too tall and canted backwards, so I set to reshape them a bit. The modified pylon is the top one in the pic:
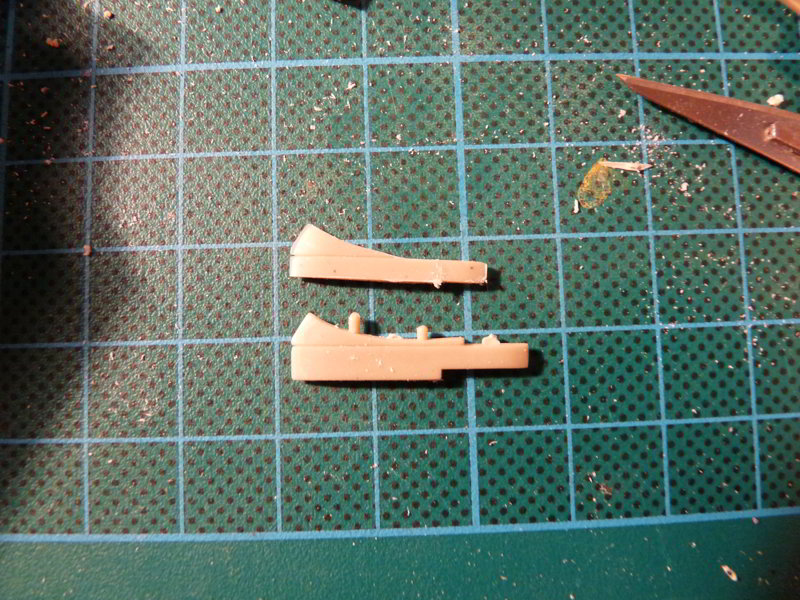
I also filed down and shortened the bulges over the pylons on the wings to reflect the changes made.
Next was the crew compartment – cockpits + the flight engineer’s spot. As the pilot’s instrument panel in the kit is flat I cut it up in three pieces to give it the slightly more ergonomic appearance of the original one.
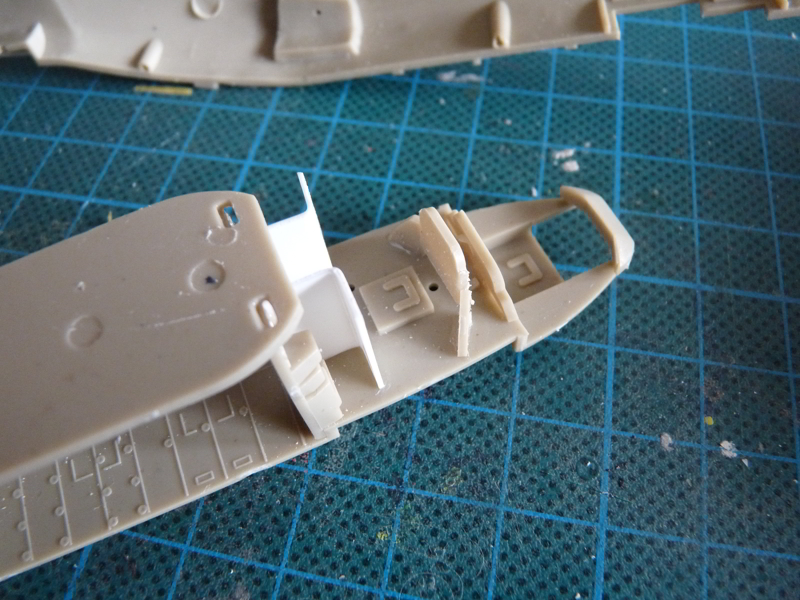
A look from the front. I also cut an opening in the bulkhead behind the pilot’s seat and built up the sides of the “tunnel”, where the flight engineer tends to work during flight, from some card stock.
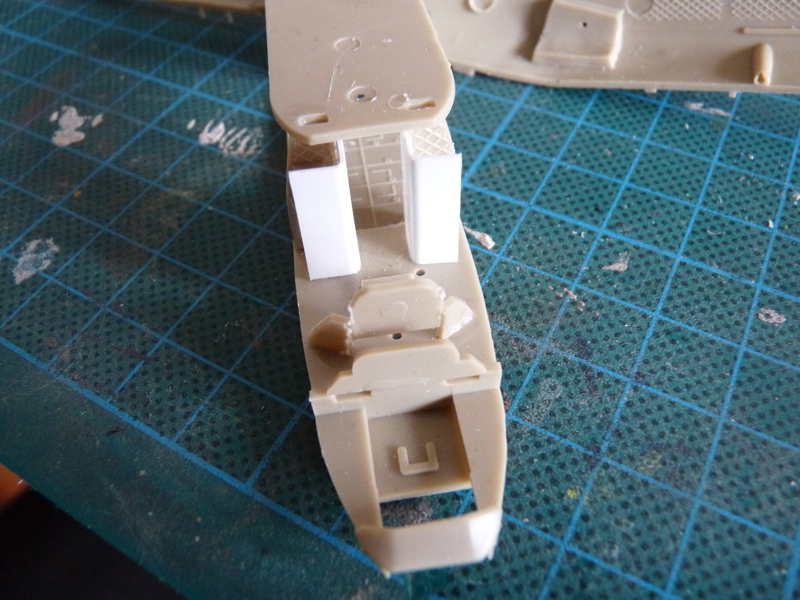
Next the side consoles were built up, thus replacing the vast voids and giving the cockpit an approximation of the busy look the actual aircraft is known for. I also added the sun shade for the pilot’s IP and the gun sight for the GSh-30-2 cannon.
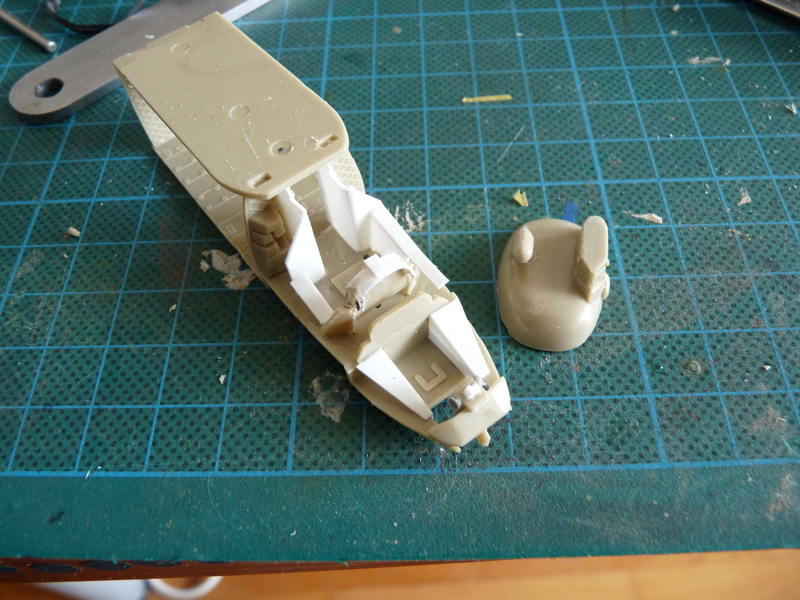
The operator’s consoles were also scratchbuilt. The aiming sight for the anti-tank missiles and a few other gadgets were simulated with pieces of scrap plastic as well. I assembled the sight’s visor and the antenna for the Raduga radar (to the right of the cockpit in the pic).
Next I masked the canopy using 3M’s matte Scotch and some Tamiya tape.
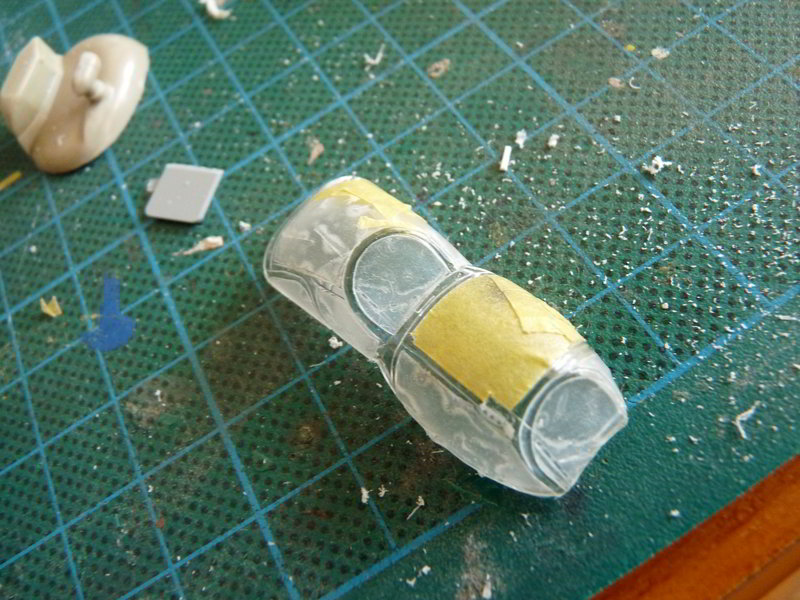
As much as I like the yellow stuff it’s useless for canopy masking unless the frames are standing proud of the canopy’s contour, so the semi-transparent 3M product is quite useful here. It might be not as versatile, but with some careful cutting does an excellent job.
The basic construction of the cockpits done it was time to give them some color. A mix of Gunze blues (cabin) and greens (cockpit + canopy) sprayed directly from the jars. The result: incredibly glossy finish.
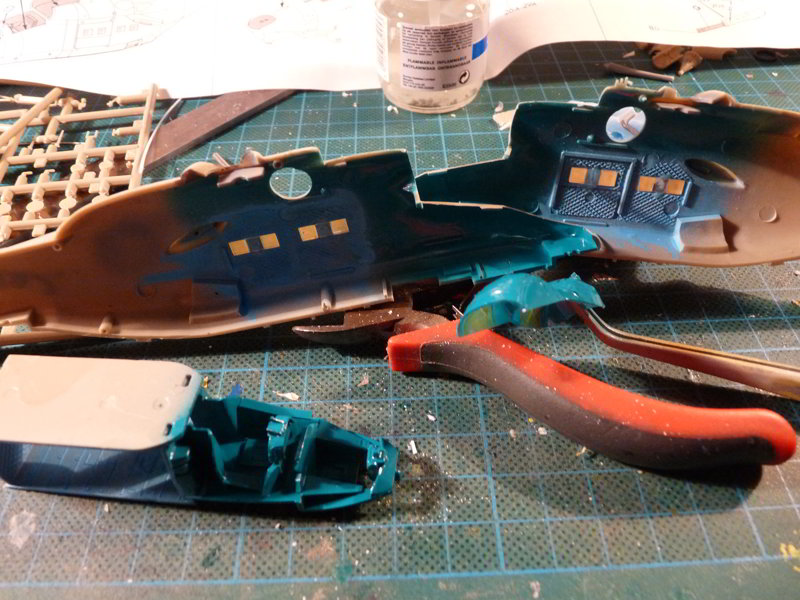
In fact the finish was so gloss that when I tried to paint the floors, instrument panels and side consoles black the Revell paint just didn’t stick… I had to use Vallejo matt varnish first, then brushpaint with Revell again.
With the problem solved it was time to decal the IPs. I used the original ESCI decal sheet, of course cut up appropriately, and some spares. The ESCI decals had held up rather well – they did not shatter, and some Mr. Mark Softer had them sitting firmly in place 🙂
The cargo hold’s windows were glued, I also painted the engine compartment black and inserted the exhaust pipes. The latter are very shallow, but as I intended to use the EVUs (devices intended to lower the heat signature of the engines) that wouldn’t really matter. The fuselage halves were then glued together, inserting the cabin/cockpit/engine assembly and the front gear’s niche.
I added the top insert over the engine compartment, and the engine intakes/faces detail. The wing assemblies (wings + pylons), stabilizers and the tail rotor fairing were then glued, as was the chin bulge with the aiming devices.
A bird’s view of the assembled fuselage with wings and stabs in place. If you look carefully you’d be able to see the decals 😀
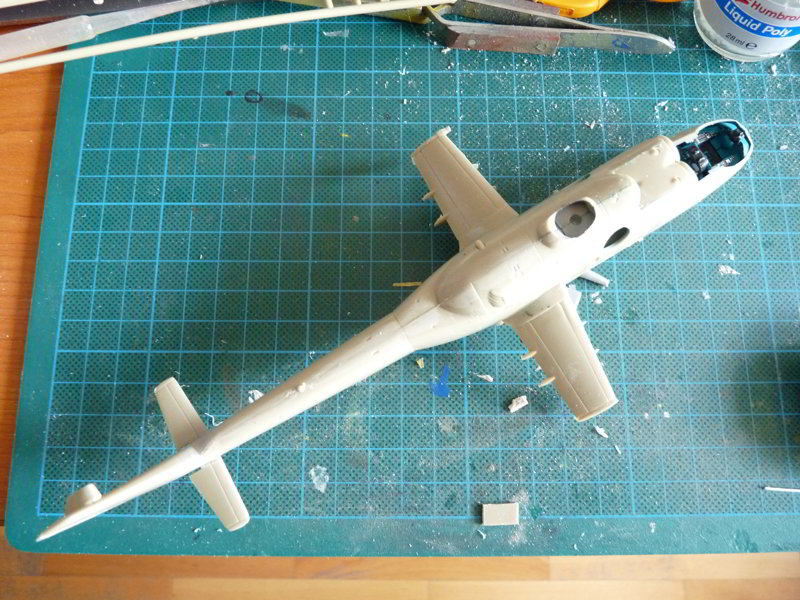
Since the landing gear was way too flimsy I decided to build the Hind “in flight”. When I set off to fill the various openings and gaps around the fuselage I discovered one of the landing gear covers was missing, so various pieces were cut up and put in the LG bay.
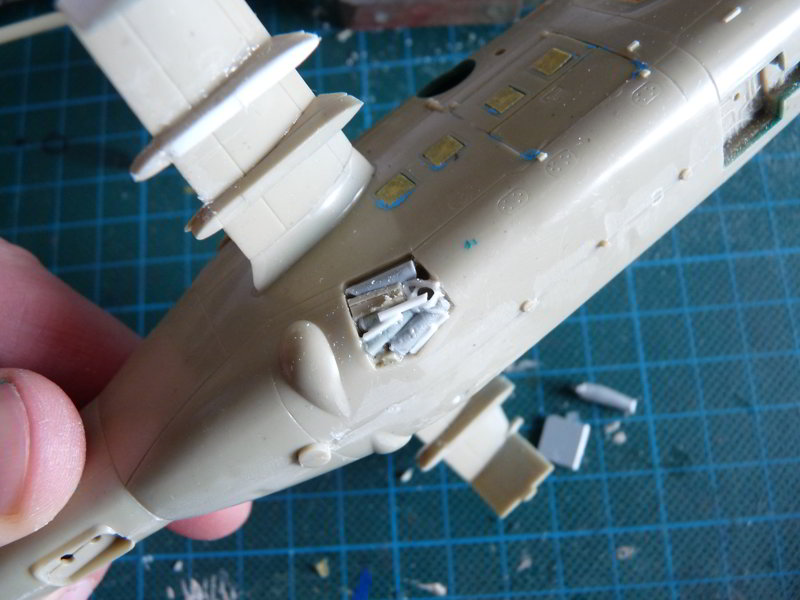
You can see the masked windows of the cargo hold.
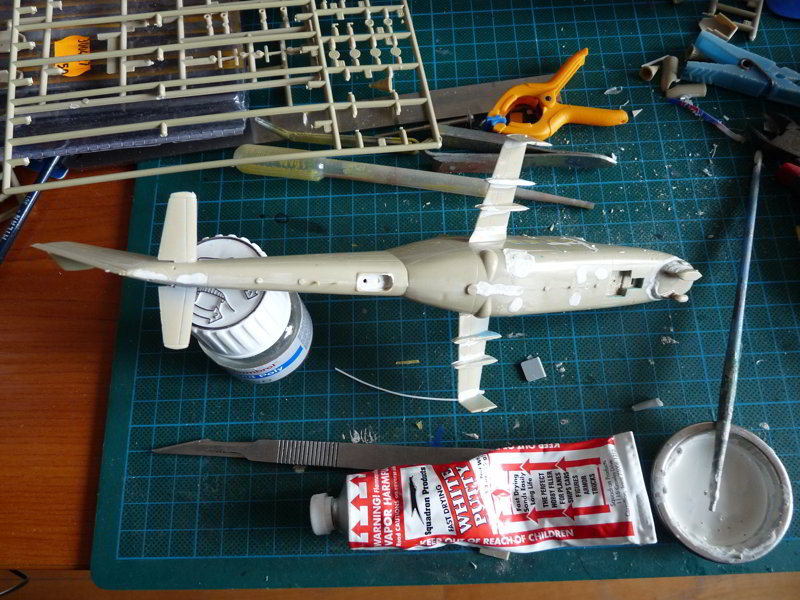
More filling! Multiple gaps – not wide, yet annoying enough. Squadron white stuff diluted with acetone and brushed along the gaps on the top…
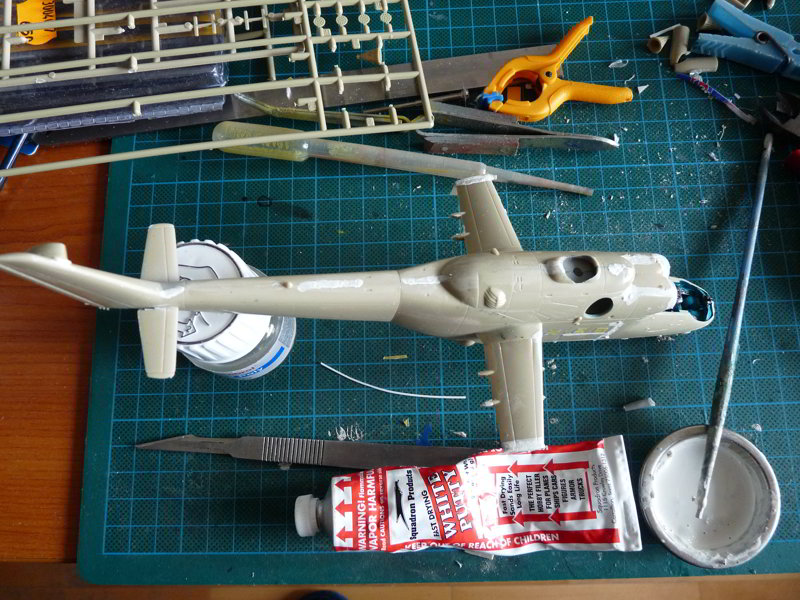
… and some more on the bottom.
