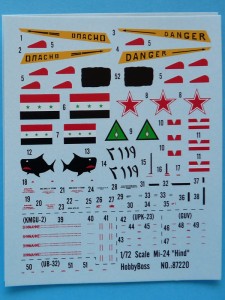
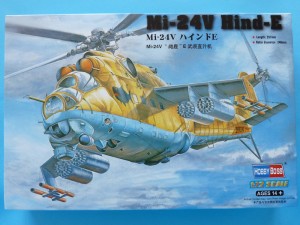
The HobbyBoss effort has been on the market for some time already and it really retired the previous kits in the scale. A detailed cockpit, a pretty serious and well-detailed arsenal that could actually fill the pylons of 4 Hinds, better shapes, more adequate rotor heads, engraved panel lines and decent surface details. Most modelers also notice it’s a good fitter, so for about 10 euros it came as a notable bang for the buck.
The few issues noted on The Net are the overrepresented raised lines on the main rotor, the single-detail canopy (common for both cockpits) and the seam line going down the middle of it. But it still started a new era for the fans of the feared “Crocodile” – the biggest, toughest, most popular attack helicopter in the world.
Box top shows one of the two versions available – a Russian example from one of the Chechen campaigns, and an Iraqi Air Force machine from 1984 (see color guides below).
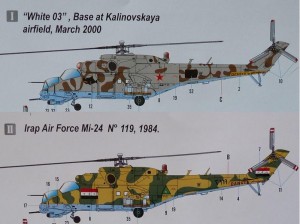
As you will notice the desert camo on the lid is very different from the darker shades (green + grey) called for in the paint schemes. Color codes are for Mr.Color, Vallejo, Model Master, Tamiya and Humbrol. Instructions are black-and-white fold-out affair:
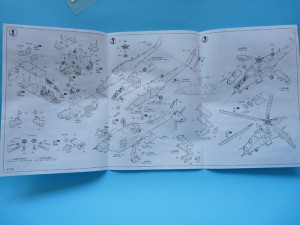
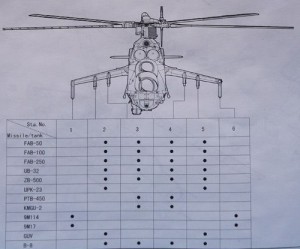
Since the kit contains a formidable arsenal you are kindly provided with a load-out diagram.
There are two identical sprues (labelled D) for the weapons – let’s have a look:
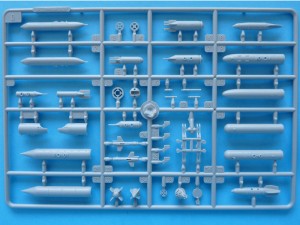
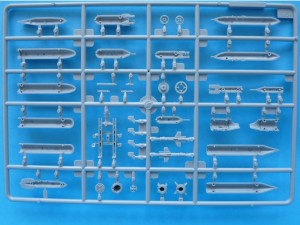
The mounting holes for the pylons are very large – probably intended to ease the attachment process. The stabilizers for the bombs and containers are separate details – you can see ring stabilators are a bit too thick here.
Sprue A has the fuselage halves. Note the recessed attachment points for the wings, the separate details for the wheel wells, and that the engine cover is not a part of the fuselage details – probably due to its complicated shape and related technological limitations (no engines are present in the kit).
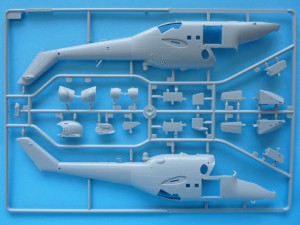
Again, some serious attachment points are evident on the inside where wings, decks and bulkheads are to be glued.
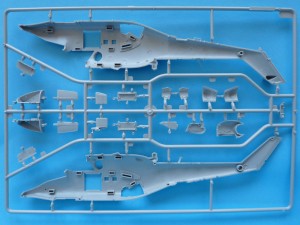
Instead of the usual aligning pins a very large detail is molded in. The “Lipa” IR countermeasures station is a part of the fuselage halves, visible are the position of Doppler altimeter and the mounting holes of various antennae.
Sprue B has the two rotors, decks, walls and bulkeads. In the box the left side of the sprue is carefully packed with bubble wrap to protect the delicate detail on the blade stubs that are part of the rotor head.
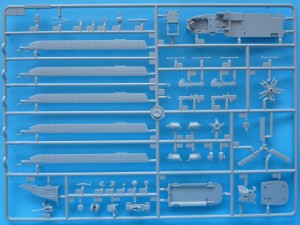
Main rotor blades are molded straight (no sag is present). Maybe the combination with the one-piece canopy the model would be best suited to an in-flight pose, despite the temptingly detailed sidewall (see bottom left of the sprue).
The other side of the sprue reveals the pilot’s console, with recesses for the main instruments. Hmmm…
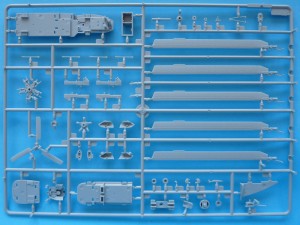
We’ve already been through the overenthusiatic raised detail on the rotor blades, but that isn’t something a few passes with sandpaper can’t fix.
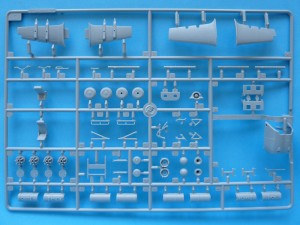
Sprue C brings you the engine cowling and dust filters, wings, crew and passenger seats, undercarriage and some armament.
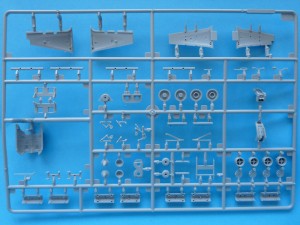
And now over to the transparencies – no fancy stuff here – just the canopy and the 8 windows for the cargo hold/passenger area.
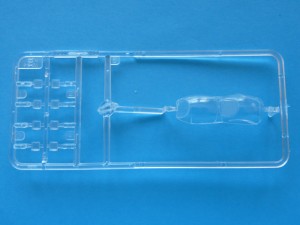
Beyond the seam line down the center the canopy also appears scratched on the sides. Front and top portion are virtually distortion free – perhaps a proper snading should improve the looks…
Decals are kind of minimalistic, but I seriously doubt anyone bar Revell issues of the aged ESCI kit provides more.
