Masking the bottom. Revell Basic Paint used as a filler/primer in order to make the wing-fuselage joint flush (it has a noticeable step if left by itself). Work also done on the cowling as my riveting attempts left it damaged…
Also, notice my first attempt at filling the giant step left behind by Revell in the gear wells in pic 2. The “spur” on the right wing is already missing – three attempts to restore it would follow.
Image 3 shows the kitty hidden from the Revell spray, which was used to cover the puttied-up self-made casing chutes – they were too uneven and not really aligned.

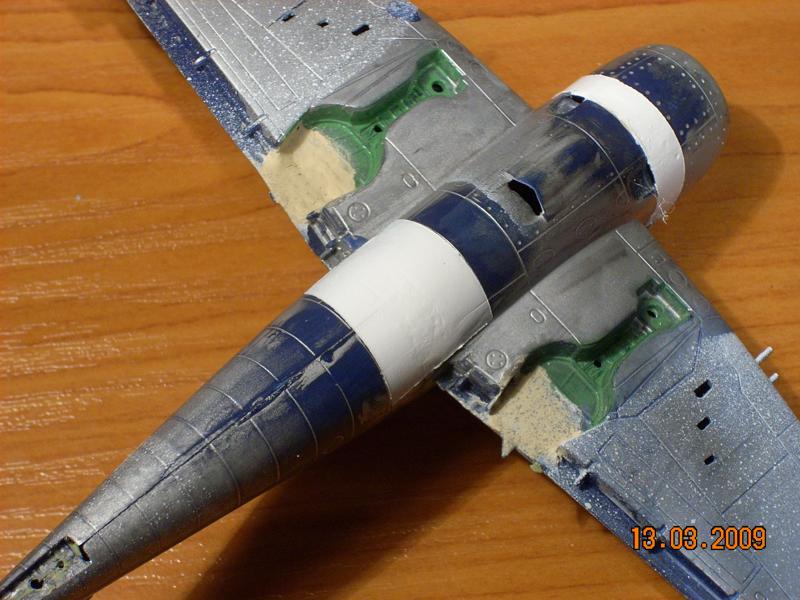
The next two images show the Hellcat after a number of sandings and repaints are done in order to reveal (via the paint) and then hide (via sanding) the damages from all the experiments. Pic on the right displays my main conversion work – the oil radiator vent on the belly has been cut out, a flat piece of plastic was cut to shape and glued in. Next I used Milliput to build up a streamline-shaped belly, flush with the rest of the plane. I then used a cylindrical bit to create the air tunnel from the oil cooler. Revell basic paint (the white stuff all over, incl. ejecting chutes) again hiding the Milliput works.
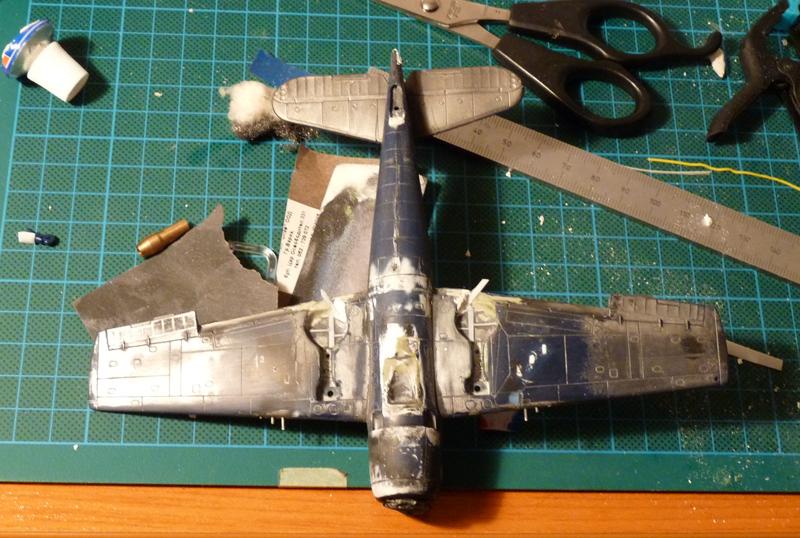
See the wheel wells? All filled up after several different types of putty, sheet plastic and all that, and “detailed” if you would… Also note one of the attempts to restore the fang on the right wing – I don’t think that’s a successful one.
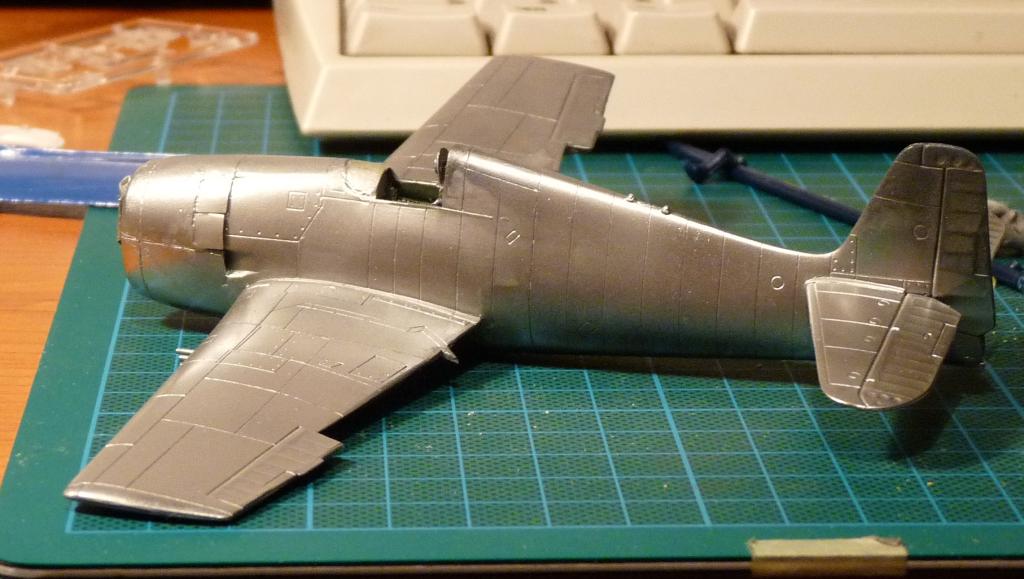
Third pic shows the bird finally metalized.
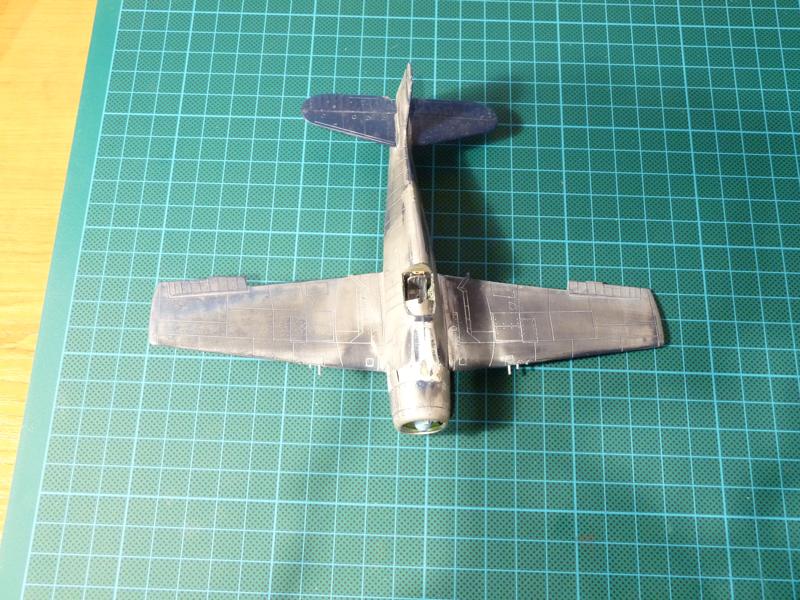
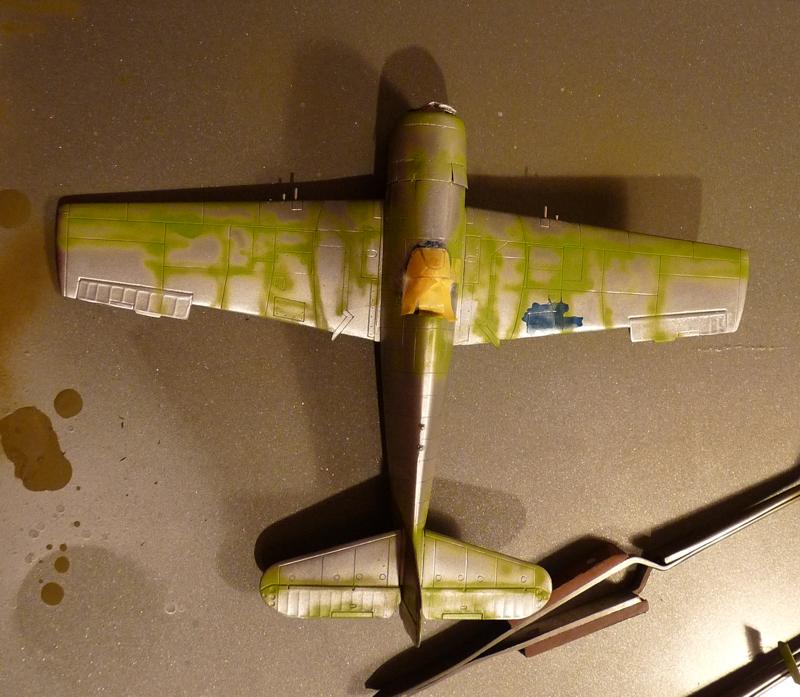
A few prominent lines were traced with a mix intended to mimic Zinc Chromate Green. I actually airbrushed the mix over the entire wheel wells.
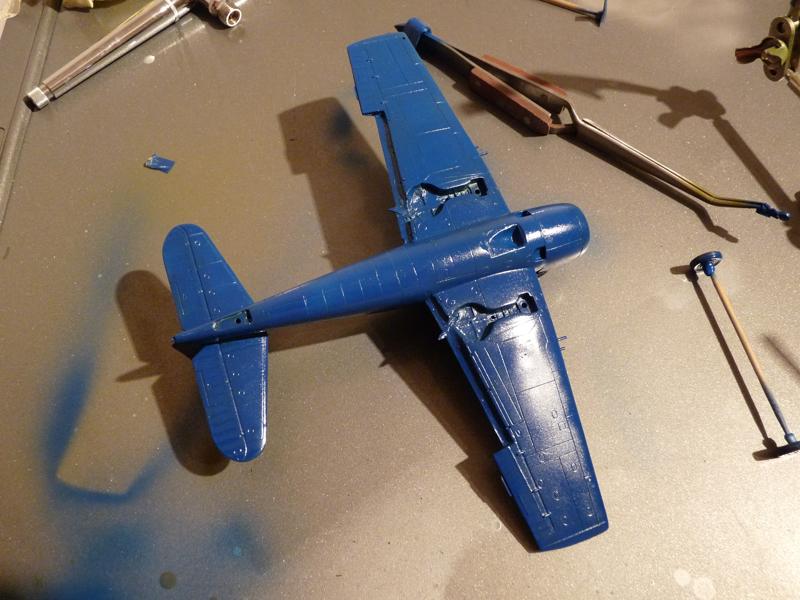
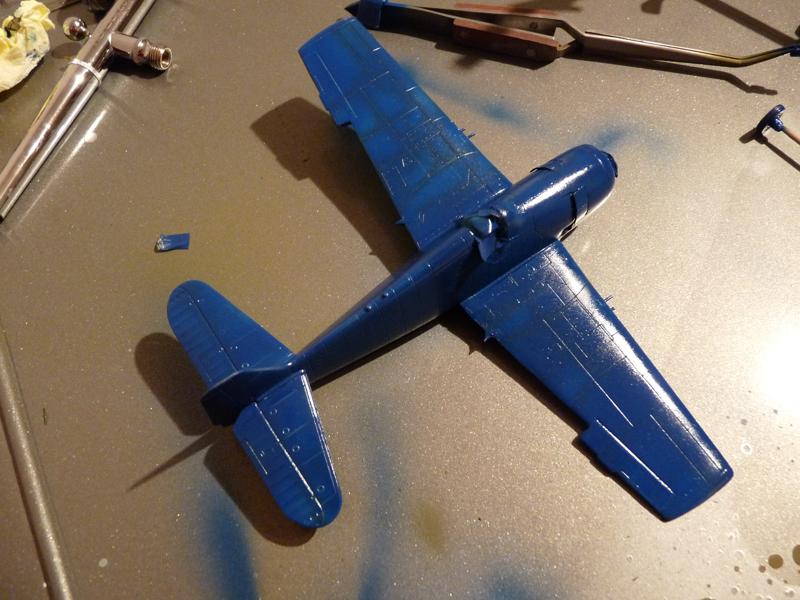
Then the bird received a coat of something rather close to Blue Angels blue…
That’s it for tonight – details and probably finished bird coming soon.