A word of warning here – this kit is not something you would use for a quick build. I found that the hard way as you would find out below.
Due to the zimmerit being molded in the kit parts the hull is comprised of new parts. Whether the “smooth” Panthers fit OK I am unaware as of now, but this one certainly had issues with a bunch of shims required all around the front and back to make gaps go away. You can also see the large gap around the ball MG mount – still not filled here…
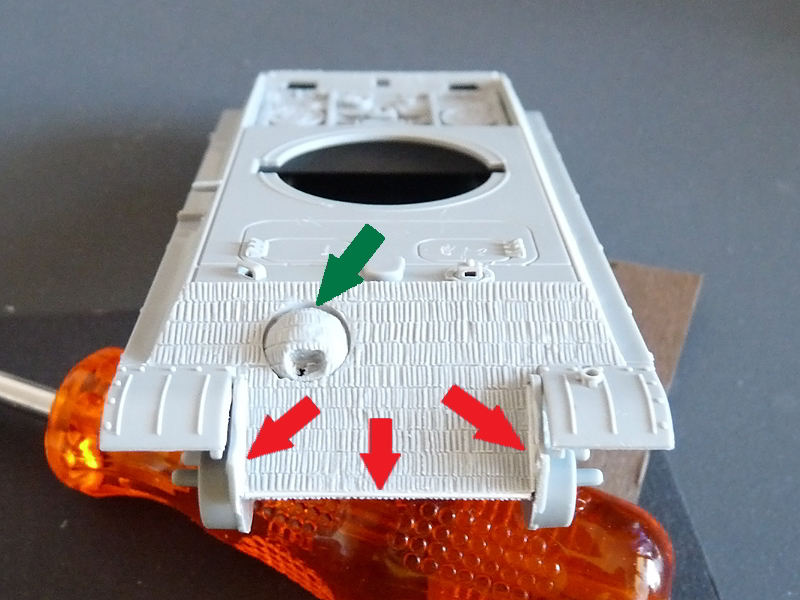
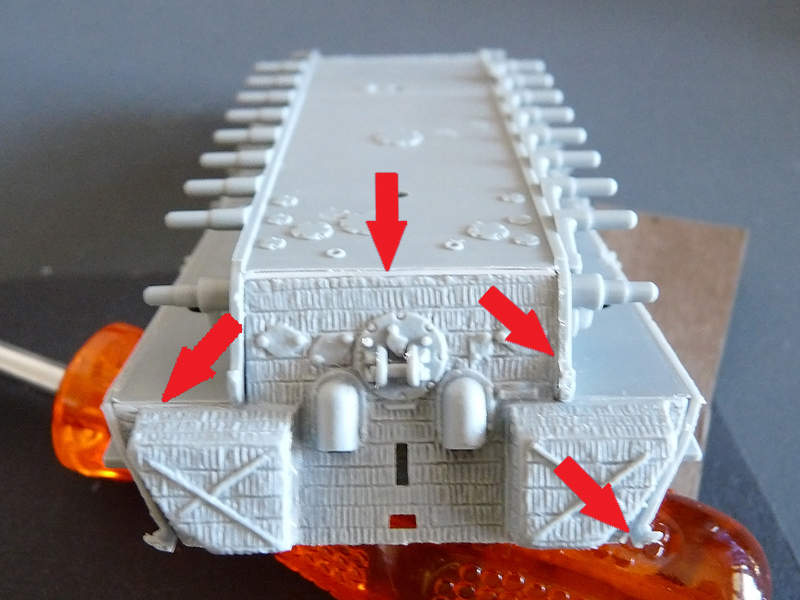
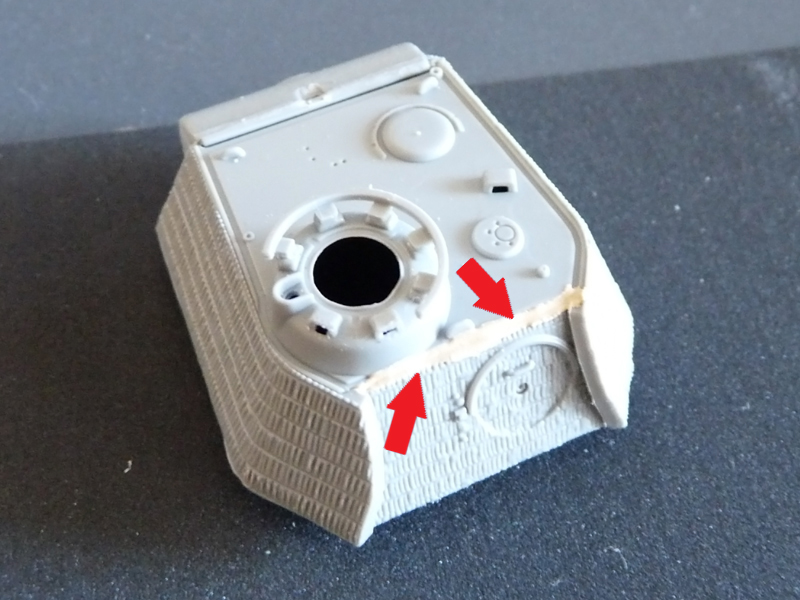
The turret’s back wall also needed some filling as it was a tad short and created yet another gap…
The kit offers a detailed motor deck – engine top and cooling fans are all present. For this detail to be seen Dragon has provided a separate engine inspection hatch… that does not fit. I fabricated a new one from scratch plastic after the hinges and the air intakes were salvaged from the original part.
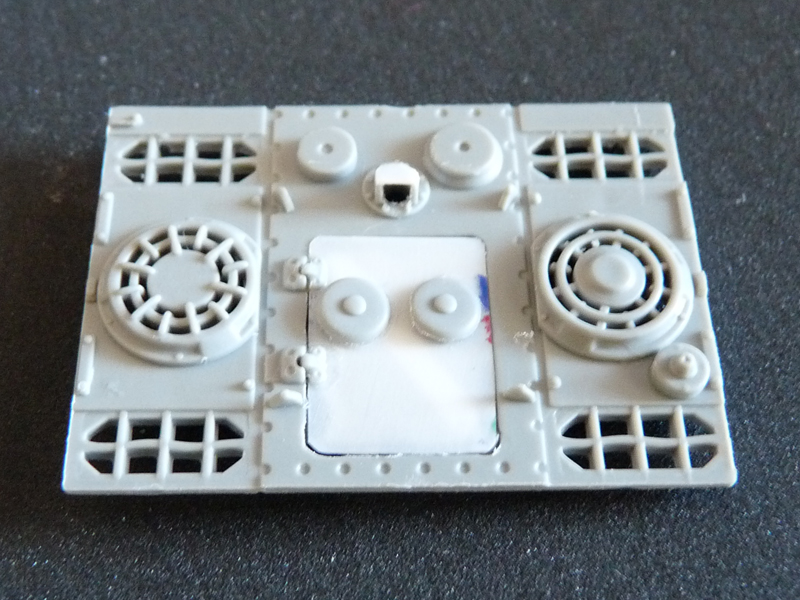
I’ve also drilled the aft intake (which is molded solid) and added a new cover for that.
Next thing – side skirt supports. These were cut off and new, much thinner ones were created using brass and plastic.
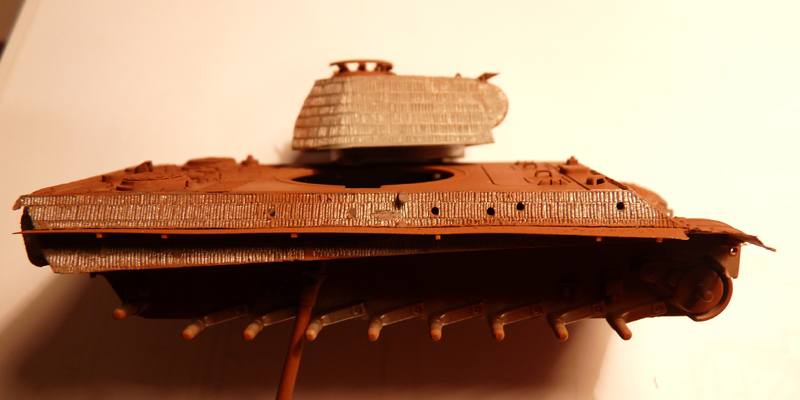
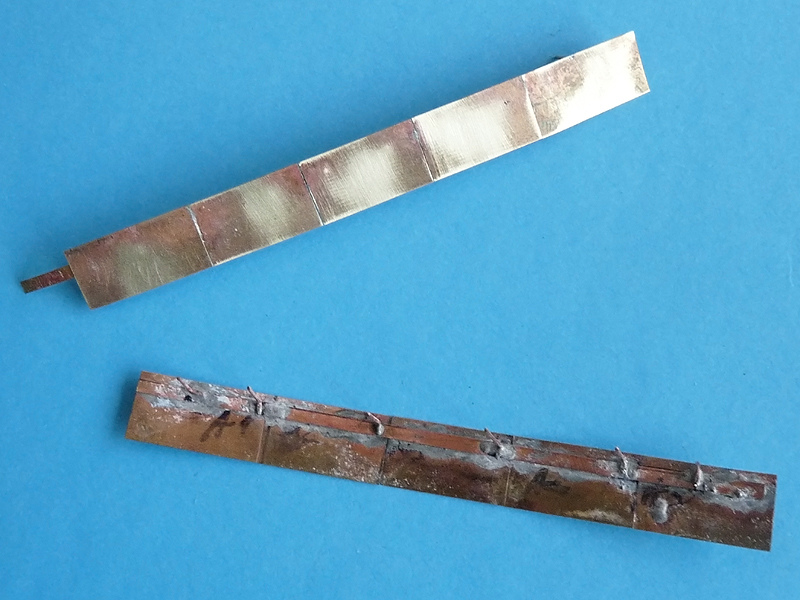
Next step – replace the side skirts themselves. Again, brass scrap to the rescue. A thin line was soldered to the back to help align the separate screens and pieces of wire were used for the attachment pins.
Time to add the rest of the details and paint the camo. I picked the LSSAH scheme from the summer of 1944 in France. No crosses, no numbers or tactical symbols on this particular tank as shown on the painting guide.
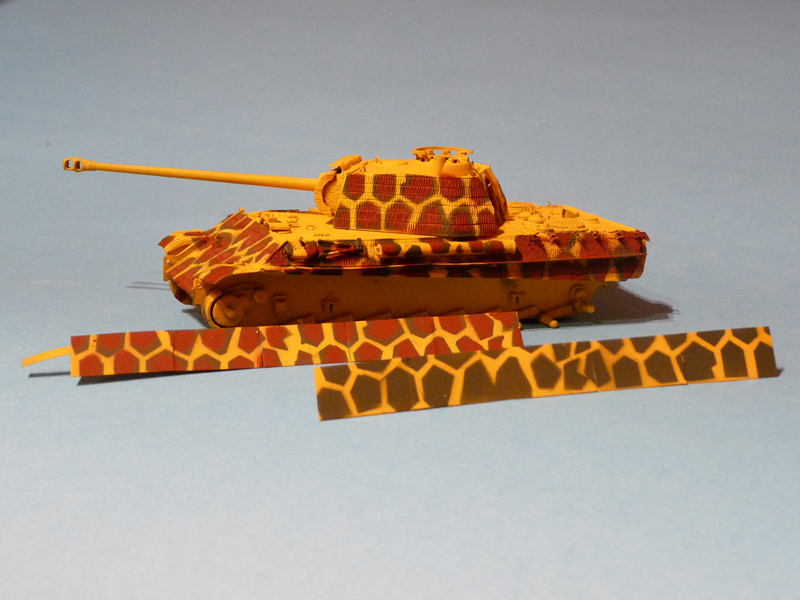
How I did this:
– I scanned a book on German tank camouflage;
– the image was inserted in Photoshop and each of the colors traced in a separate layer;
– each layer was then exported to a different image;
– the camo layers were printed on plastic foil;
– each spot was traced with sharp #11 blade;
– Revell Green 65 was sprayed as a first layer through the mask;
– Revell browns (38 + 83) were sprayed as a second layer through the smaller mask.
I imagined that the top could have used a bit less attention so I masked the sides…
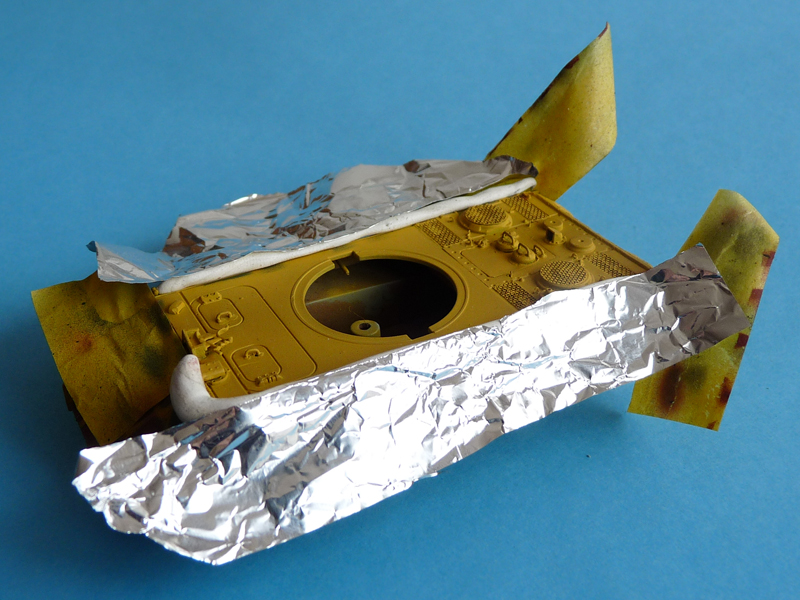
… and painted several larger spots freehand to simulate shadows and break-up the angular lines of the tank. I did the same with the turret top as well.
The colors made for a really high contrast scheme, so I toned them down a bit using a thinned mix of sandy yellows. Next I added the wheels, tracks, screens, etc. and followed up with detail painting and chips.
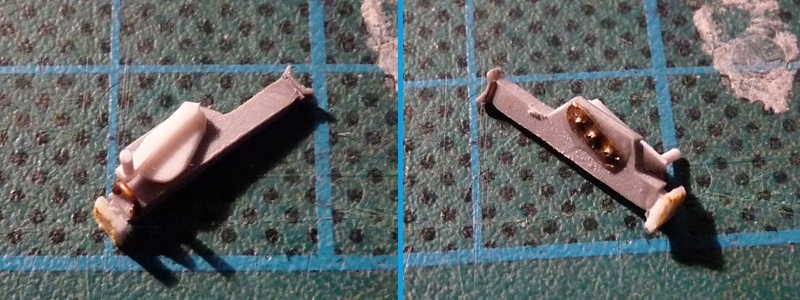
I didn’t quite like the jack, so I made a new one from scrap pieces. Here’s the result:
I also replaced the exhausts with copper tube that I first heated using a cigarette lighter until red, and then bent. The shields are brass scraps cut to size.
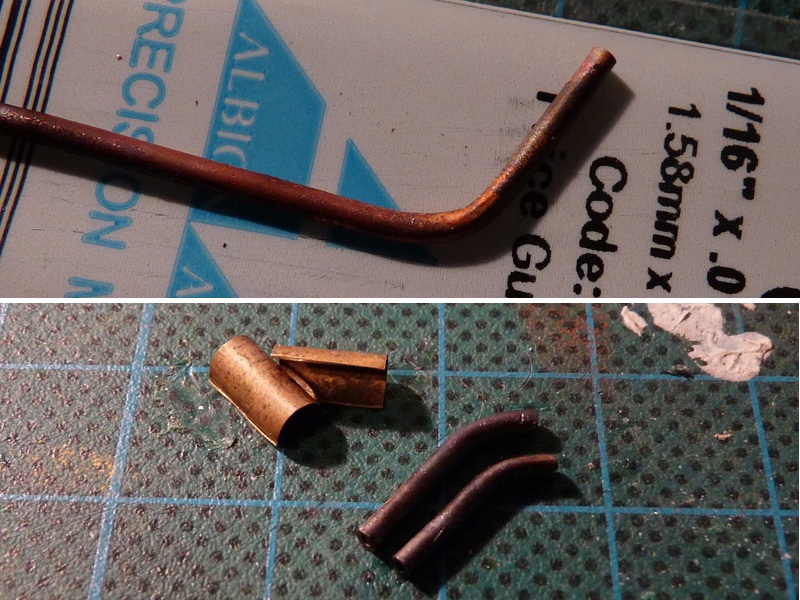
The replacement tubes are a nice color, too – just coat them with matt varnish. Much nicer than Dragon’s kit parts, which are molded solid. I feel they should have included the shields as PE parts…
The replacement shields and jack were painted and superglued in their respective positions. The new exhaust tubes were drop-fit with a bit of epoxy glue. Next installment – the finished article.