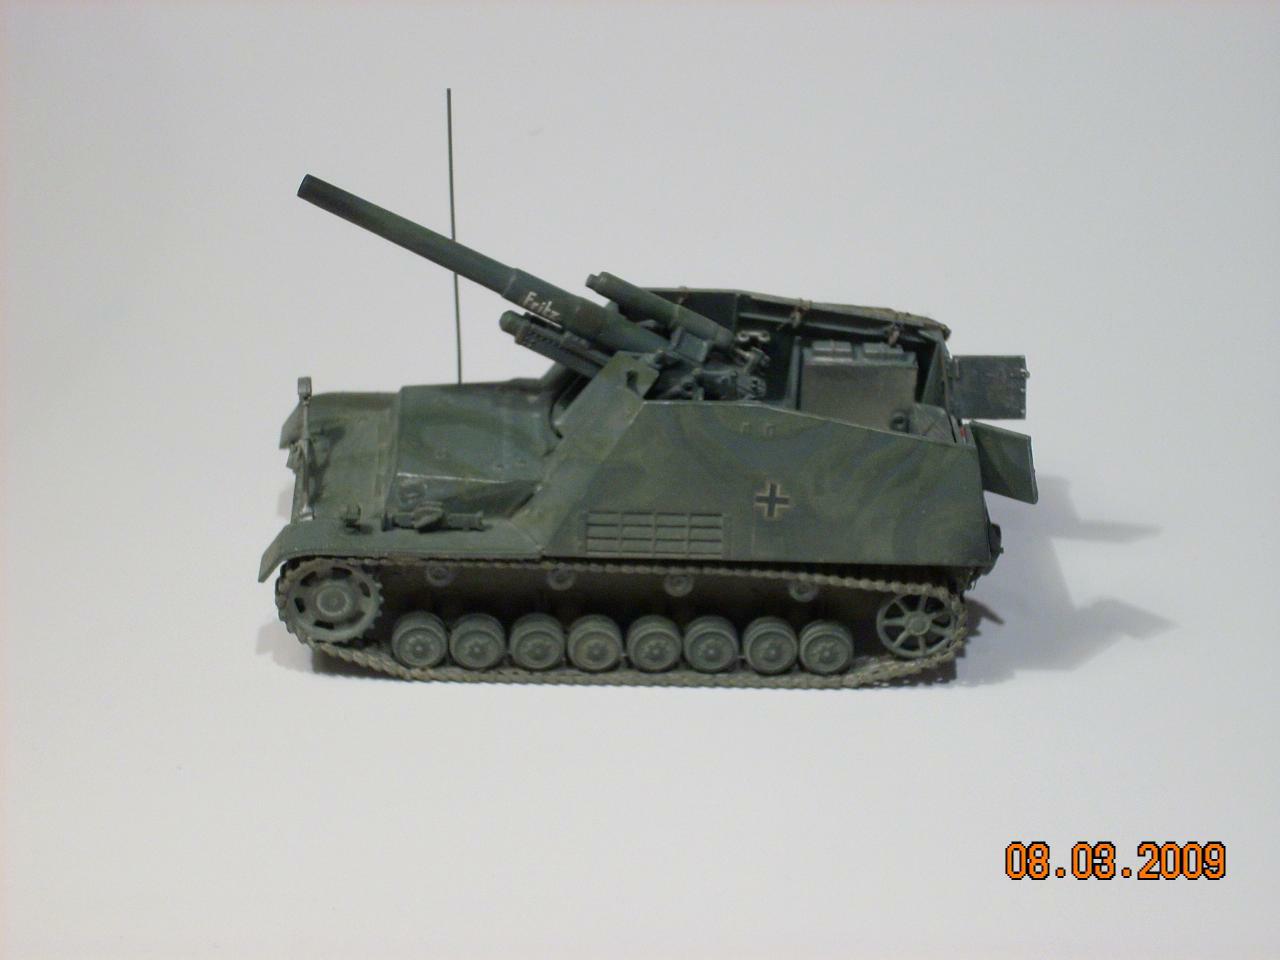
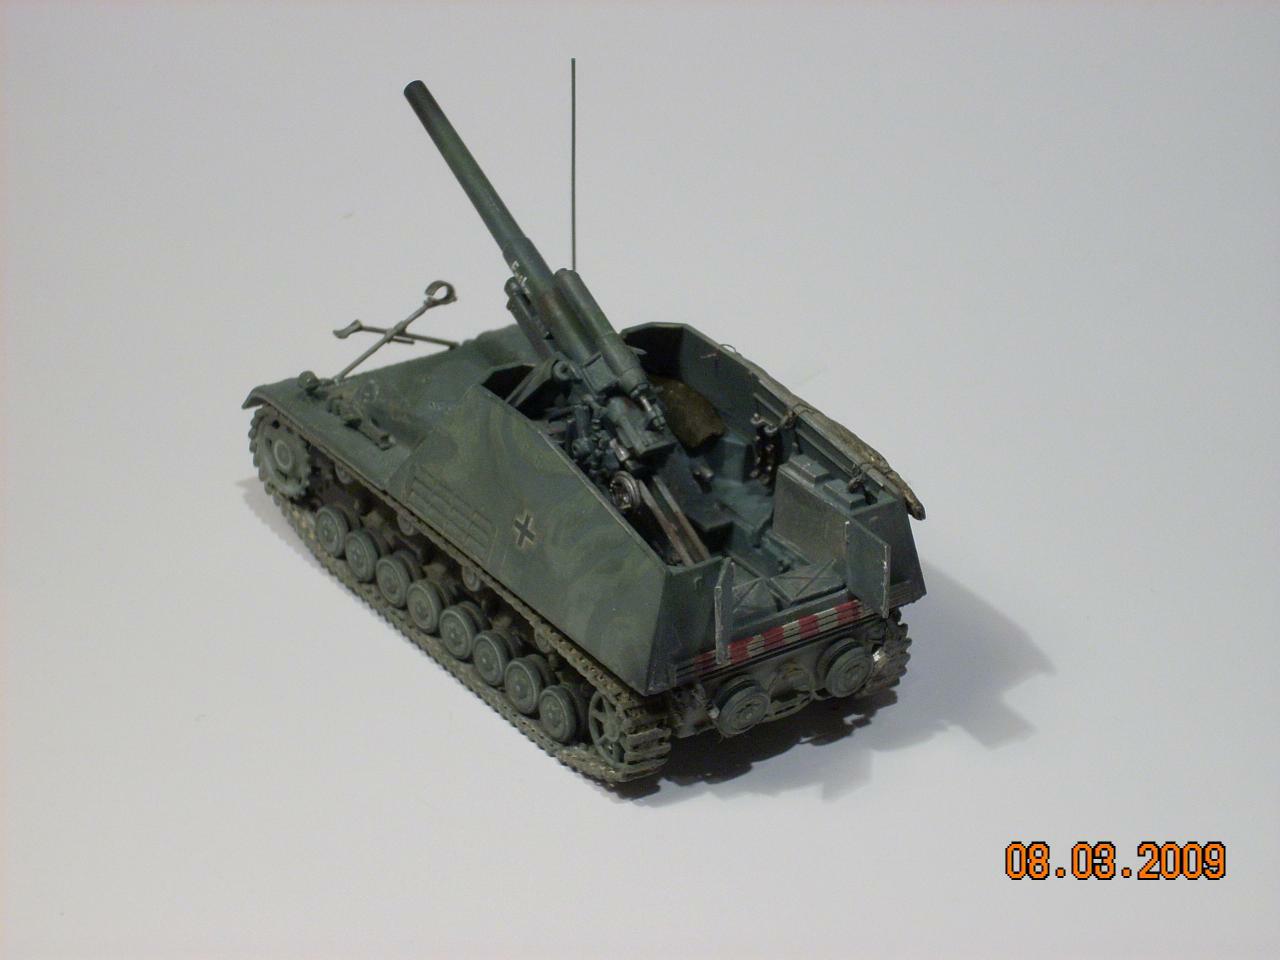
Below is my rendition of Revell’s 1/72 Hummel, shown in an early camouflage I once saw in a Russian (back then Soviet) magazine. The vehicle profile featured an interesting scheme of Panzergrau with wide hand painted (or sprayed) green “spaghetti”. When a model of the SPG showed up in a local store I decided to recreate the camo as close as my abilities allowed.
Since the build was going to be a kind of sentimental journey I decided to do the Hummel justice and use the opportunities I believed the kit offered – give it a little extra “character” than the box and instructions suggested it might have. I studied the kit reviews and a few build articles, so no surprises were expected. Out were my cutting tools and so – the build began.
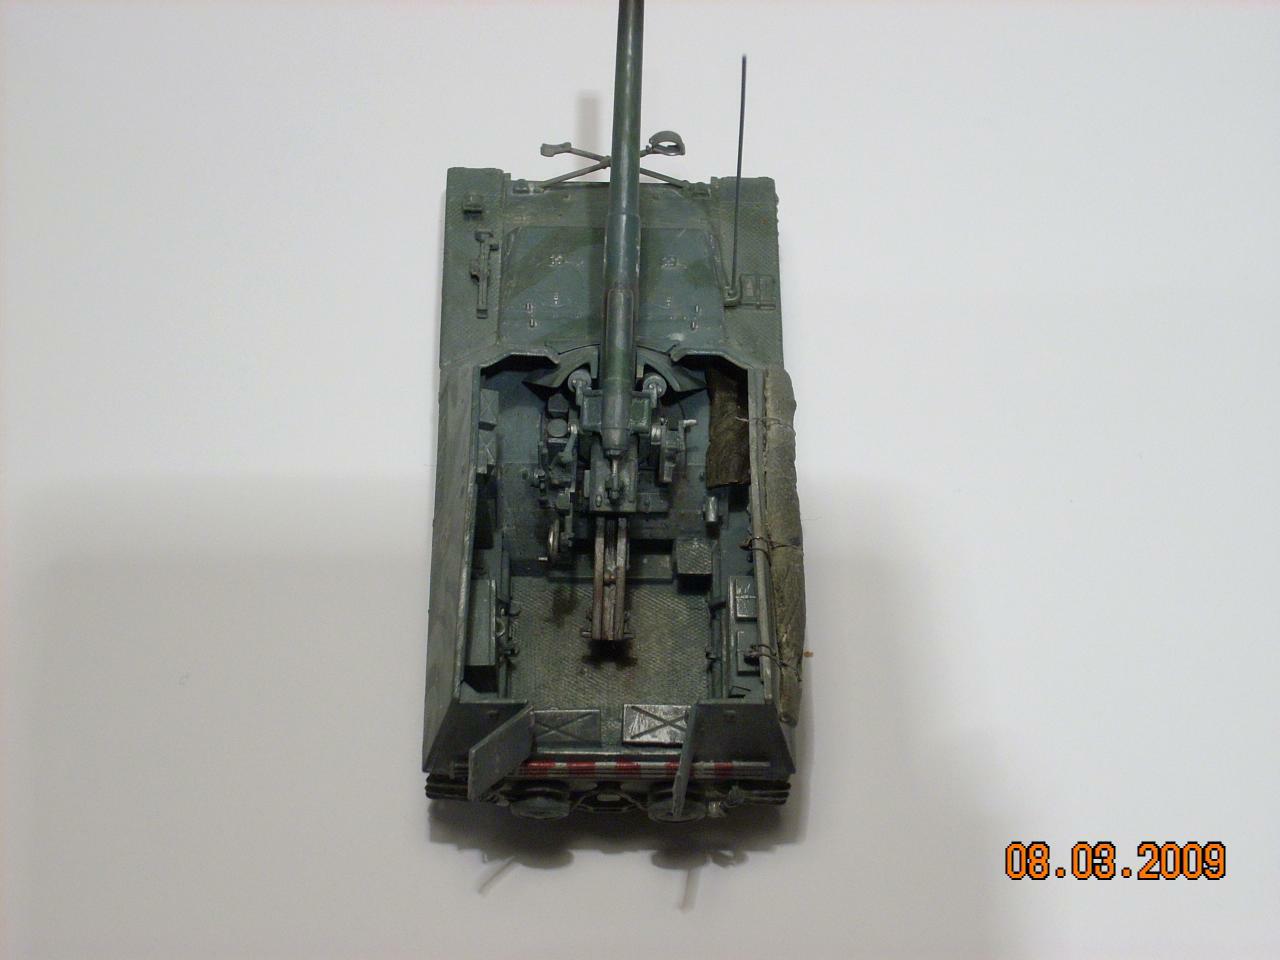
I started off with constructing the lower hull and adding the details in the fighting compartment. The ammo storage on the right board was closed with a piece of beer can, the two boxes at the back left open. While the glue on the hull was setting I worked on the plethora of wheels that the Pz. IV-based vehicles feature. Leaving them to the side (without gluing them to the suspension arms though) I got on with the gun.
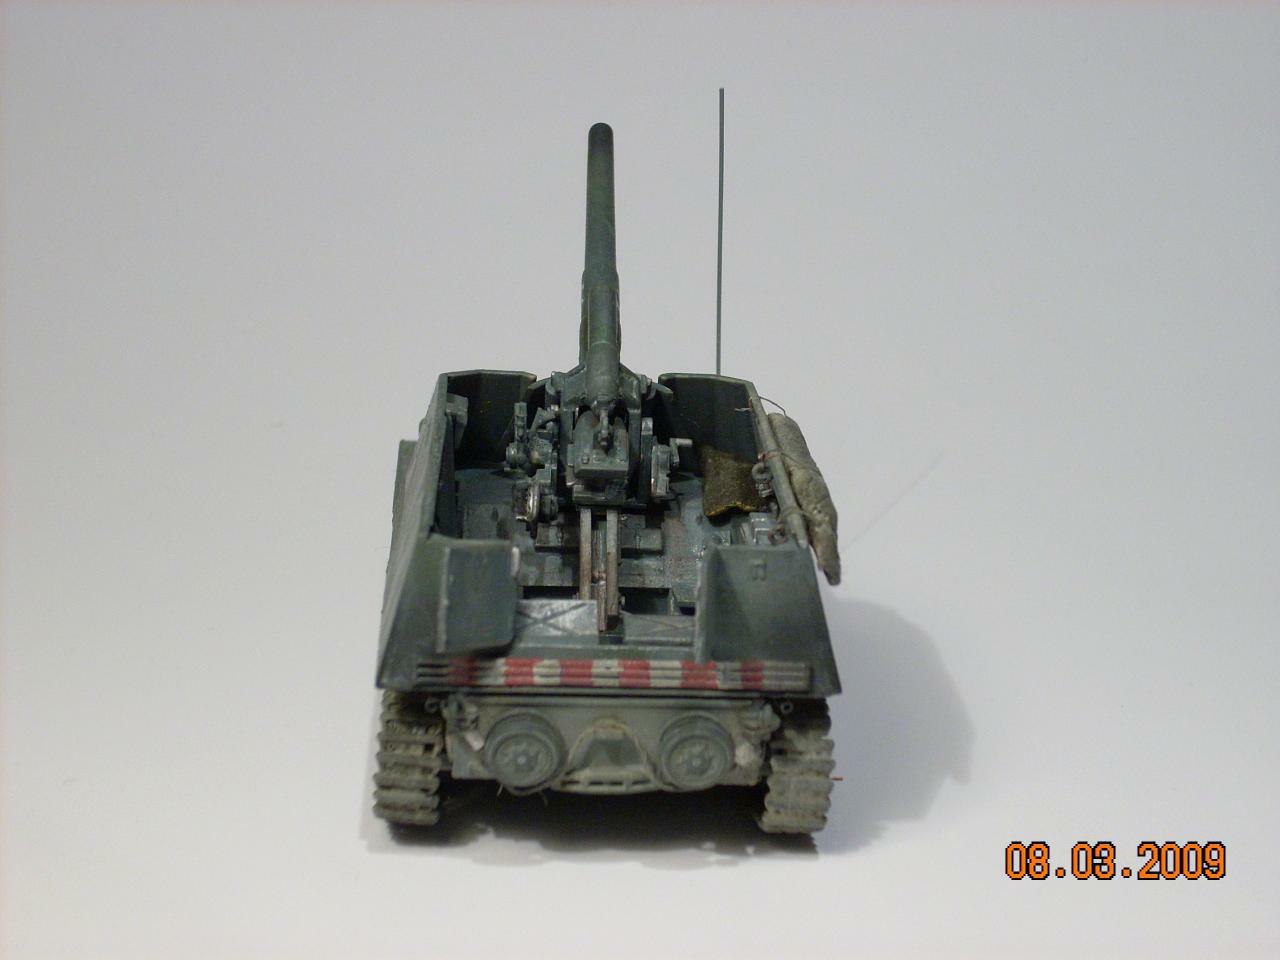
The details were crisply moulded (no flash) and this made assembling the lafette extra easy. I left the cylinders for vertical adjustment off for the time being as I felt the gun deserved a better faith than being locked on to the travel support. The gun tube was glued in place to the upper lafette, which allowed for vertical movement (as even Revell suggest you don’t glue upper and lower lafettes together). The cylinders for vertical adjustment (the two parts numbered 70) were cut and extended by about 2mm each, using plugs of stretched sprue. When doing this be careful to observe the position of the locating U-shapes at each end of the cylinders as they set the correct position for the gun.
You can’t really see the extensions in the images below as they are now hidden behind that round shield, but anyway – I know they are still in place. After drilling the bore with a 2mm bit I put the gun assembly to the side and scribed off the doors from the back wall of the fighting compartment using the moulded lines as a guide. I was willing to thin the area behind the cooling grills on the side walls enough to be able to see through the holes that’d appear, but while carving away the plastic from the inside a few mistakes proved that idea was too dangerous – the grills would rather break than surrender. If you’re in to work on that area you’ll be better off by either replacing the molded-on grills with etched assembly (as in DML’s kit) or a grill made of scrap plastic.
References how that the correct place for one MP-40 SMG is on the molded-on support of the left sidewall, facing aft. Instead Revell suggests you placed two MP-40s on the back wall, flanking the doors, and glued holders for two M-98 rifles where the SMG should be. You’ll notice that if you decided to leave the ammo boxes below the doors open you’d have to glue the SMGs in a way that’d leave their barrels standing proud over the edge of the back wall. I think that setup’s wrong. Anyway – I had promptly glued the M-98 stock supports and retaining straps according to the instruction and decided to improvize. I placed the MP-40s on the right sidewall, in front of the ammo storage. The three boxes on the left wall were glued without problems.
Next thing – gluing the walls of the fighting compartment to the hull. I started off with the side walls, then quickly added the back one to set the correct angles. Leaving the two front pieces that surround the gun till the end made for rather tricky fit – make sure you dry-fit these before you place any glue on them. Enter the fenders, with jack and light quickly following.
After measuring I discarded the exhaust pipes and produced new ones from solder wire, leaving some extra length and marking the positions for the locating pins. I inserted one end of the solder pieces in the enlarged holes where the exhaust should be coming out from the hull, glued with CA, then bent the solder to follow the sides of the hull – looked like tubes to me! A loop of fine wire where the second locating pin was on the original details secured my “exhausts” to the Hummel’s body. I drilled the “pipes” using 0,6 mm bit in my improvised pin vise.
Paint! Pure Revell 79, a Humbrol brush and thinner from the local hardware store in action. Wheels still separate, as a very large number of them still needed extra treatment for the rubber – old faithful Revell 78 to the rescue! The green lines were made using a Humbrol acrylic formula, part of some airplane set bought years ago. It required at least two passes to cover good enough, so the loops on the superstructure were kind of lost after this intervention.
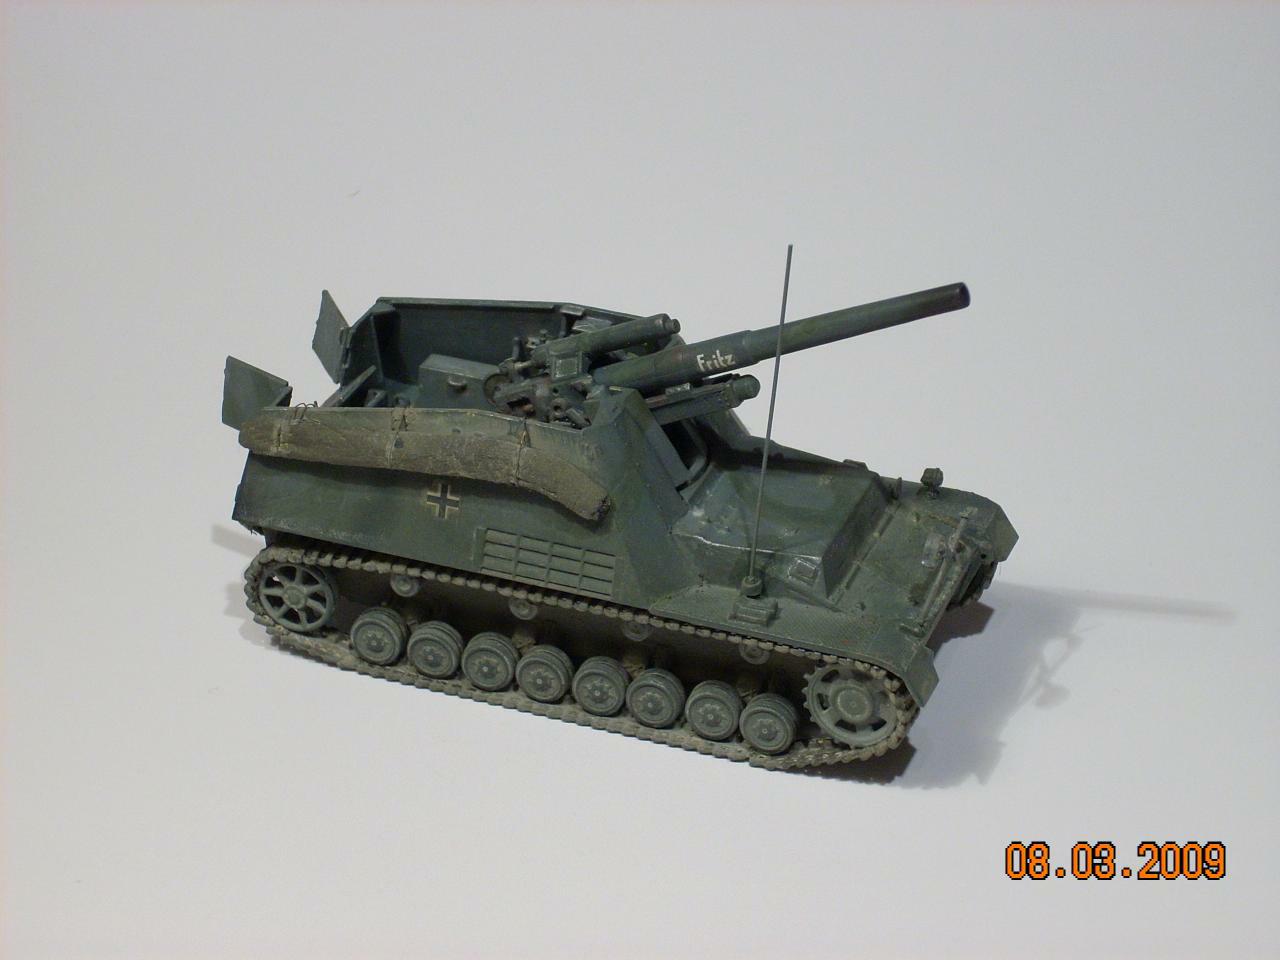
Once paint is dry along comes the “mud”, represented by a brand of Italian woodworking putty which continues to elude me. The cool thing about is that it is very fine, can be dissolved by water, easily distributed and removed when needed. I use a stiff brush, dipping it into the diluted putty, then pressing it vertically against the hull sides.
Wheels are glued in after this ritual, because otherwise you wouldn’t be able to dirty-up the hull properly. After they are aligned and dier up completely I installed the “link and lenght” tracks. I use light metal color on the latter while they are still on their sprues, then some rust, a thin black wash, followed by a swipe with paper towel and light sanding so the metal below them pops up. When the whole affair is dry enough I detach them, touch up where the sprue gates used to be ane glue them with modelling glue over the running gear. I am still far from doing them straight enough as can be witnessed on those last two shots.
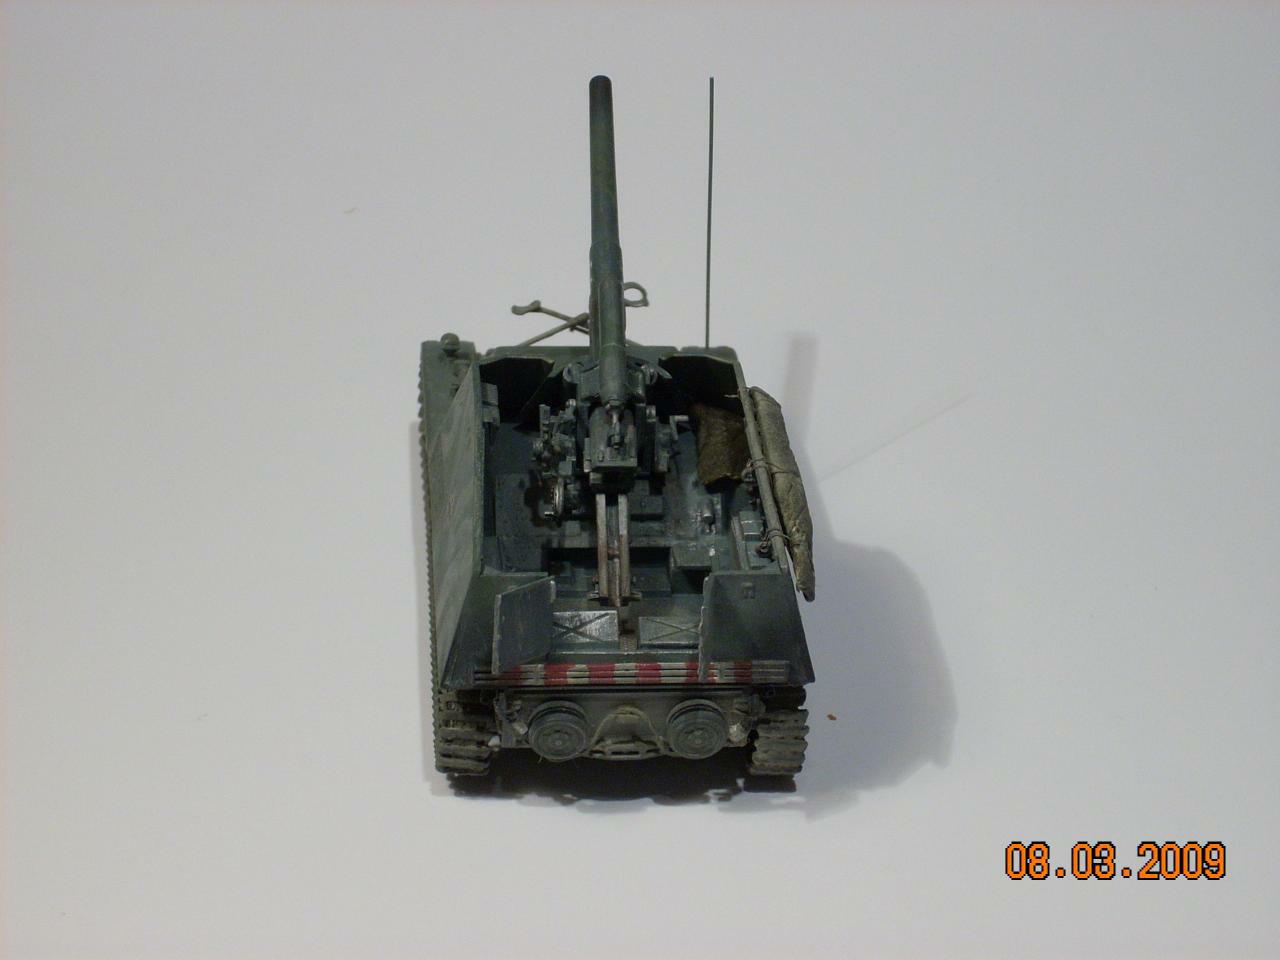
Now some “mud” over the tracks. After it dried I drilled the antena base and made the stick antenna out of a piece of stretched sprue – a bit on the thickish side, really. Final touches – the travel lock, spare roadwheels, a scratchbuild rope with loops and those red-white-and-metal-colored rods below the back entrance. Later on two scratch-made covers were added, made from two-ply paper towels, “impregnated” with dissolved woodworking putty and then rolled, pressed, shaped and painted. Be aware that when drying they change shape.
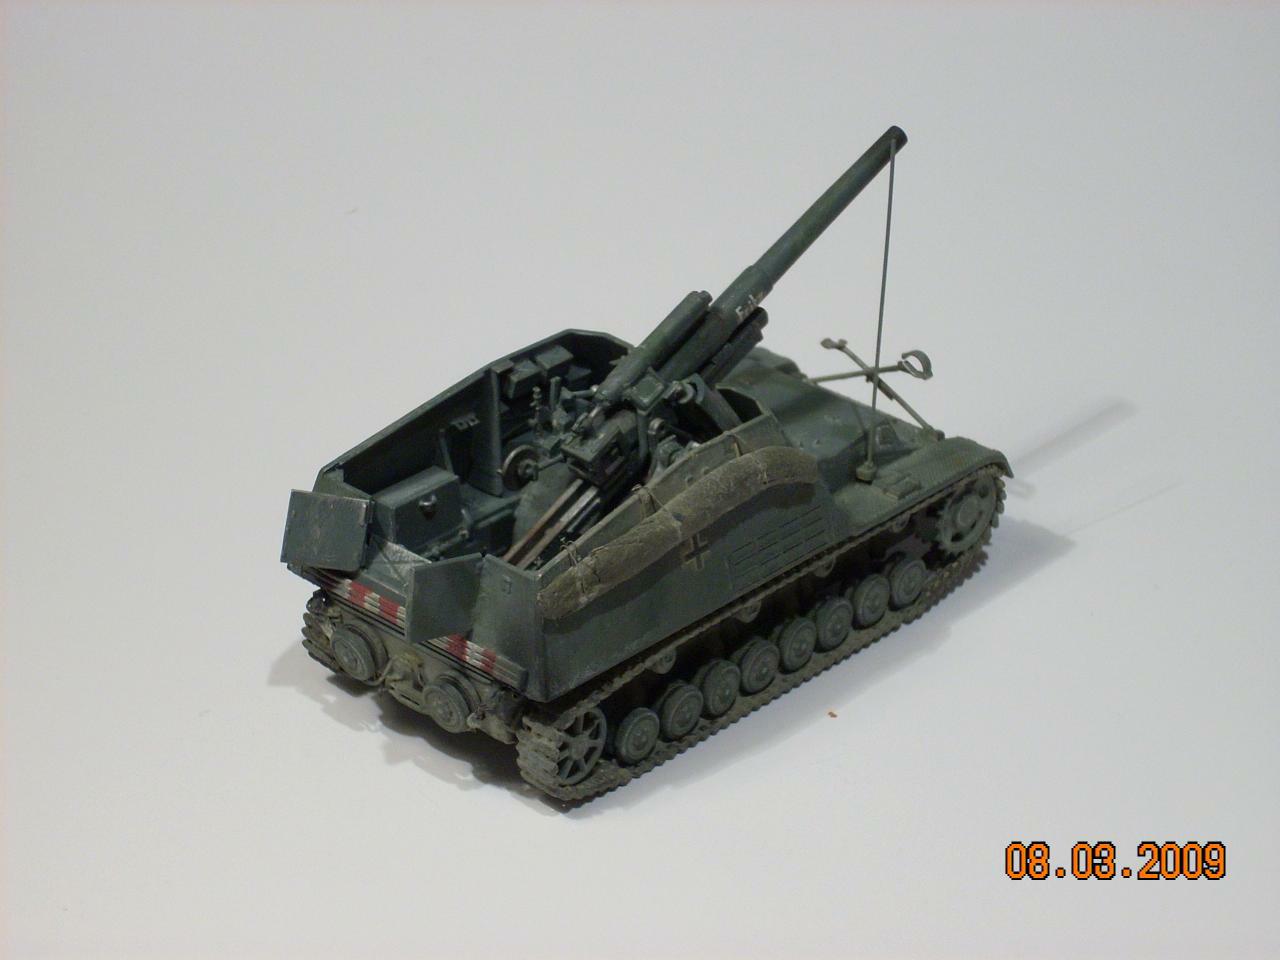
I lightly sanded some edges to let the metallic base show through, in an attempt to display wear. The whole composition was then covered with dry Agama pigments (I actually did that twice) and sprayed the whole Hummel Revell 02 mat lacquer. Regrettably the mat finish basically flatted the green so much it’s hardly noticeable on the sides, and I’ll be re-visiting the camo sometime soon.