In the first part of the build I basically completed the lower half of the vehicle and the cargo bed. Back to the crew compartment.
The AT-T’s front lights reside at the very front of the bonnet/hood on metal supports. In the kit these are PE parts, which supposedly butt-join the resin engine compartment, and on top of which the lights are glued. Images of broken-off detail in my mind lead me to soldering a piece of wire (in red) through each support like this (looking from the front):
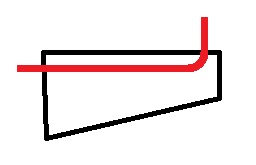
This would make the whole thing a bit stronger.
I also made the light guards from the same gauge of wire. Here’s the result (other details added to the cabin already):
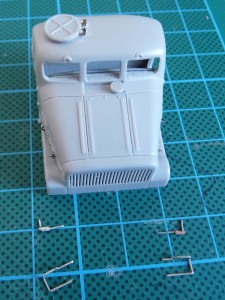
Later on I removed the flimsy locks for the engine side panels, and filled the gap around the instrument panel with thin superglue.
As doors were separate, and I was unwilling to fill and sand around them, I elected to leave them open. The hinges on them are prominent enough to not include, so using the provided PE and pieces of wire (in red) some more noticeable details were prepared:

Doors detailed (handles, window winders, hinges), and glued with epoxy to the cab. Again, a layer of Russian Green finishes this stage.
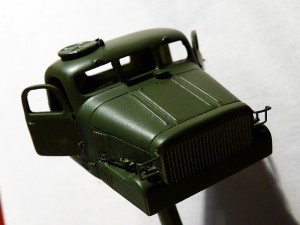
As you can see the hinge line on the hood is recessed, but it was raised on the real vehicle. Stretched sprue to the rescue. Result below:
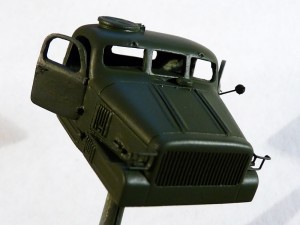
I added a scratch-built mirror to the driver’s door. Next some weathering effects were added, starting with a lighter color, airbrushed down the middle of panels and other areas of interest.
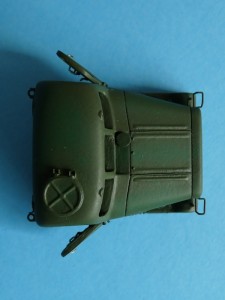
More variations were added, and the spots were blended with a mix of semi-gloss coat, mixed with the base color. Onto the windows – some transparencies are smaller than needed, others are larger.
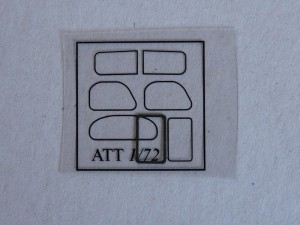
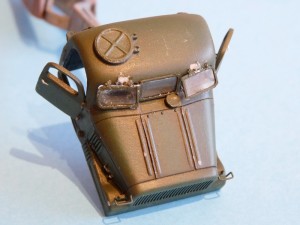
Windshields added. The two side panels are hinged at the top.On the kit the attachment point is too close to the center of the cab, so I removed those and made new ones from thick aluminum foil:
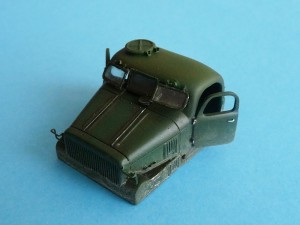
With touch ups done a light spray of dirt on the lower half provides grip for the weathering pigments:
As I was working with resin tracks for the first time I took every precaution to avoid messing them up. What I did was adding all the wheel to the suspension using UHU Tac (a German product similar to Blue Tac), then copying the pattern they created to a sheet of paper.
I then transferred this to a piece of 2mm of Forex Classic – a foamed PVC sheet material. I cut out 2 shapes, and added a small piece in between to use as a spacer – the track’s guide teeth would fit in the middle.
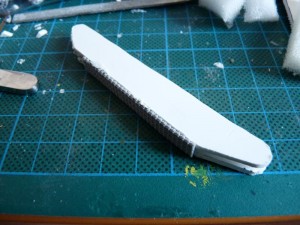
I placed a straight section on the template using some UHU Tac at the bottom, fixed another right next to it, and set it for a few seconds in hot water (not boiling though). The resin became pretty pliable and wrapped around the template nicely. Here’s the result:
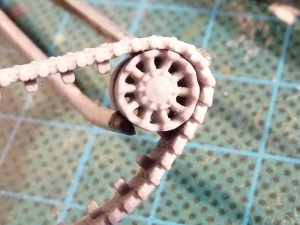
I expected this to be much harder 🙂 and the track pattern to be stretched and deformed. I was quickly proven wrong:
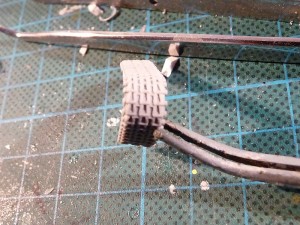
The warpage you see is a result of misshapen template half.
Tow cables: kit eyelets drilled through and pieces of 0,6mm RB Model steel rope fixed in with superglue.
Since the twisted steel wire is incredibly tough opponent at even 0,6mm you have to heat it up till it’s red, then let it cool down slowly. This allows for the wire to be bent in shape and cut. It gets nice, even layer of patina and you can leave it as it is, just varnish it.
However, since I used X-11 Chrome Silver on the eyelets I decided to dip the cables in a dark wash.
Before additional weathering:
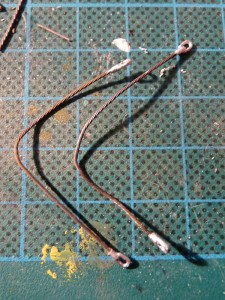
And after:
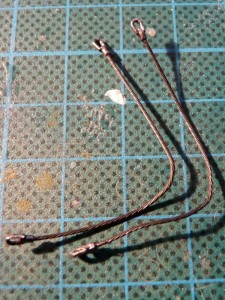
I am using undiluted drawing ink here, just dipping the cables in the bottle and placing them on a paper towel – the excess is mildly drawn by the hygroscopic paper. Be careful, as the ink is a really potent colorant.
Next: the completed article.