I started construction with the chassis tub. First thing to do is gluing the back wall. Next I cut the suspension arms out of the casting block and it turned out the holes for their pins are much too small. Off with the pins, arms are drilled through, as is the tub itself – naturally observing the locations of the original holes.
I decided to use thick copper wire passing through the whole tub to make new pins. This would ease me in terms of affixing the pins and make the whole thing stronger.
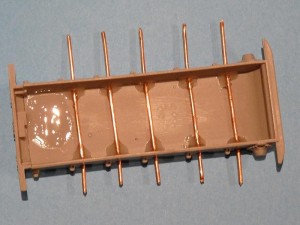
“6 minute PRO Epoxy for R/C models” by Great Planes has been used. The glue works just as advertised. Just make sure you are working in a well-ventialted room 🙂
I left the wires long enough so I can bend them as required – doing so with 2mm-long protrusions would be next to impossible. Once ensured the pins were perpendicular to the tub sides I cut out the excess. Here’s how the tub looks now:
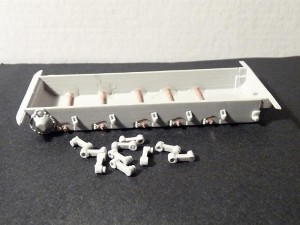
Next thing was gluing the arms onto the hull – again using the same epoxy glue. As you can imagine hand-made pins and holes are not exactly the best thing you’d rely on for self-alignment…
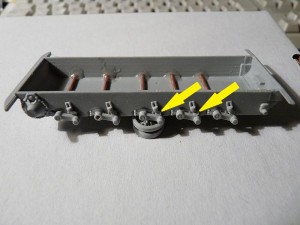
…so some spacers were quickly “constructed” using round resin sprue. The kit resin allows for much cleaner and smoother cuts than plastic, so preparing 10 thin pieces was a matter of seconds.
Next thing was gluing the wheel halves together and trying to test-fit the wheels on the suspension arms. The fit was quite tight, so I used a drill bit to make the holes bigger.
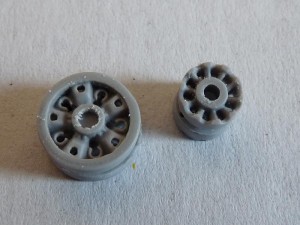
This would be helpful if suspension sat too low later on, or if you decided to “curl/sag” the threads.
I was itching to try my hand at the complex-shaped PE parts, so I switched my attention to them. Those ice cleats ( the smallest items in the pic) were a true nightmare…
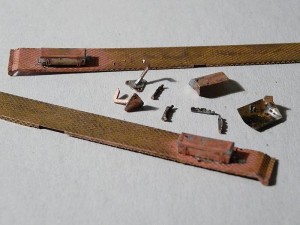
Soldering allows you to actually use the PE parts as constructional elements, not just decoration. If you clean them properly and use proper amounts of solder the result WILL be better than super gluing.
Moving over to the cabin I added pieces of insulation to the driver’s levers to improve the ergonomy, as the PE details are flat.
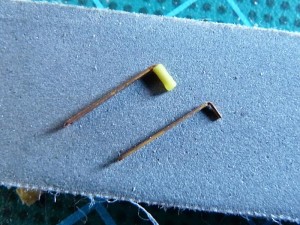
I also soldered the pedals to pieces of thin wire to improve their mounting capabilities.
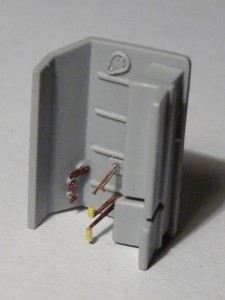
The controls were the glued in.
I went on to work on the cargo bed. Since the personnel benches are connected to the casting blocks directly via their front boards you have to very carefully cut them out. I ended up replacing the whole first board on all three benches with Evergreen profile.
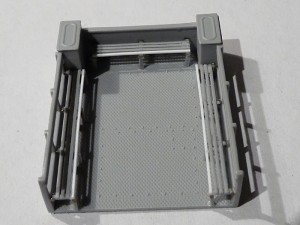
Measure the bench supports carefully so you can have them even throughout. The PE hinges are tiny and prone to loss, but are snug fit, which greatly speeds up the process. Again, benches are mounted using 6 minute epoxy.
The back board of the cargo compartment is glued on. Ice cleat racks are far too tall as seen below, and I found that out after constructing all 6 of them.
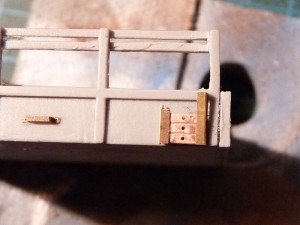
I ditched the brass items and used pieces from a 1mm plastic sheet for the “cleats”, and gluing aluminum foil on the edges to simulate the racks.
My next step would be adding the mudguards over the tracks. I cut out the contact areas (see below), which were pushing the guards too far out.
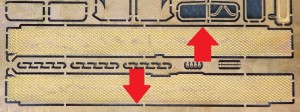
Now no true support was available for the mudguards, so I glued the cargo bed to the hull tub, and then the mudguards to the cargo bed and the front and back bumpers.
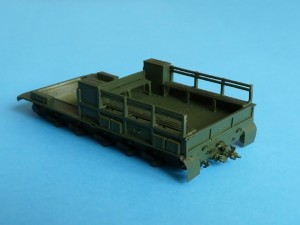
Mudflaps, winch, towing equipment and steps/guards added.
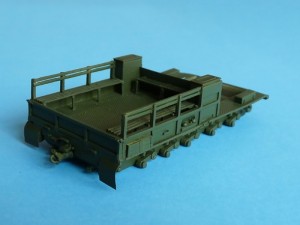
Paint is Model Air Russian Green 71017 by Vallejo (first time using acrylics for painting a whole model). The color went on beautifully after cleaning the model with warm water and detergent, and I really like how it resembles the real thing.
To be continued.