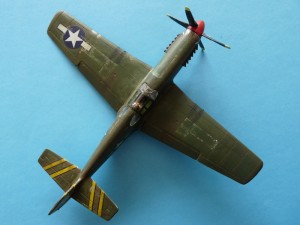
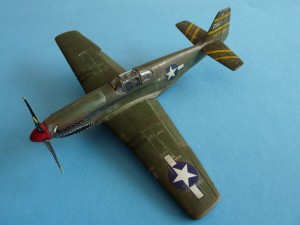
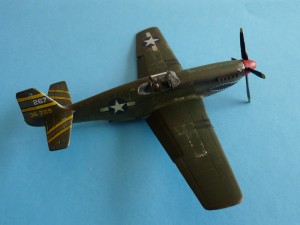
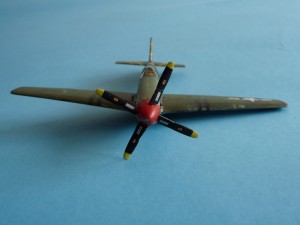
“An old soldier, but not faded away yet” – that’s the way the fate of this kit can be summed up – at least in my own collection.
It all started up about 5 years ago with the impulsive purchase of the kit. Nice details, simple construction, interesting decal options (both shark-mouthed), and a comprehensive weapon set at a very reasonable price. A few months later it was destined to become the cure for a modeller’s block. Then it was cutting the flaps out, then some scratchubilt details in the cockpit. Guns are replaced with needles of two different diameters, filling and sanding of fuse seam are in order. So far so good (that’s middle of 2007):
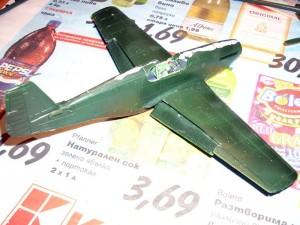
Some time later a botched-up metal coat leads to a harsh paint-stripping procedure, which leaves cracks in the plastic (mostly wing top surfaces) and pretty much destroys gear legs. The model is set aside, then some time later assembled in “gear-up” configuration and receives a half-hearted camo attempt and decals that silver nicely.
Fast-forward two (or three???) years. Cracks filled with superglue and sanded (raised details on top-wing gone forever), and a successful attempt at bedding-down decals employing Mr. Mark Softer. Then – matching the old paint (an experiment with faded olive-drab likeness) to fix overspray and sanded-down areas (decals covered with pieces of masking film).
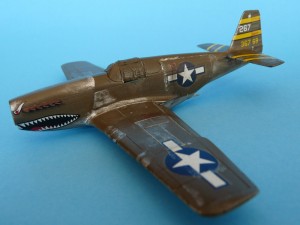
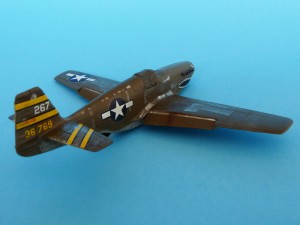
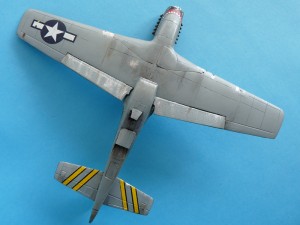
Scuffed areas are made by drybrushing Tamiya XF-11. To limit the marks to the desired panels a mask of Tamiya tape has been used. Oil and fuel leaks are H2Oild water-soluble oils by Talens. If you look closely you will notice a difference between the colors of the cowling and the rest of the aircraft – old vs. new paint to avoid destroying the decals.
Next stage: some Lake Green sprayed over panels to reduce shine and simulate fading.
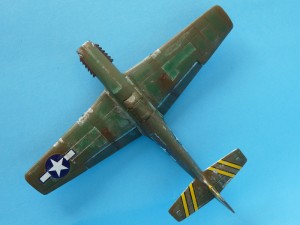
One more layer – thinned and lightened Vallejo Russian Armor Green to blend colors in. Additional weathering done using pigment powders.
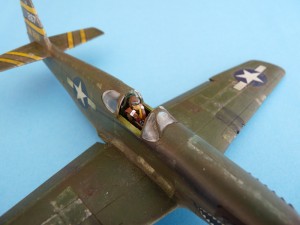
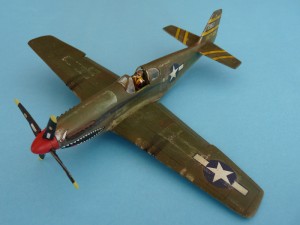
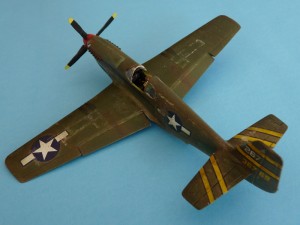
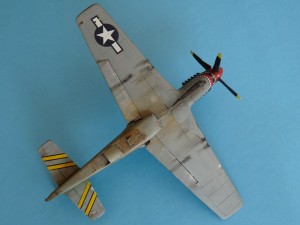
When I started the build I wanted an open canopy, so the one-piece kit transparency was cut accordingly. The surgery didn’t turn out as expected, so the finished product includes a replacement canopy from the Academy kit (which also contains a Malcolm hood). I’ve also added the missing .50 cal.
