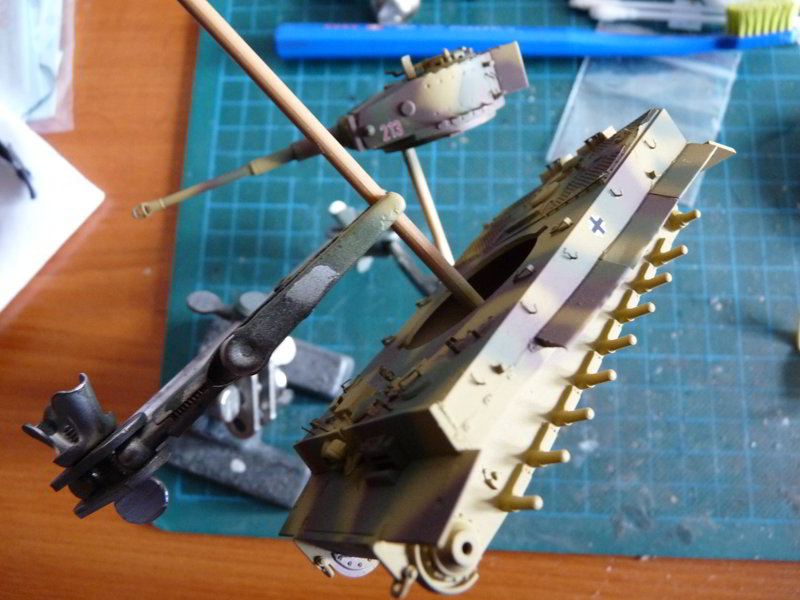
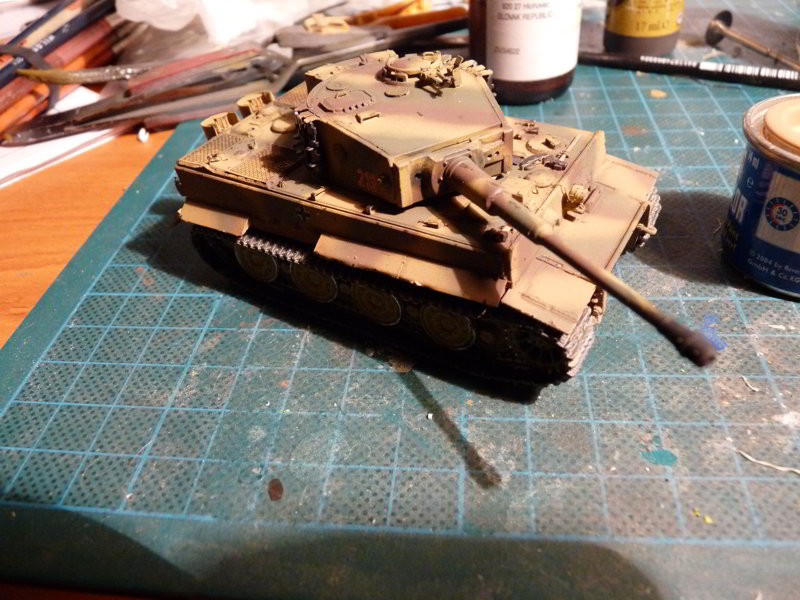
First thing to do is to get rid of the molded-on tools. Considering the absurd ideas to make the hammer our of 3 layers of PE and the jack out of 9 layers – some tools were replaced with items from the Attack’s set “Implements and tools”, and I kept the jack almost stock. For the time being I glued on the retaining PE clasps and straps for them and the tow cables.
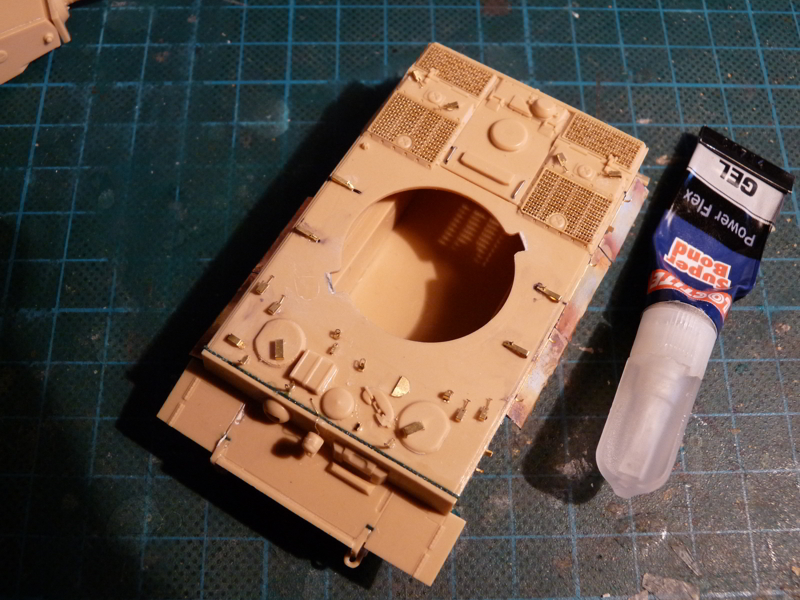
Aside from the molded-on tools and the symmetric turret there are few other issues with the Revell kit:
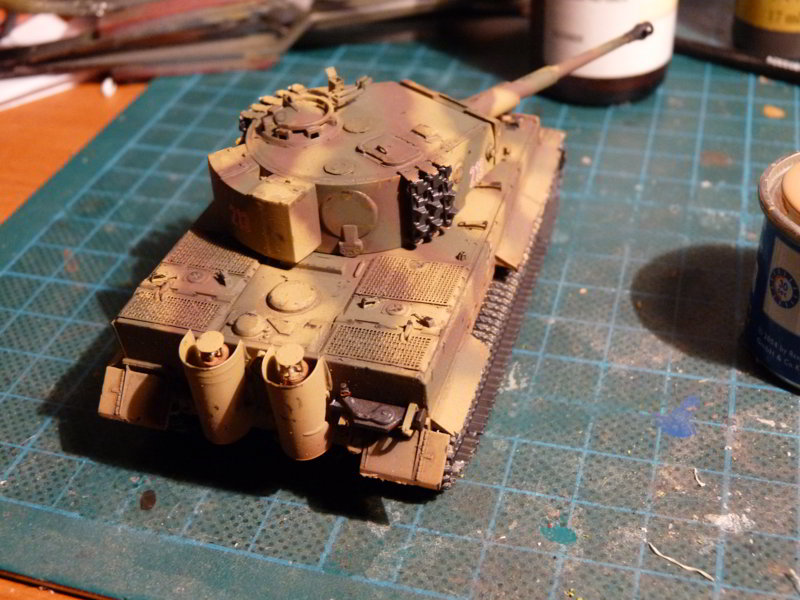
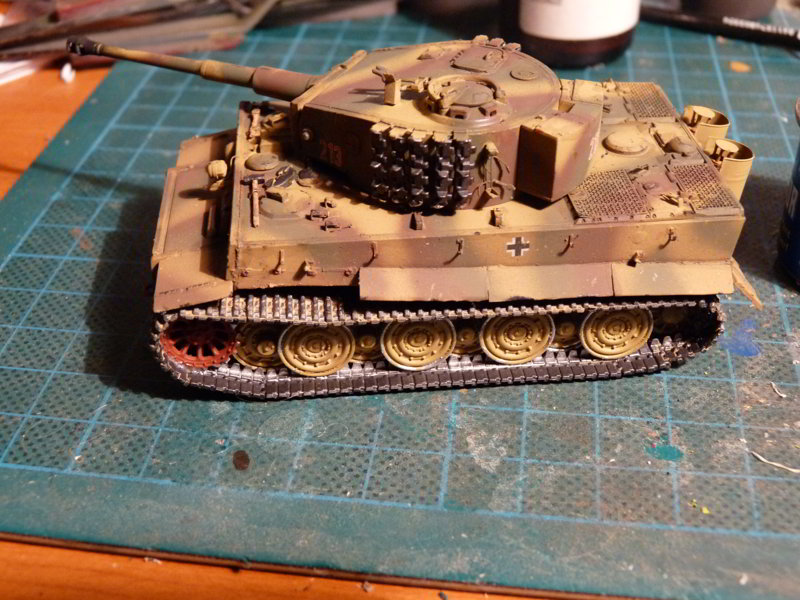
– directly sticking the spare tracks to the turret walls – there are brackets for this on the actual machine – I used PE items form the Part set.
– the gun that is very crudely molded in one piece together with the muzzle brake – replaced it with RB Models item 72B26 turned aluminum barrel with bronze muzzle brake. Since the barrel is turned there are visible traces from the lathe on its surface – I sanded down with 800 and 2000-grit sandpaper.
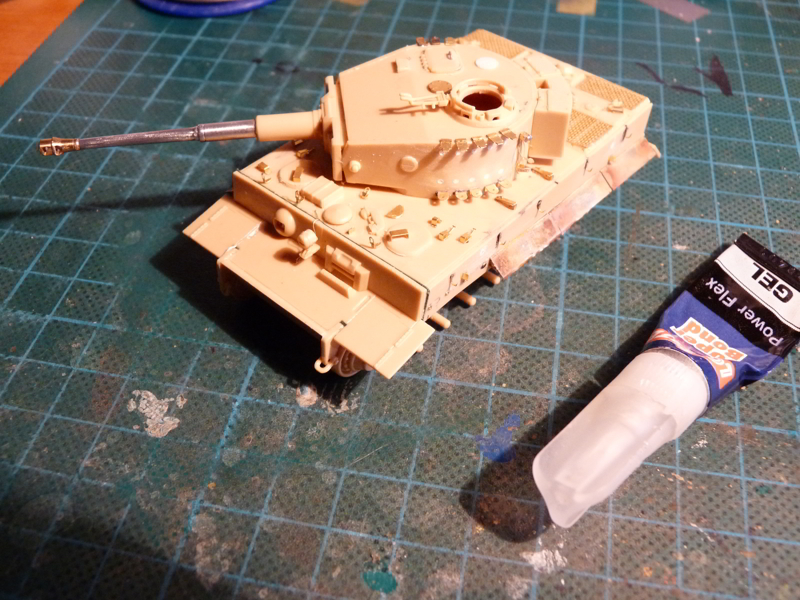
– all fan covers are molded on as cylinders. I cut the one between the driver and radio operator, glued a smaller-diameter disc and repositioned the top. The turret one was replaced with a PE item, set atop plastic supports;
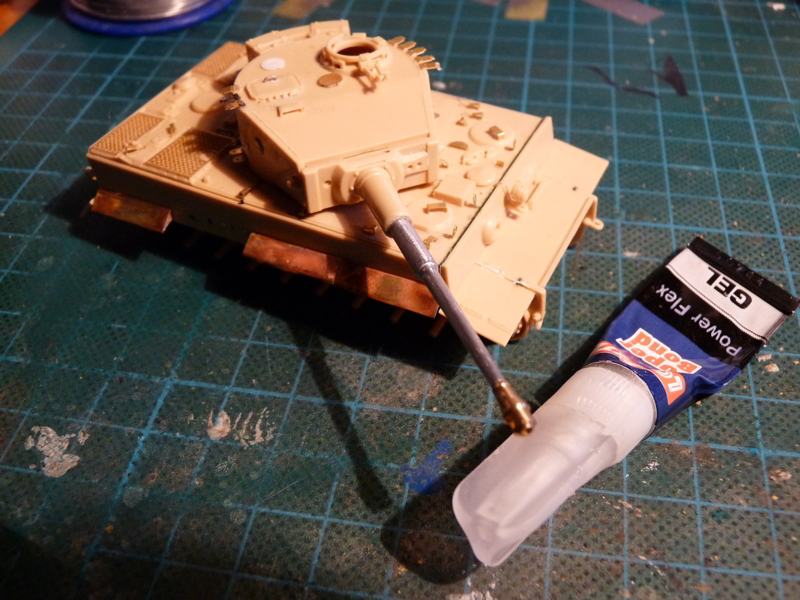
– the missing mesh screen on the motor deck.
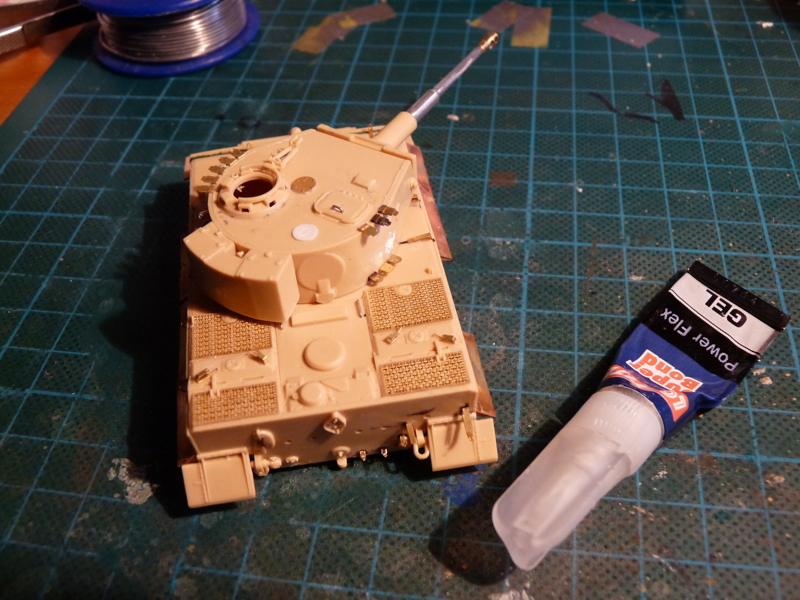
– the missing anti-infantry mortar on the turret – made with another plastic disc with an oval scribed to simulate the barrel opening;
– the turret bit which is opened at the bottom – glued it to a piece of thin plastic and then cut around the perimeter;
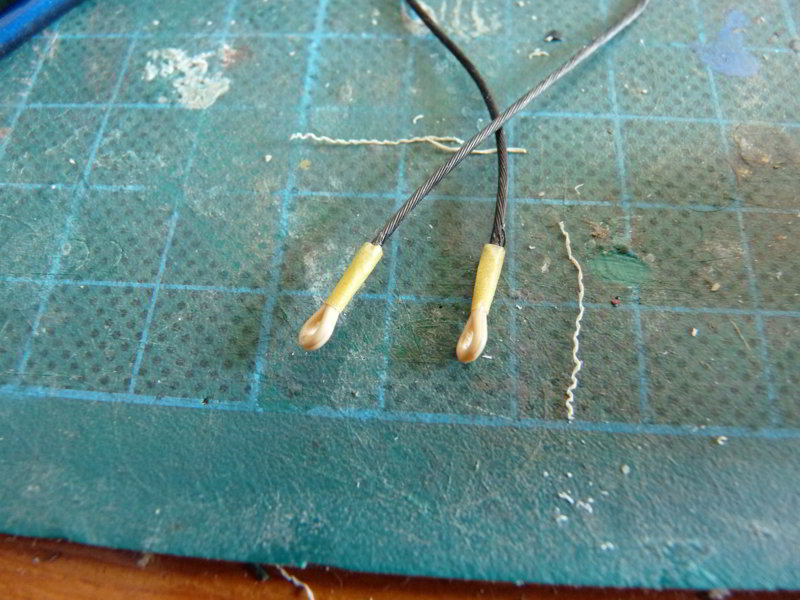
– the tow cables,which are about 1,2mm thick in the kit – I used 0,8mm steel cable from RB models and the original ends from the plastic part;
– no support or wiring for the front light – both are scratchbuilt on my example;
– overly thick side flaps – certainly better represented by PE or other thin metal. On my model I purposefully did not attach all pieces.
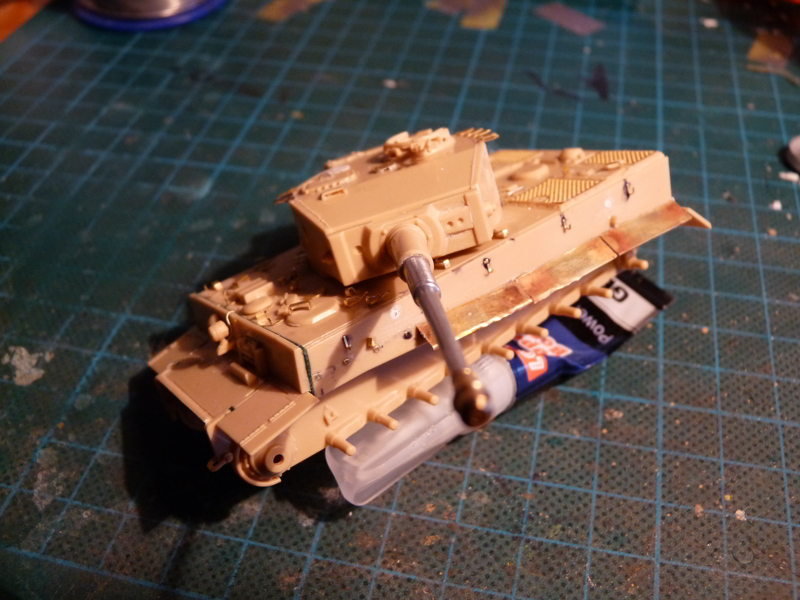
I used Loctite Power Gel for the PE parts; as the barrel is heavier and I wanted it to sit tight in the extended slot I employed the “6 Minute Pro Epoxy” from Great Planes.
Because there is a notable gap behind the upper glacis I used stretched sprue to fill it and simulate welding seams (see photo above).
The cut-outs in the upper hull for the 2 turret retainers are way too big – even if you placed the turret on top they will still be visible. I glued a piece of 0,5mm Evergreen square profile to fill them.
The exhausts: the upper part was entirely removed, PE parts glued and drilled, 5 pieces of wire superglued in, and then the cover is placed on top of them.
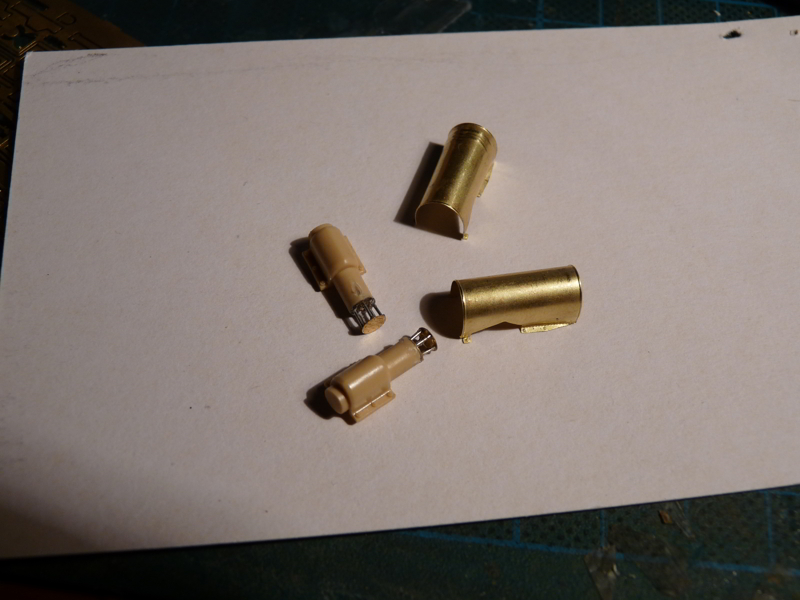
You can easily compare the ready parts with the stock pieces from the review.
After priming using Mr. Surfacer 1200 I used the standard Gunze German colors for late war camo. The chocolate brown was lightened using white and yellow, because out of the bottle it is way too dark.
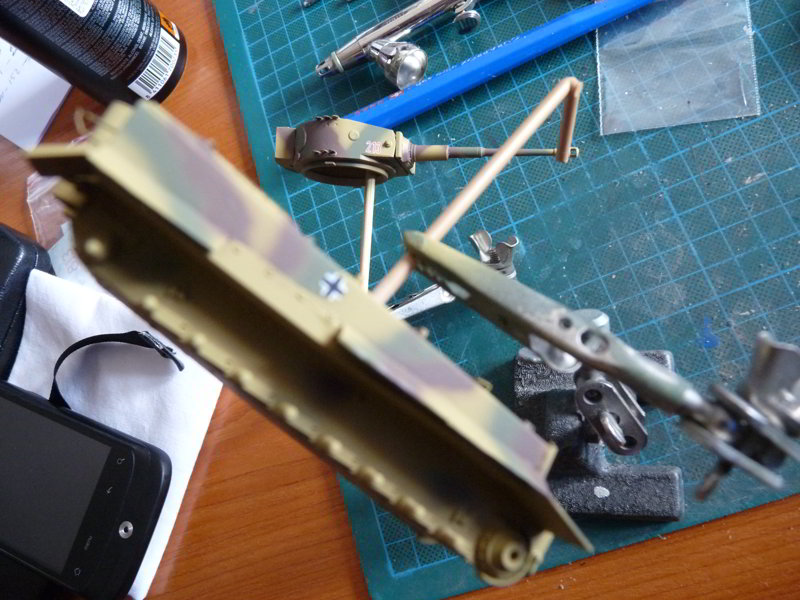
After placing the decals I sprayed Vallejo matt varnish so that pigments and some volume effects (mud) can get the proper grip on the surface – Gunze Acqueous paints are notoriously glossy.
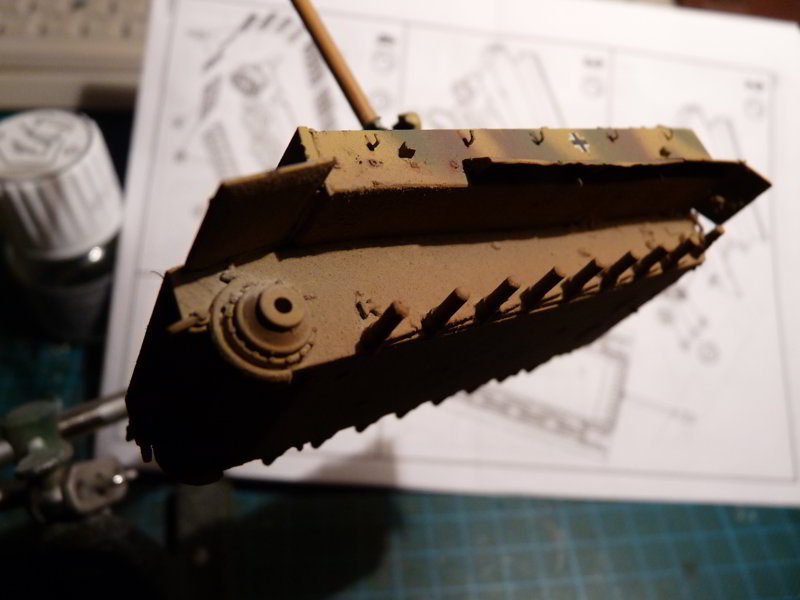
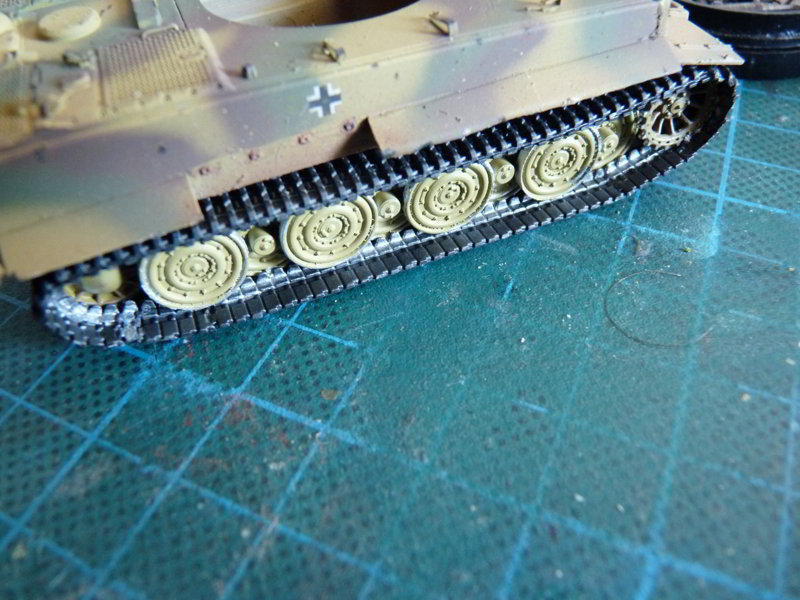
With basic weathering done I installed the wheels – basecoated in yellow, and their “working” edge painted with Tamiya X-11. I kept the left sprocket in red-brown primer.
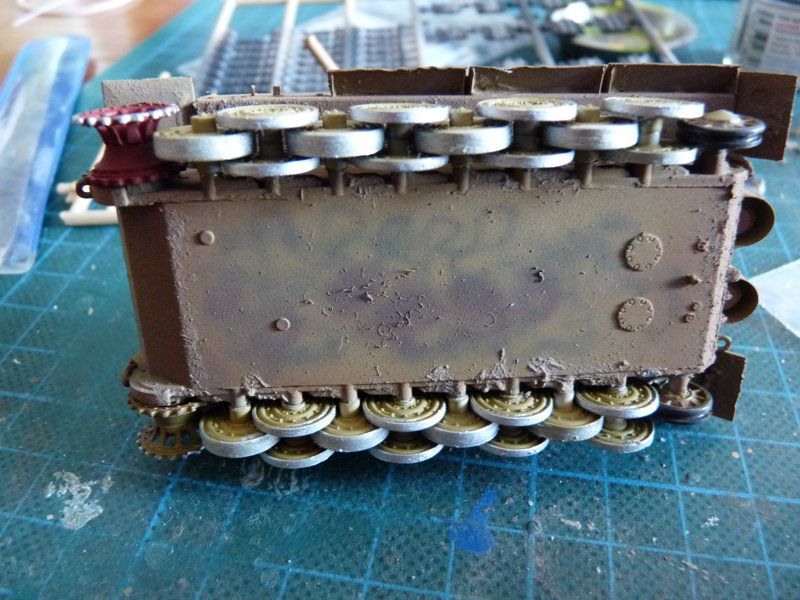
Tracks. Painted MM Gun Metal, with some accents in X-11 to show wear from the contact with the wheels. Revell goofed big time in the instructions – they show 6 track links are required both around the sprocket and the idler. You actually need 8 bits for the front and 9 for the back. The good news is even after using all of them you are still left with spares for the turret, and then some.
As you notice there are some items I’ve moved around – e.g. the fire extinguisher, which is on the turret wall, beside the commander’s position instead of on the motor deck.
