As one would expect from a 40-year old molds – this kit does not fit perfectly, so here’s a list of recommendations.
– Dry fit the cockpit. The instrument panel does interfere with the pilot’s legs. Unless you are doing some detailing inside – the figure is your best option to distract viewers from the spartan interior.
– There are gaps between the upper wing halves and the fuselage, and at the rear of the lower wing/fuselage join.
– You are in for a re-scribing session once the propeller and the engine cooling fan are in place. There are two locating pins that do help, but some sanding is still required.
– The fuel tank fit is real bad – the top half is wider than the bottom one and there is a gap in front of the fins.
– Guns and pitot tube are best replaced by aftermarket or needles/tubing. Same applies for the radio behind the pilot.
– The figure itself needs a seat harness – it’s moulded with just the parachute one.
Decals.
– The bigger they are – the harder they are to apply. They appear increasingly thick with size, and are as gloss as it gets. Keep them in warm water for at least 2 minutes; this might eventually help your decal solution help them conform.
– Ditch the yellow ID stripes for the wing leading edge – there is NO way these brittle pieces will conform to that spot.
– The flap borders for the upper wing are really thin and can easily disintegrate if you move them too much.
I started painting by applying automotive primer, then proceeded with a gloss black paint – both straight from rattle cans. Next several metal shades were applied to test various brands – MM, Alclad and Tamiya acrylics to name a few.
Once these were dry I airbrushed decanted hair spray over the entire airframe. 30 mins later the grey color was applied, and an hour later it was masked in preparation for a coat of Gunze IJN green for the top. I found out the hard way that even after dry the hair spray allows the paint layer over it to be easily lifted. The results below are not a totally controlled result of the specific technique.
Some postshading was applied with lightened base colors and German Dark Green for the discolored area behind the cowling. The exhaust staining is freehand Alclad II Engine Manifold + greys and browns of various companies.
Wash: revel dark browns. Leaks: Burnt Umber and Paines Grey oils.
-
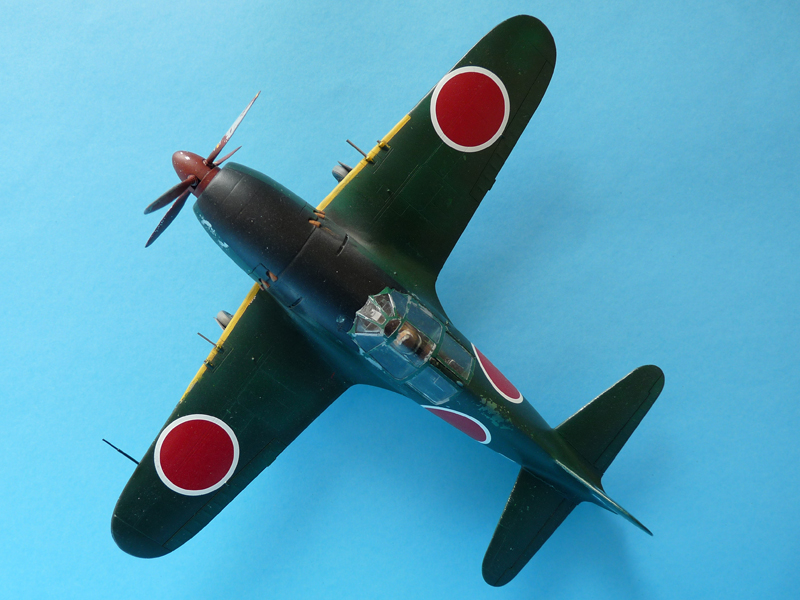
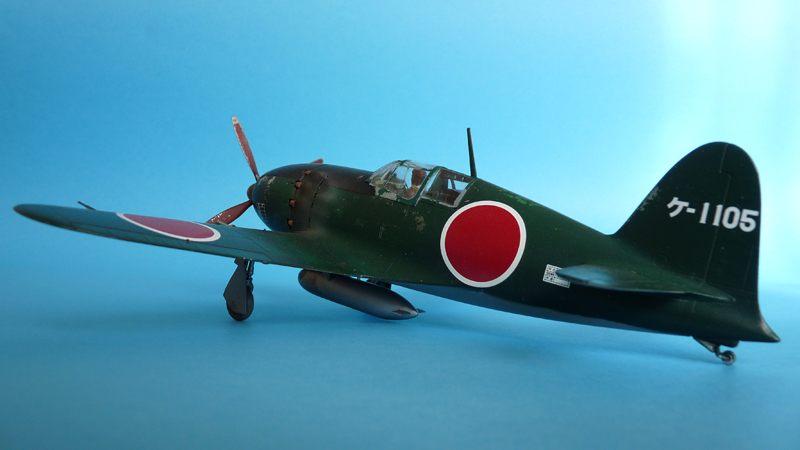
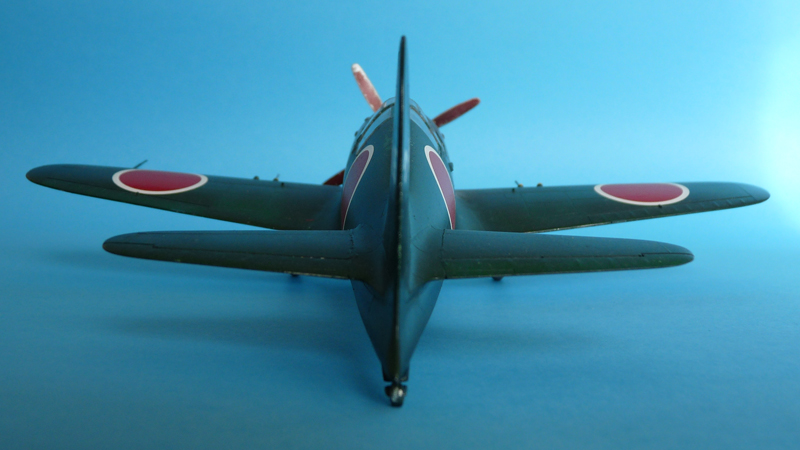
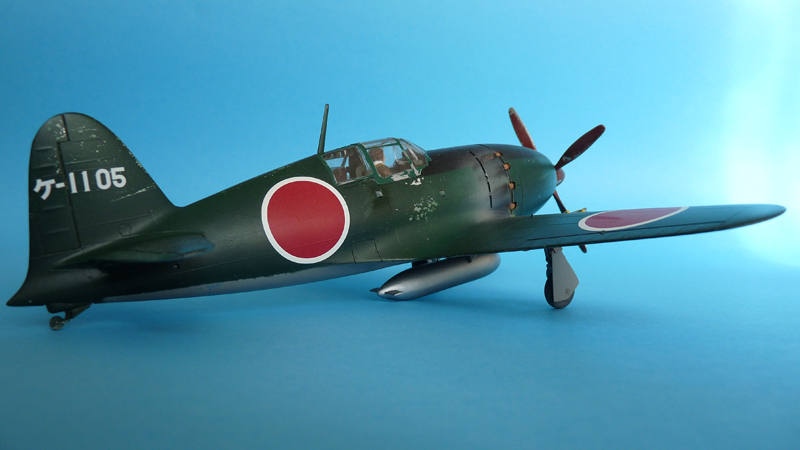
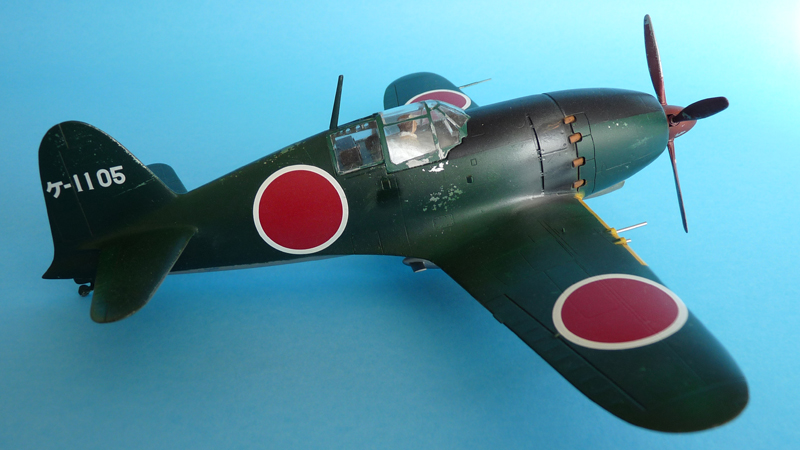
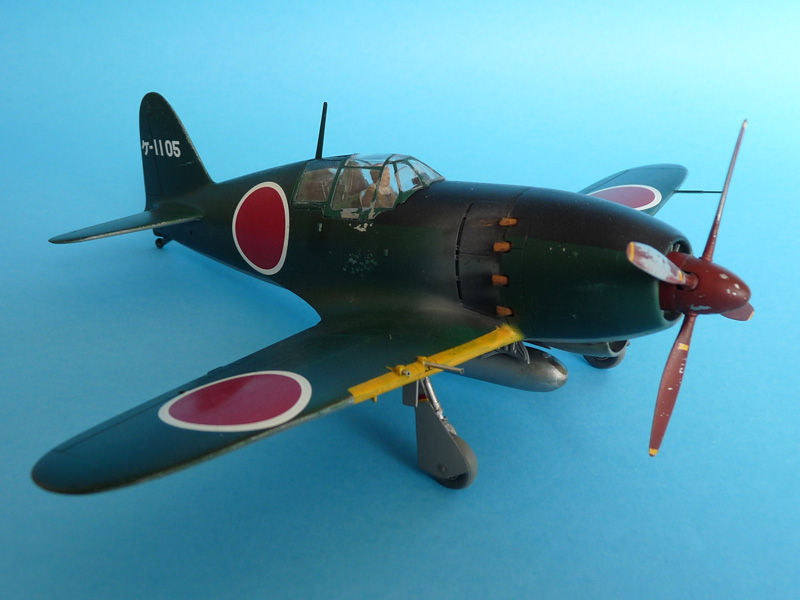
- 1/48 J2M3 Tamiya
-
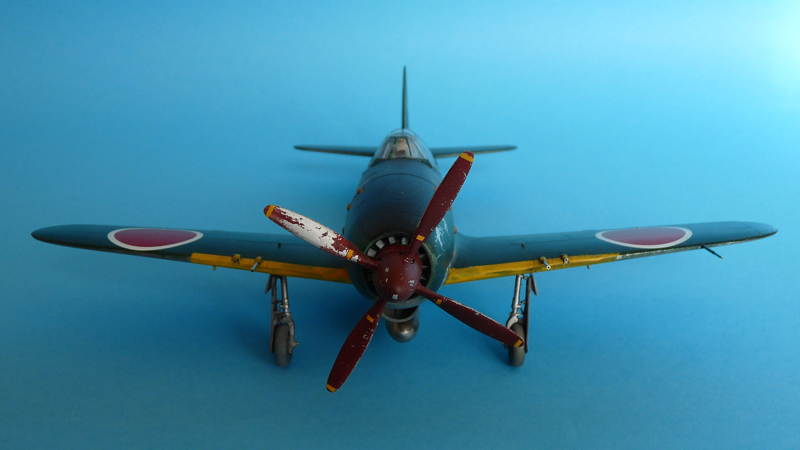
- 1/48 J2M3 Tamiya
-
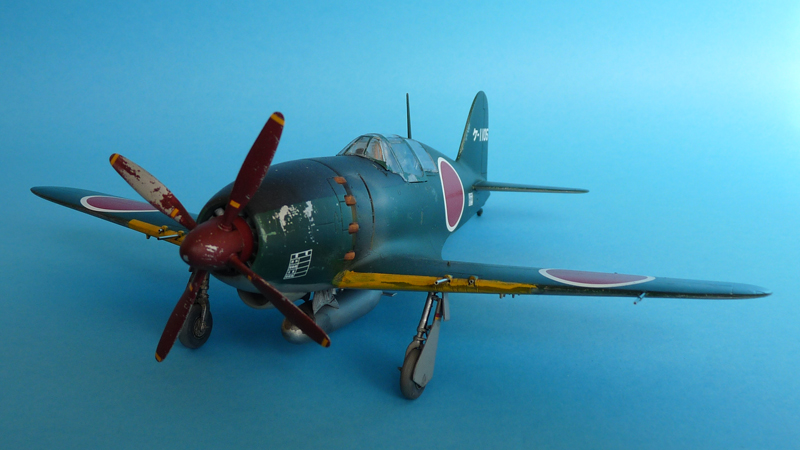
- 1/48 J2M3 Tamiya
-
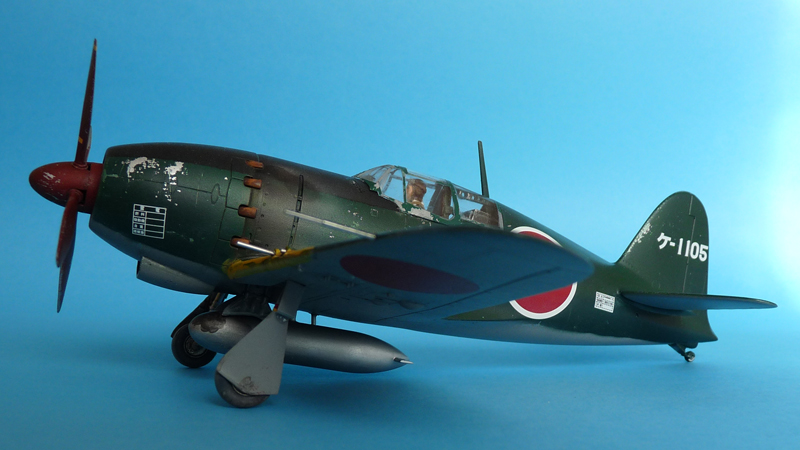
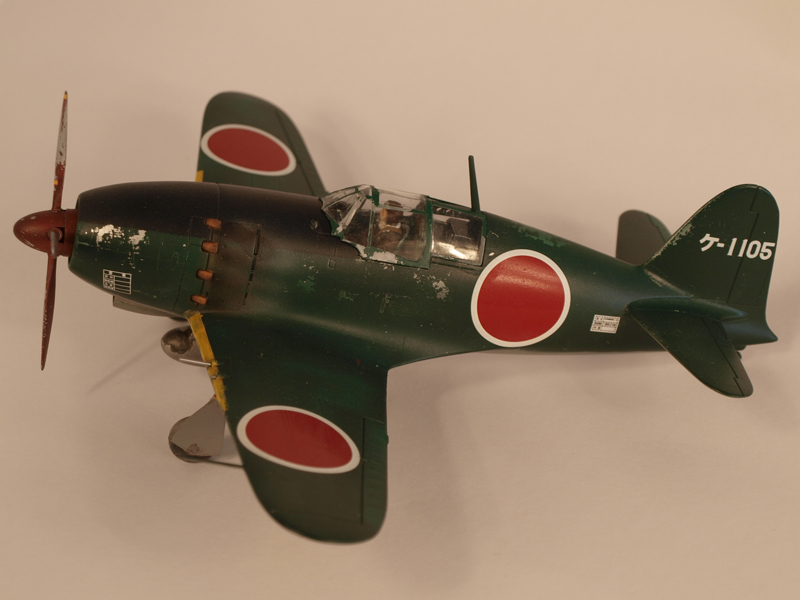
- 1/48 J2M3 Tamiya
-
- 1/48 J2M3 Tamiya
-
- 1/48 J2M3 Tamiya
-
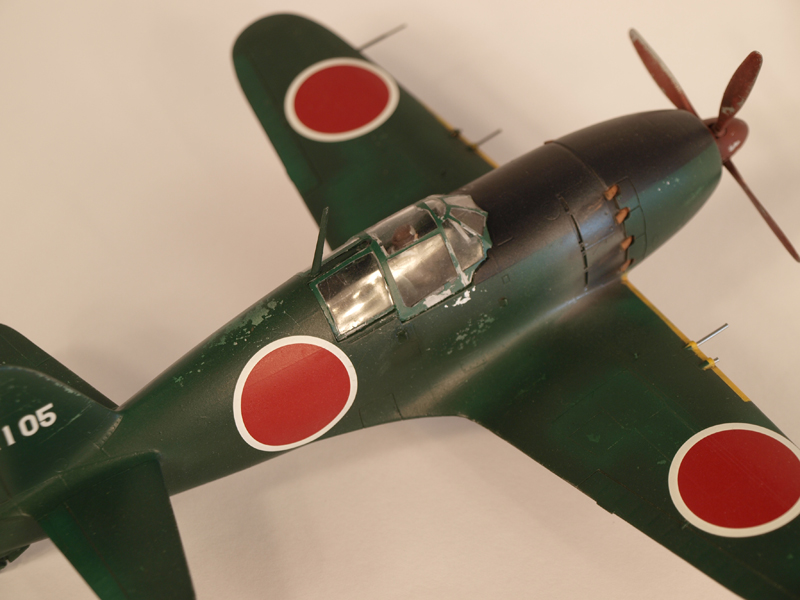
- 1/48 J2M3 Tamiya
-
- 1/48 J2M3 Tamiya
-
- 1/48 J2M3 Tamiya
-
- 1/48 J2M3 Tamiya
-
- 1/48 J2M3 Tamiya