Now the Raiden (or Jack as it’s more familiar to the English speakers) might not have been as popular as the Type 0 (A6M), yet to me it represents the change in Japanese philosophy of building military aircraft. The J2M was not transformation of a different type of aircraft, was designed with a powerful engine from the outset, wasn’t supposed to carry 7,7 mm guns and many more firsts. It’s also my first ever Tamiya kit 🙂
I’ve been looking for a 72nd scale model for a while, but Hasegawa’s kit was hard to find and not really worth the price asked. So when this “second-hand” kit showed up for about $10 I didn’t give it any second thoughts.
Very few parts, you can actually count them easily on the pics. Note these include optional closed and open gear doors, deployed and retracted tailwheel, TWO pilot figures, etc. Instructions – very simple and accessible – actually suggest it was also motorized…
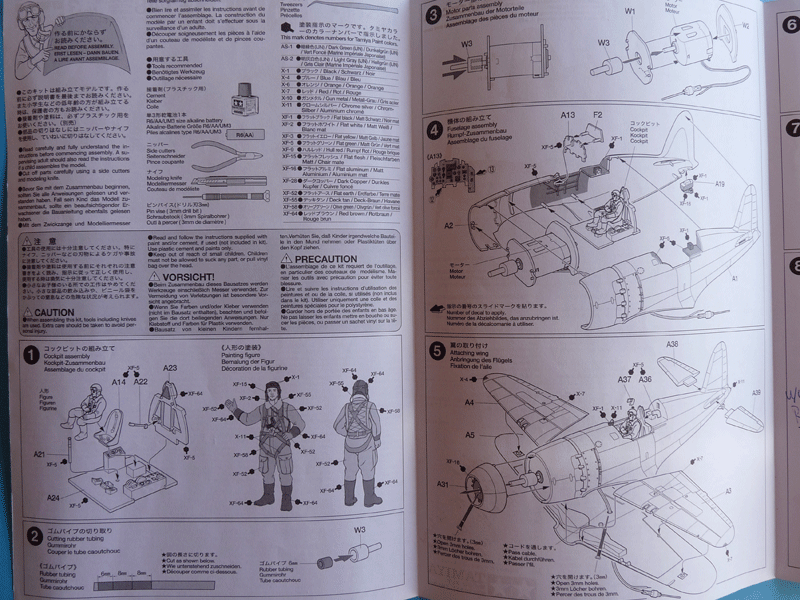
You might say it is ridiculously simple, but I’d say that for something that came out in 1973 (!!!)
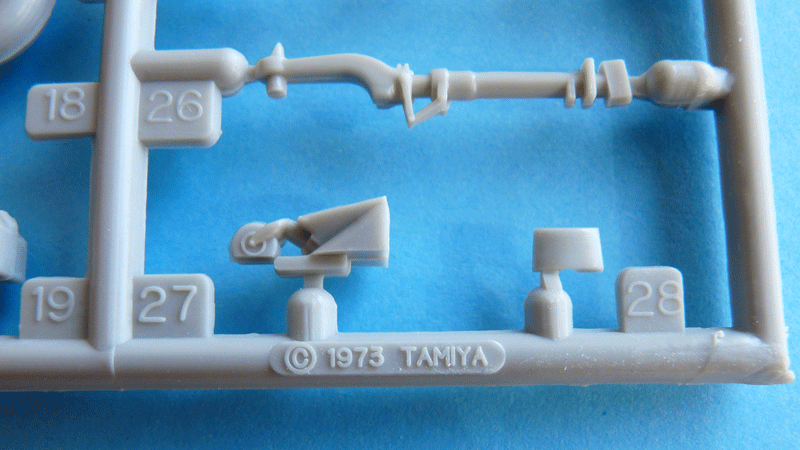
the kit is pretty blasted impressive. Let’s see the rest of the instructions before we moved on to the parts.

Pretty easy – normal for such a “simplified” kit.
You have 4 sprues in total – 3 of light grey plastic (probably 1 sprue split in 3 for simplified boxing), and a clear one.

As you can see most of the fuselage half is a single piece casting. The fuselage features raised panels lines, which are straight and consistent. Some nicely recessed detail – cowling flaps, the height difference between the cowl and the rest of the fuselage, the exhaust tubes. A very rudimentary radio set behind the pilot’s head. The cockpit is spartan, and considering the large clear part that will be covering it, will certainly benefit from some extra detailing and proper painting.
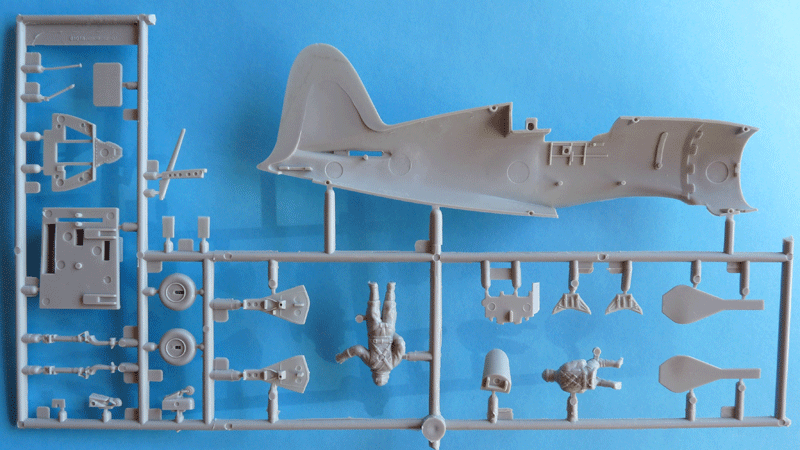
The instrument panel has an angled section just like the real thing, but is otherwise bare and the instruments are depicted with a decal sheet. The parts for the gear-down u/c doors do have some detail on them that will pop nicely if given a wash. All the ejector pin marks you see will be invisible on the ready article.
My main gripe is that there are raised seam lines that show where mold halves meet – which means you will have to treat EVERY part before adding it to the model (including both figures).
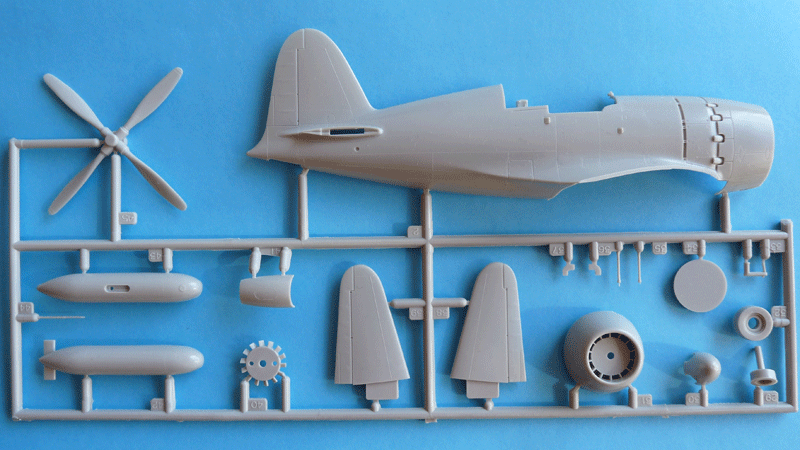
The right-hand fuselage half features a pair of air intakes I cannot confirm were there. As you can see guns, pitot tube, control column and the pilot seat adjusting lever all look pretty much the same – straight plastic rods. Oh yes – the instrument panel “sun shade” has the “gunsight” molded on 🙂 Oh well…
The forward portion of the cowling with the intake and cooling ventilator is a single part. This means that mating it to the completed fuselage will demand some serious sanding, as the joint is smack-down in the middle of the beautiful curves of the aircraft, and perpendicular to all panel lines in the vicinity. Eh…
Wings are covered with recessed panels and details, and obviously even have rudimentary options for bomb/rocket racks (parts not included) on the outside of the gun ports.
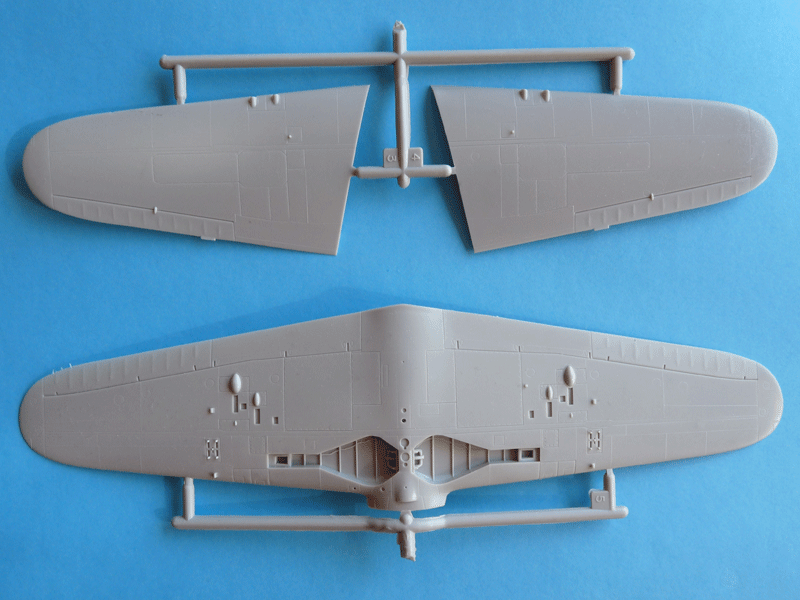
The lower wing includes the undercarriage bay, which is too shallow and underdetailed. Tamiya molded the braces that lift the central gear doors when pressed by the retracted wheels. Fabric effect on the ailerons is a bit simplified, but is restrained enough so I personally wouldn’t touch it.
Clear parts – just two of them. The canopy is a single part which you can cut up if you felt like displaying the cockpit after some extra work (I’ll pass).

The odd-looking piece to the is the armored front screen for the pilot, which has two spacers molded so it can be fitted on its proper position.
Decals for two machines and a couple of basic stencils. All in register, beautifully saturated, and rather thick.
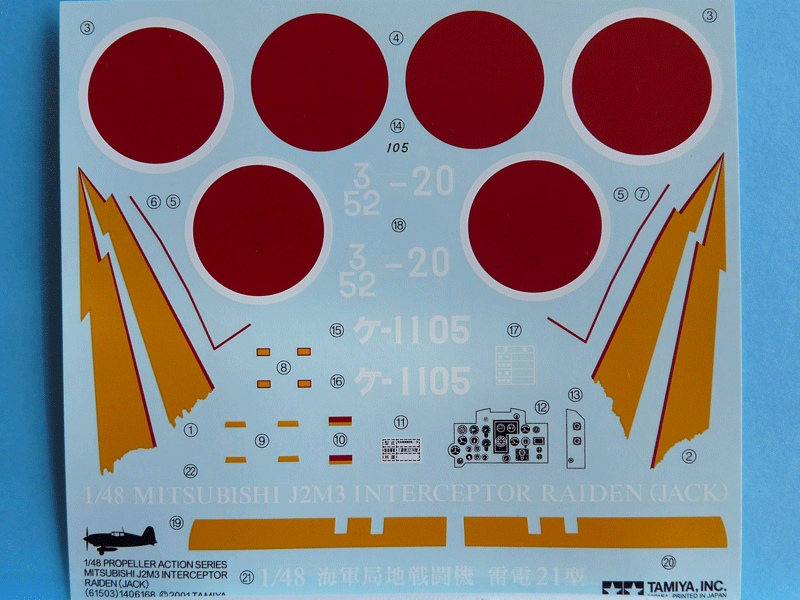
Note the yellow ID wing stripes with cutouts for the gun ports – my guess is fit is doubtful at best. Flap liners (the two thin L-shaped red stripes) would require some attention to avoid tearing.
All in all – a simple, 40-year old kit of an important aircraft. Perhaps not all that detailed, though I must admit the 48th Hasegawa offering looks very similar, with some parts molded separate, and not all that much of an improvement over this one.
Let’s see how this dinosaur builds up next time 🙂