This post is a special treat, as it’s the first time I am getting a kit that is not available in the market yet. In fact I am lucky to have been the first to get a copy of OKB Grigorov’s Chaffee outside the factory and OKB themselves.
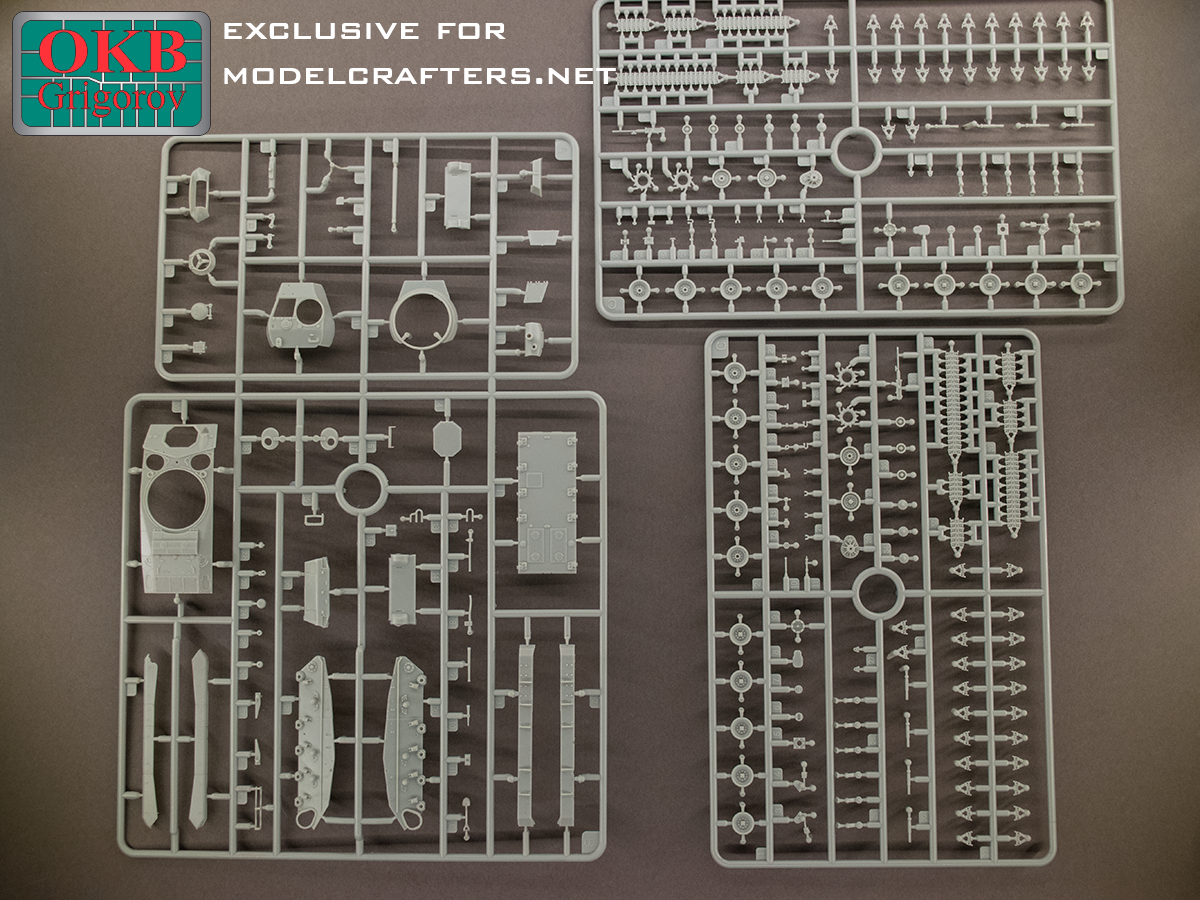
Onto the shots. 4 grey sprues, well over 200 parts, some great detail, all hatches open, separate OVM tools and a lot more!!!
Let’s start with the hull parts.
-
- Hull sidewall detail

-
- Return roller bases, suspension arm sockets and bump stops
Note detail on the conical return roller bases, the suspension arm sockets and bump stops, the shock absorber attachment points. The suspension arms are separate parts as are the final drive housing covers.
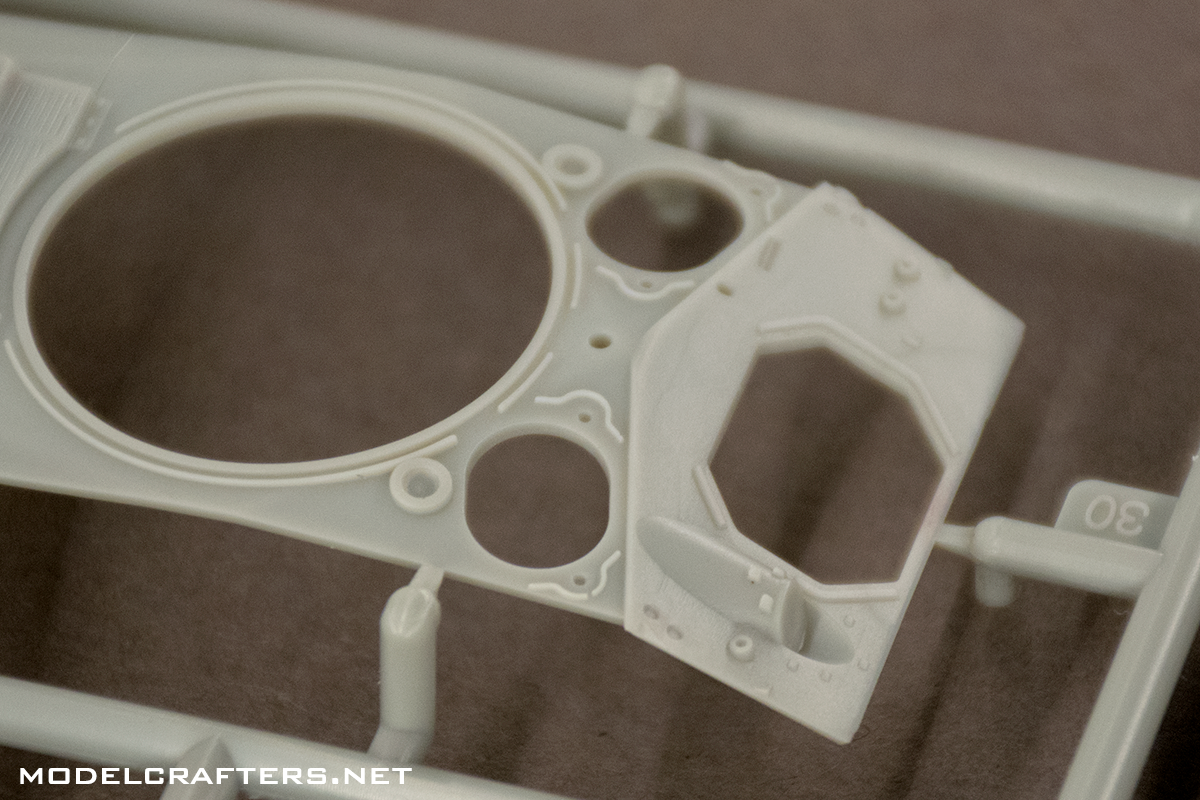
Hull top: separate crew and transmission hatches, fine rainguards around the hatches and barbette, sockets and slots for various attachments, and the hinges and cooling louvres on the engine deck.
-
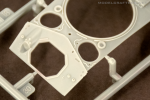
- Upper glacis with separate transmission, driver and radio operator hatchces

-

- Note machine gun sponson
-
- Engine deck with cooling louvres, slots for fuel caps, etc.

You might have noticed some fine red streaks here and there, this is usual for the test shots.
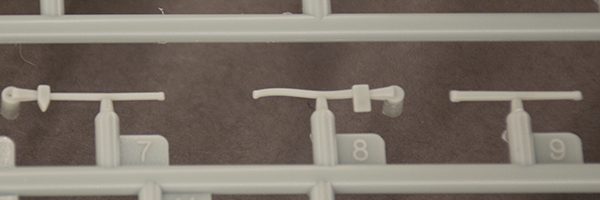
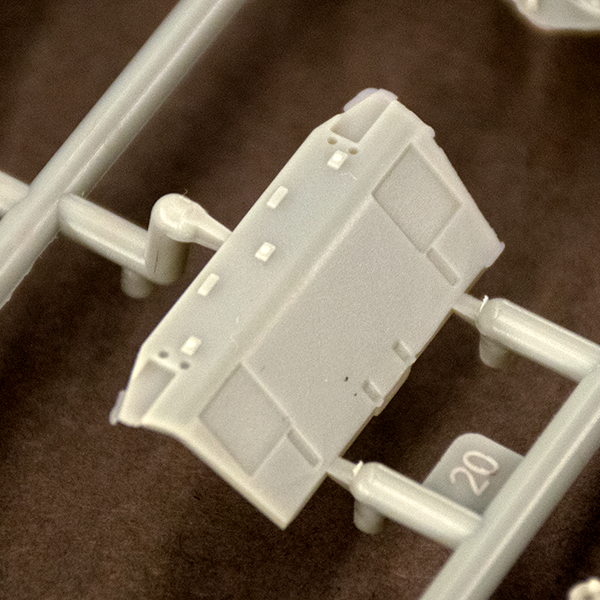
The crew hatches and some of the OVM tools:
-
- Hatches with periscope openings

-
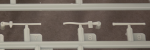
- Separate OVM tools
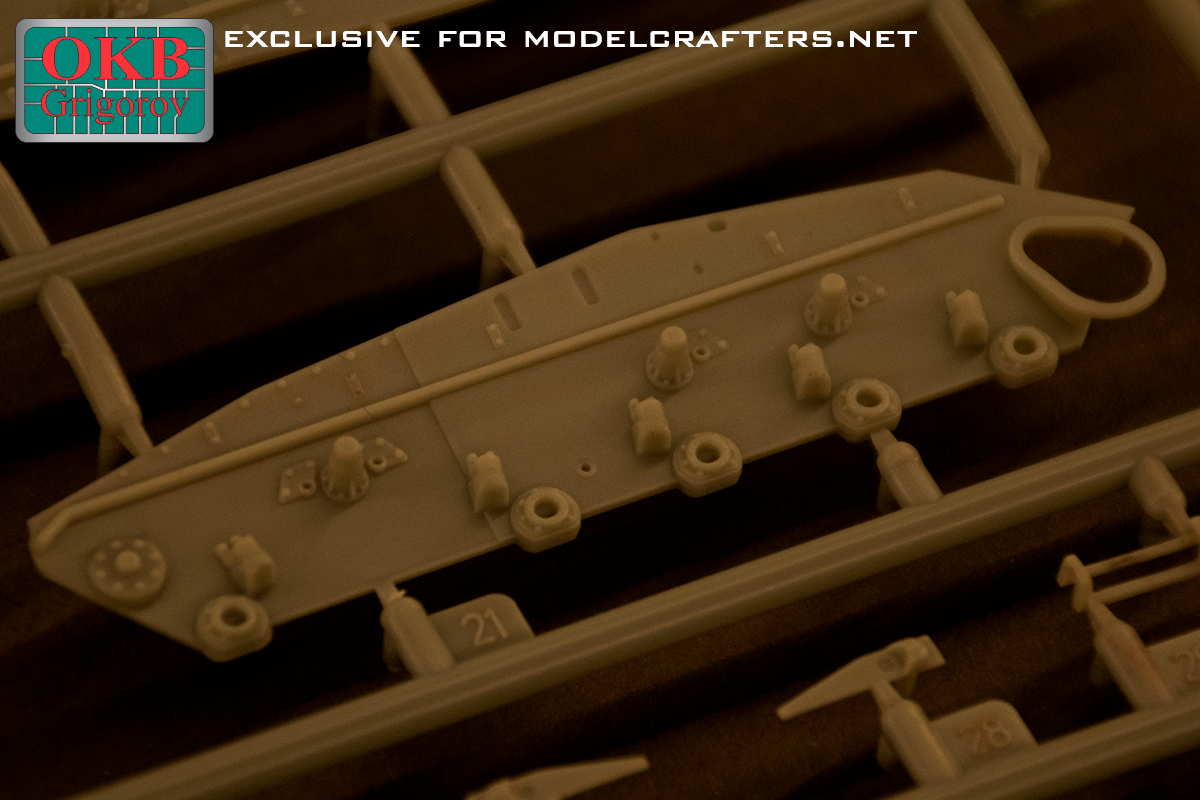
Next: two types of lower glacis plate, and the hull rear. The late type glacis features additional plates for attaching a dozer blade over the final drive housings.
-
- Early lower glacis plate
-
- Late lower glacis
-

- Rear plate
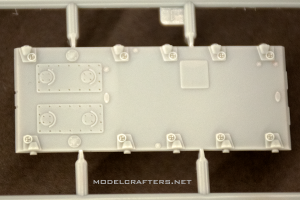
Hull bottom. Note alignment semi-circular alignment pins that fit with hull sidewalls, and staggered suspension arm slots.
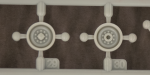
Next – sprue C (there are 2 of them in the set) with suspension, wheels and tracks.
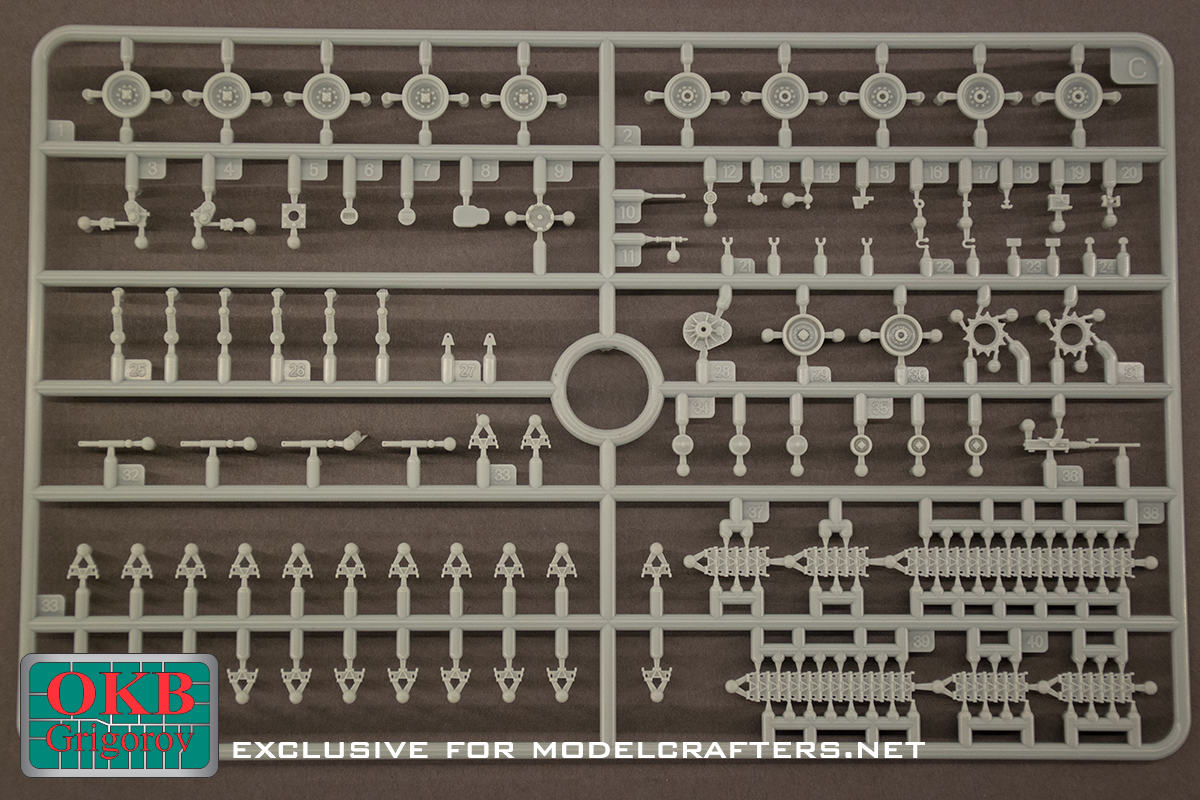
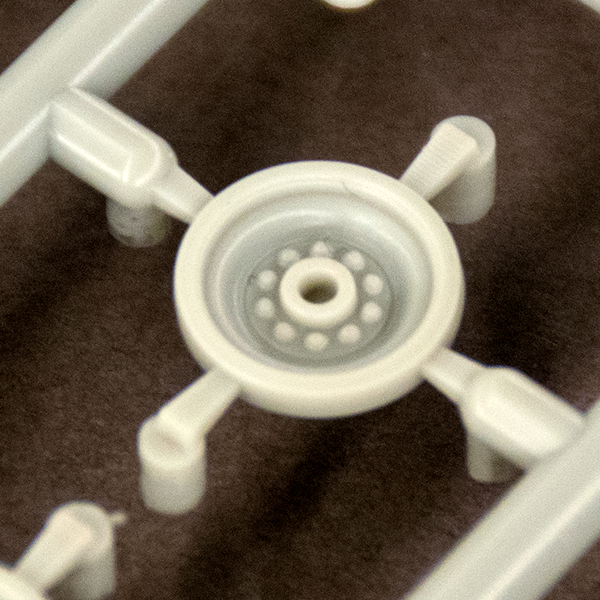
Starting with the wheels the kit items represent the curves of the original + excellent bolt detail.
-

- Roadwheel face

-

- Roadwheel reverse
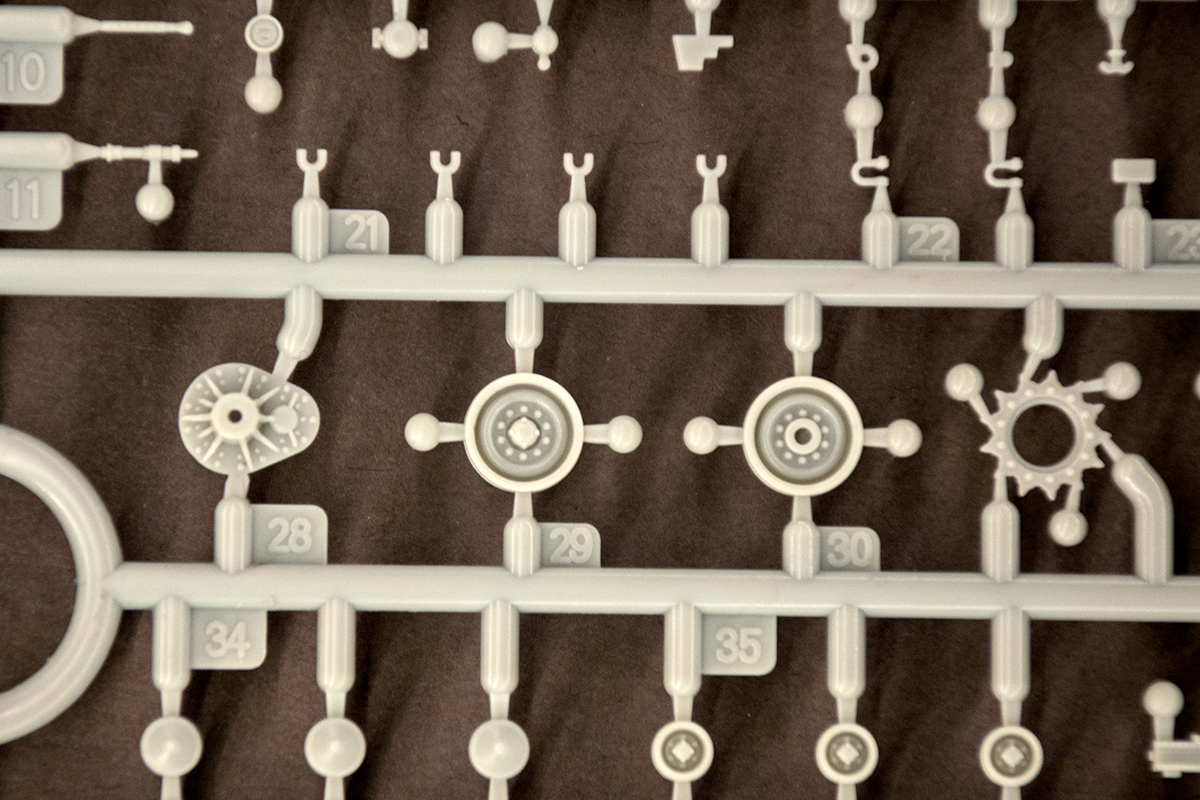
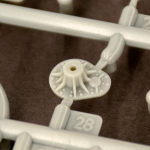
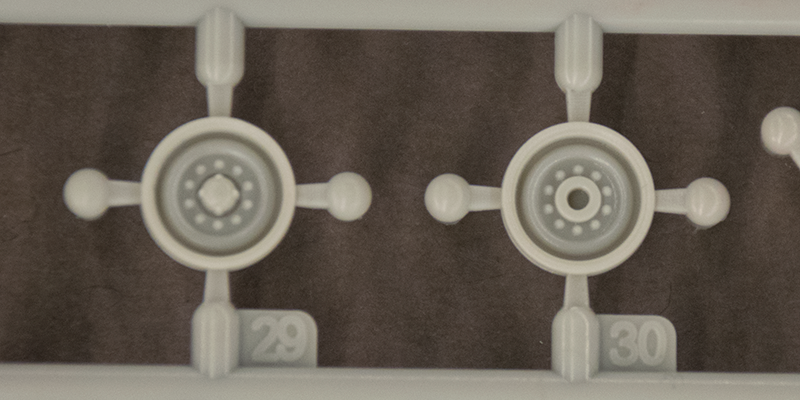
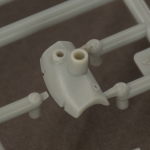
The idler – which looks like a smaller roadwheel – is also done to a high standard:
-

- The idler along with the final drive cover and one of the sprocket crowns
-
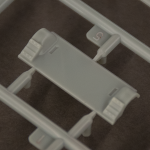
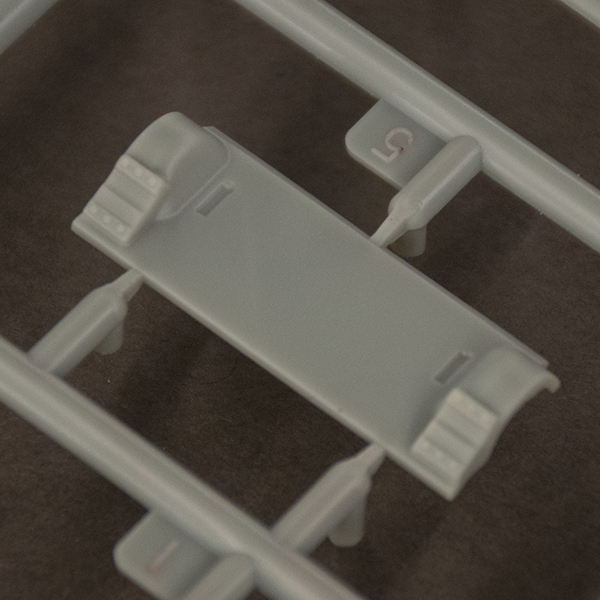
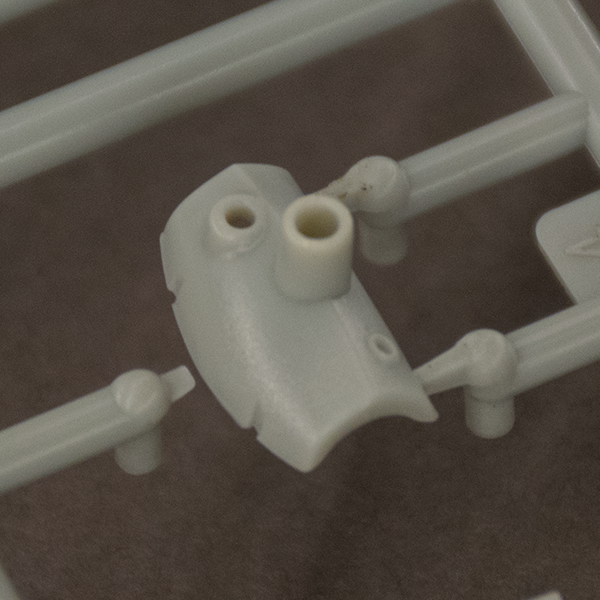
- Final drive housing cover

-
- Idler wheel
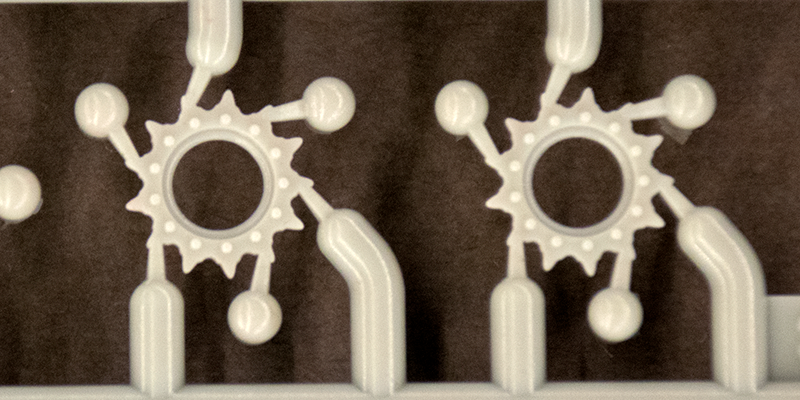
Sprockets are made up of 3 parts: 2 crowns with bolt details and a center piece to simulate the openings on the real vehicle. Note the teeth shape on the crowns – similar to those on M4 tanks.
-

- Sprocket crowns
-

- Sprocket center
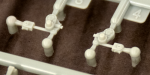
Individual suspension arms: note they are curved and feature attachment pins for the individual shock absorbers, as well as semi-circular pins for gluing into the sockets on the hull sides.
-
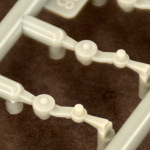
- Suspension arms

-
- Suspension arms: reverse and alignment pins

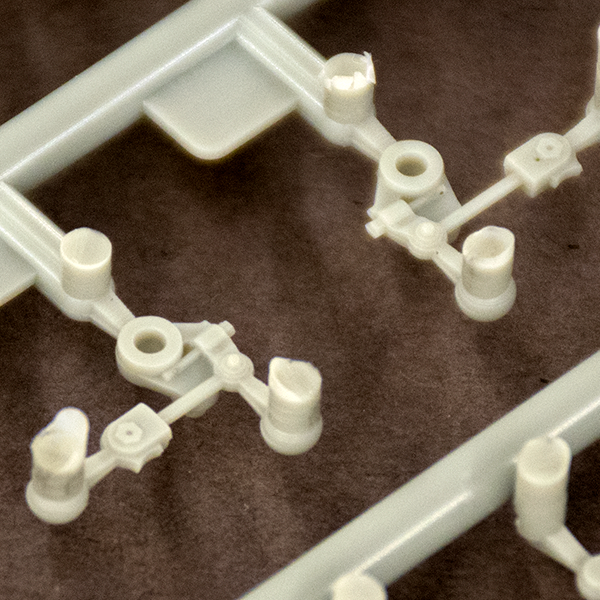
The shocks themselves:
-
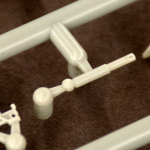
- Shock absorber

-
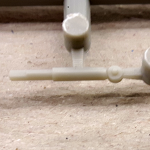
- Shock absorber

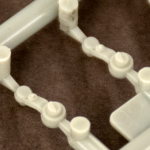
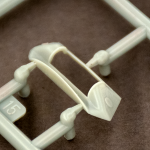
Track tensioners are detailed on both sides:
-
- Track tensioners

-

- Track tensioners – revers
T72 metal track segment and an individual links:
-
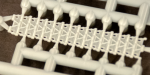
- Track face

-

- Track reverse with guide pins
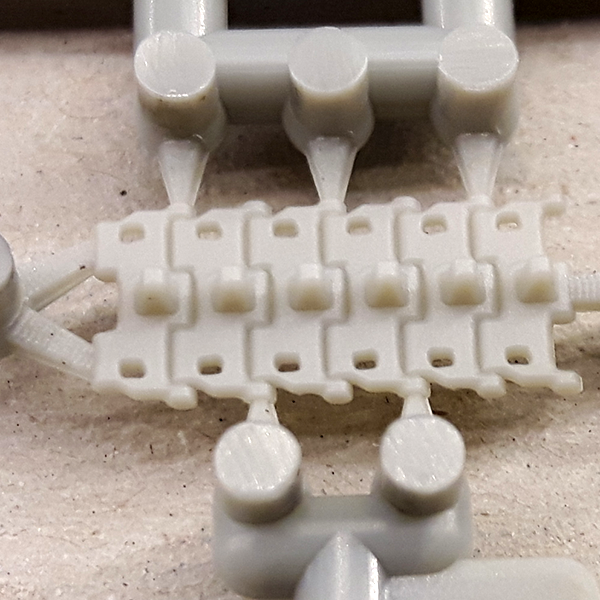
-
- Individual track links

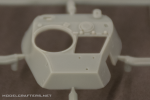
The turret – note a lot of locating openings for additional parts, including M2 tripod:
-
- Right side

-
- Turret from the right-rear

-
- Turret from the rear

-
- Turret left side with commander’s position

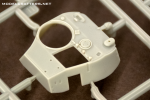
Turret front piece, mantlet, pistol port insert:
-
- Turret front

-
- Mantlet
-
- Loading/pistol port
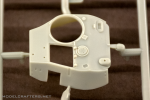
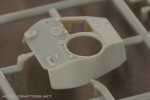
The commander’s cupola and its hatch are separate, as is the “turret door”, as the gunner’s hatch is officially referred to. Note detail on the inside of the commander’s hatch, including teethed ring as its upper part rotates using a hand crank to provide wider field of vision for the commander thru his main periscope.
-
- Commander’s cupola

-

- Commander’s hatch

-

- Gunner’s hatch
The commander’s hatch is the only part in the kit that has a visible ejector pin mark – that is if left open. All other parts were molded in such a way that these marks are either on the sprue gates/feeders near the part, or will always be on the inside of the build model.
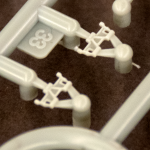
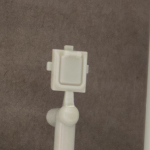
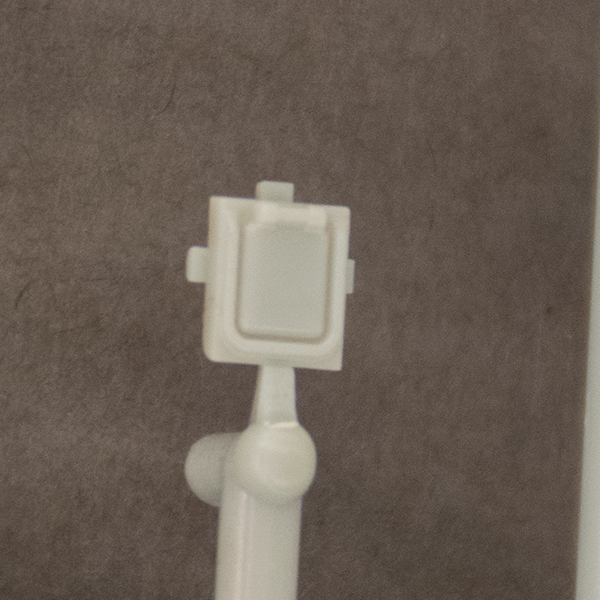
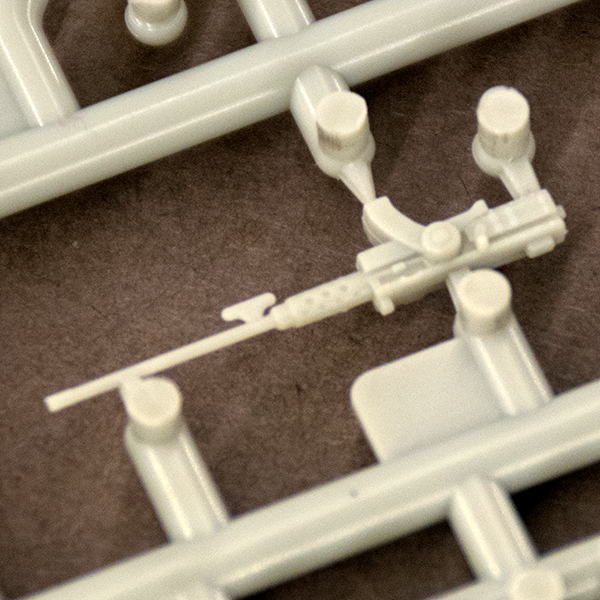
M2 machinegun. There are 2 pieces in the kit, 1 on each of the suspension sprues:
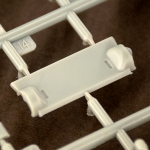
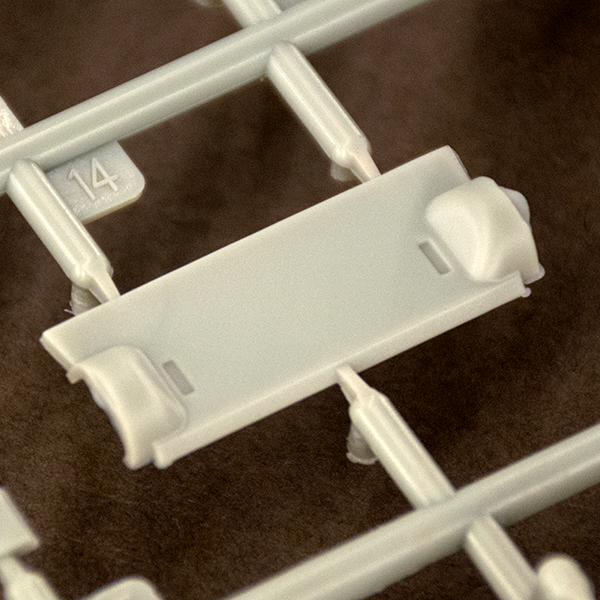
There are probably a hundred more small parts that I have yet to show you in detail, including antenna bases, lights and their guards, 30 cal machinegun barrels and what have you. The side skirts were not completely molded on this example – probably a matter of cleaning up the molds after the test.
Next step will be to build this kit out of the box.