Oh yes, you knew that was coming as it’s a patter of the way I’ve been publishing recently. I feel it’s only logical that the articles are presented in this sequence despite my modelling not following it exactly as there are always multiple projects on the bench.
This one is bit odd, as I started separating pieces from the sprues the moment I set the camera aside. I knew it should take me a minimal time to build the little tank and deliver a hopefully useful review to Armorama, who kindly supplied the kit.
I will tell you this is a great little kit to build. You literally can’t feel the 100 parts go together as the fit is great and you only need to be careful about 3 things:
– sprue gates, as these are a bit large for pieces this small, so breaking them off could deal substantial damage to a part;
– switching handed parts;
– DS track run length. ALWAYS dry fit before you glue them, as they vary from kit to kit (possibly box to box, too).
First things first – chisel away that molded-on tow cable on the rear engine deck (11 p.m. on Tuesday). 1 hour later the subassemblies – hull, turret and wheels are glued together – the Pz. III is starting to take shape.
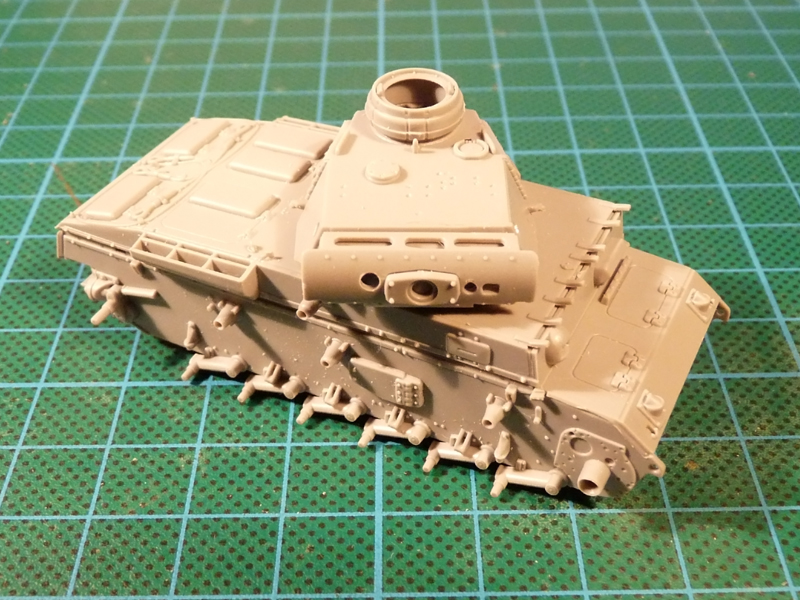
Hull tub has the emergency doors installed, rear screen, etc. The upper hull is not glued to the tub, and neither is the turret add-on armor – it simply snaps into place.
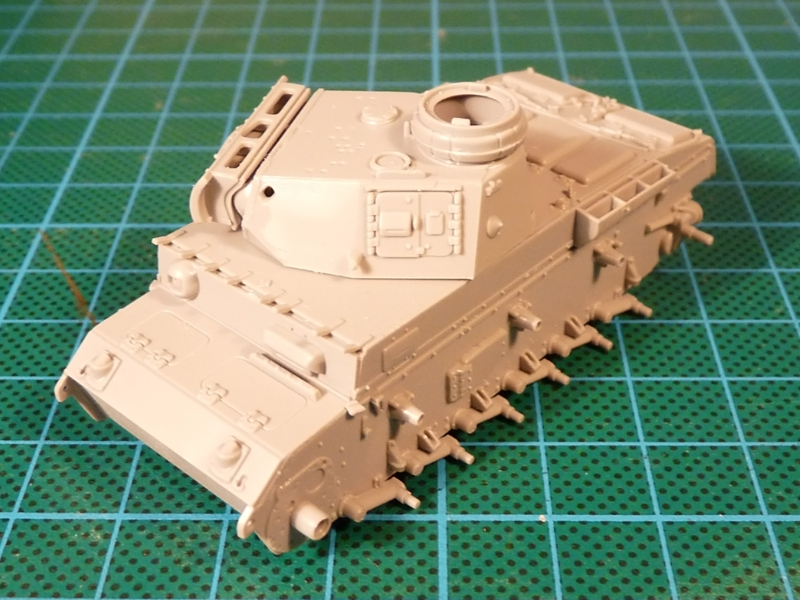
I haven’t added the final drive covers and the fenders yet either.
The next evening I took some stretched sprue and added a few weld seams where i considered appropriate – mostly the turret:

The white spot on top of the turret is some Squdron White Putty to cover up the results of too much Humbrol Liquid Poly on the (relatively) soft Dragon plastic.
I then joined the upper and lower hull and added the final drive covers, the fenders and a few details of the OVM kit.
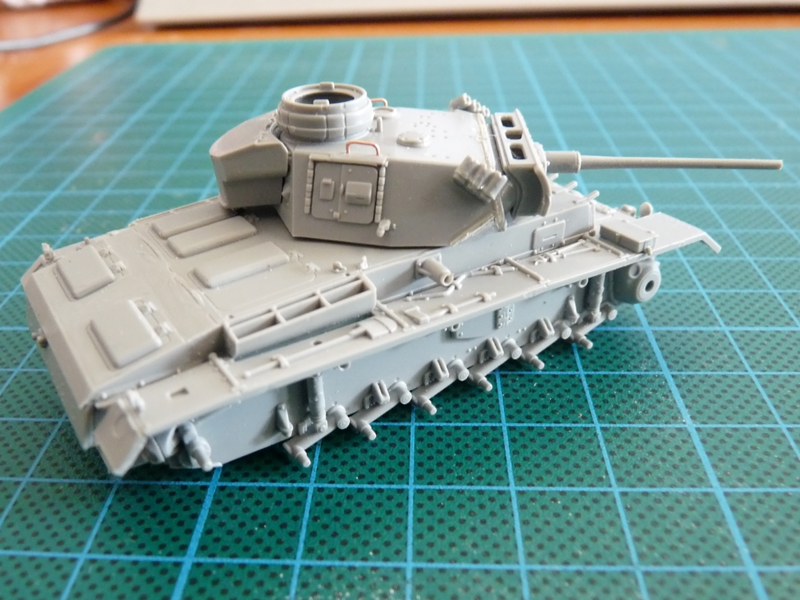
The gun is also present. You can see I managed to switch the smoke dischargers.

You can see a line of stretched sprue on the edge just under the smoke cans, the boxes, Notek lights, spare roadwheel bases and the turret stowage bin.
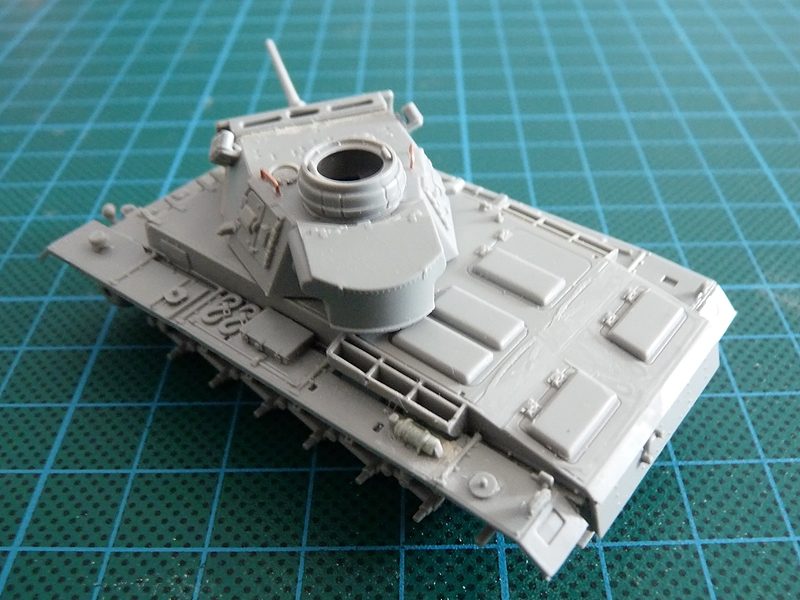
Despite some simplification the detail is still present – nicely molded hinges and even the recess for the rear Notek light.
Now what I think is that Dragon got most of the details correctly, however the way the upper and lower glacis plates interlock is wrong. Since the front towing hooks appeared a bit too far ahead I added a rectangular piece of 0,5mm styrene sheet to cover this up – notice the white plastic:
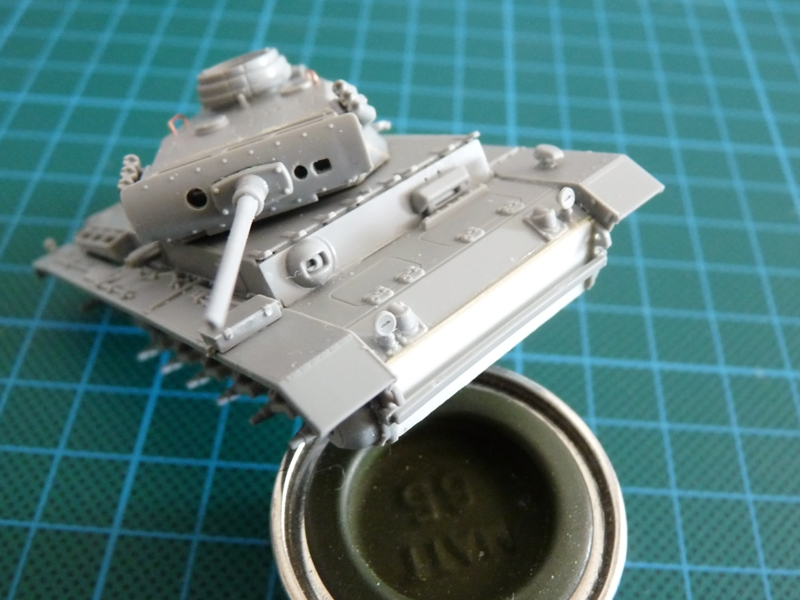
Further welding seams were added around the extra plate to up the impression of a tank a notch.
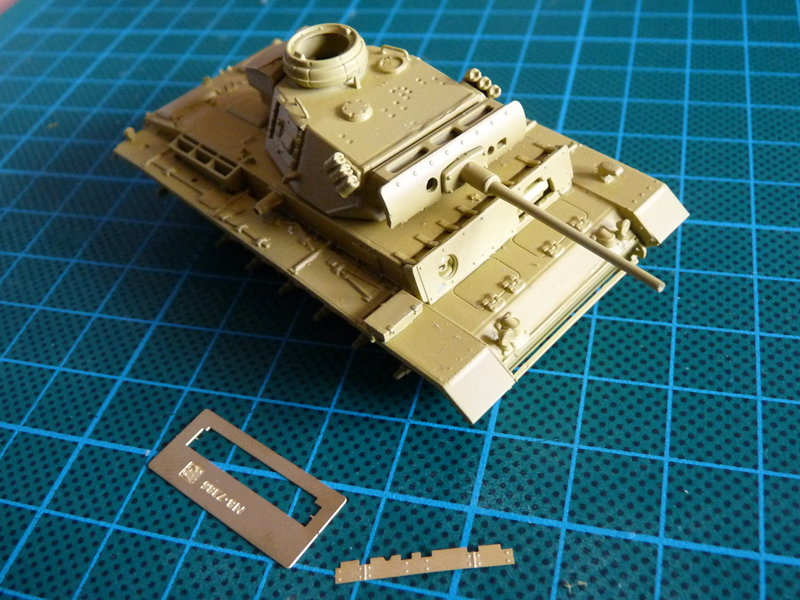
I then proceeded to glue the frontal add-on armor and paint the base color using Vallejo Dunkelgelb with a touch of Yellow and White for scale effect.
Of course I forgot a part – the PE plate that covers the gap between the add-on armor and the hull…
The rest of the details were painted separately.
As usual the tracks received a coat of primer, followed by MM metalizers and dirt – mainly enamel washes – and the tracks’ raised details received a drybrush with Tamiya X-11.
Next installment – more on the paint and the ready model.
