Since I got the kit to build as a reviewer for Armorama I started almost immediately after taking the pics. Here’s how the build went through.
I started by adding the lower engine compartment/radiator face and the firewall to the vehicle body.
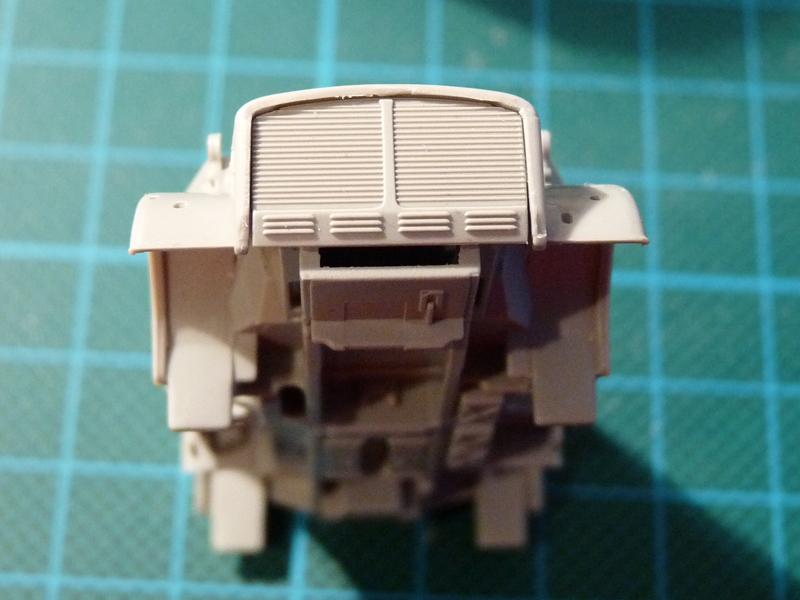
Other than filling the seam line in the front wheel arches these fit fine.
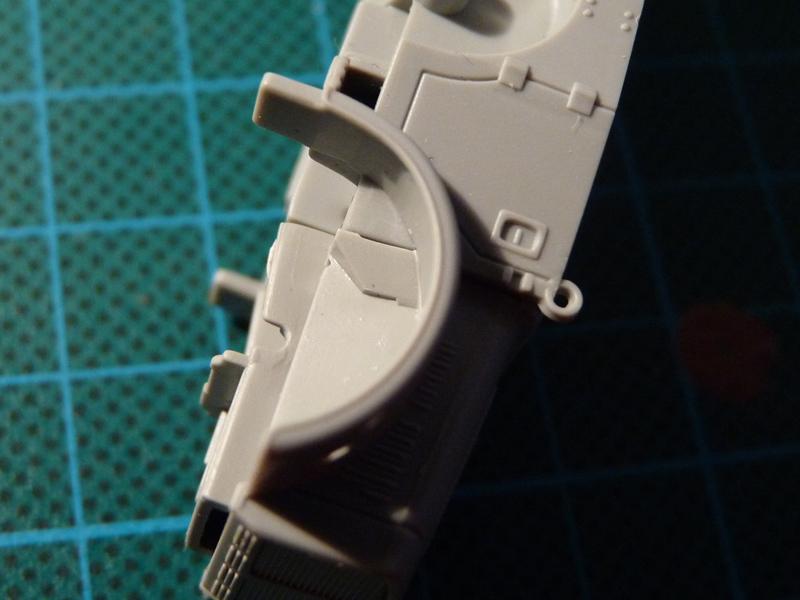
Next step was the suspension. After carefully studying reference images I glued parts B9 and B10 first, and then proceeded to add the suspension arms.
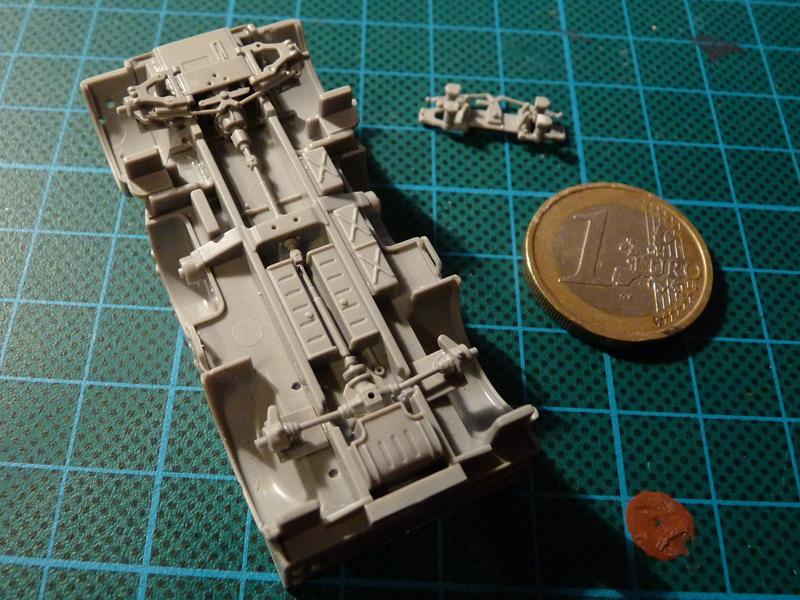
Please note that all 4 parts are labeled B7, but the parts intended for the rear axle have an extra pair of locating pins. With these fixed I glued the 8 springs (parts B8) to parts B10 and B11. So far fit has been very good. I cut off the representation of the rubber mudguards and replaced them with thick aluminum foil.
I then added the two PE floorplates to the floor of the cargo and troop compartments – under a coat of primer the pattern is pretty good match for the plastic part.
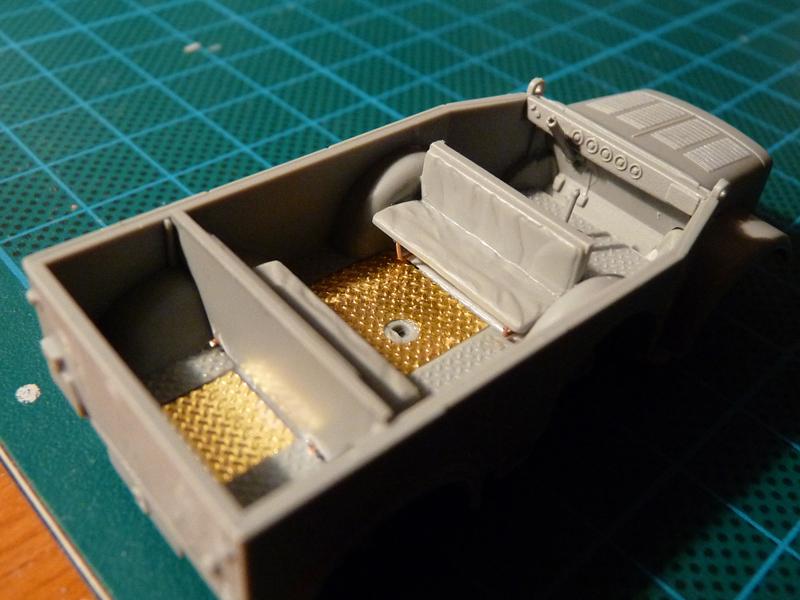
I’ve cut off the supports of the seats and benches and fabricated new ones from copper wire.
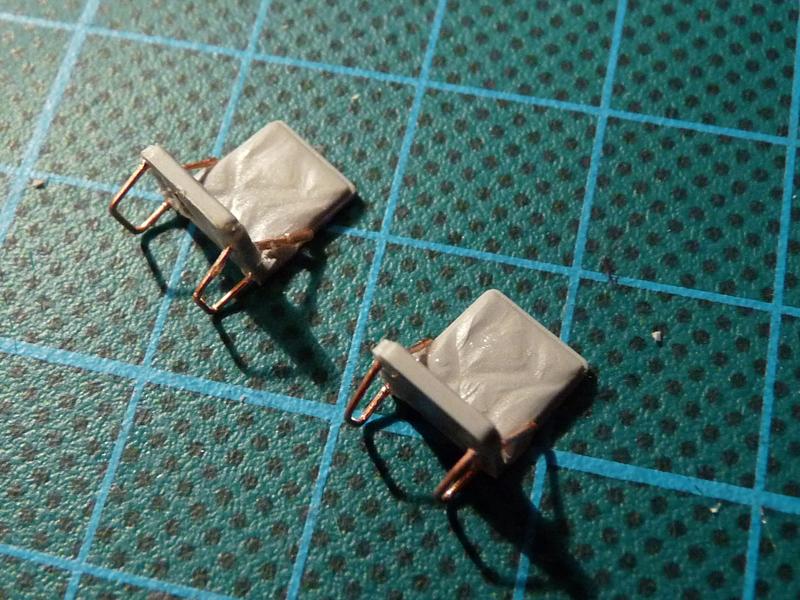
After seats were glued I added the folded tarpaulin, front bumper and the rest of the small details and moved on to the gun.
The little FLAK is a real gem – excellent details on every part (even a drilled flash-hider!) and perfect fit. Dragon has cleverly provided a provision for adjusting the barrel elevation angle.
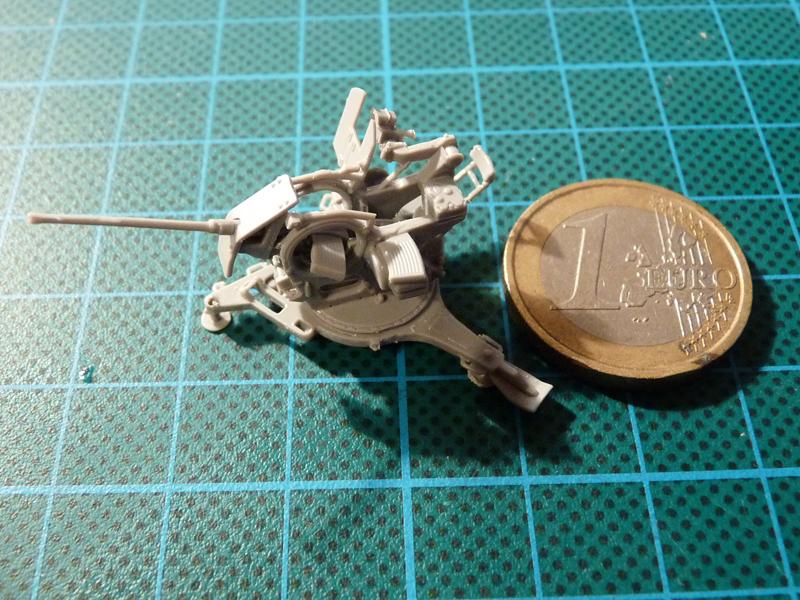
You can change the angle while gluing the barrel assembly (part A22) to the gun frame (parts A24 and A25) – that is step 5 in the instructions. Just remember that the gunsight moved together with the gun barrel and you will need to reposition its support accordingly.
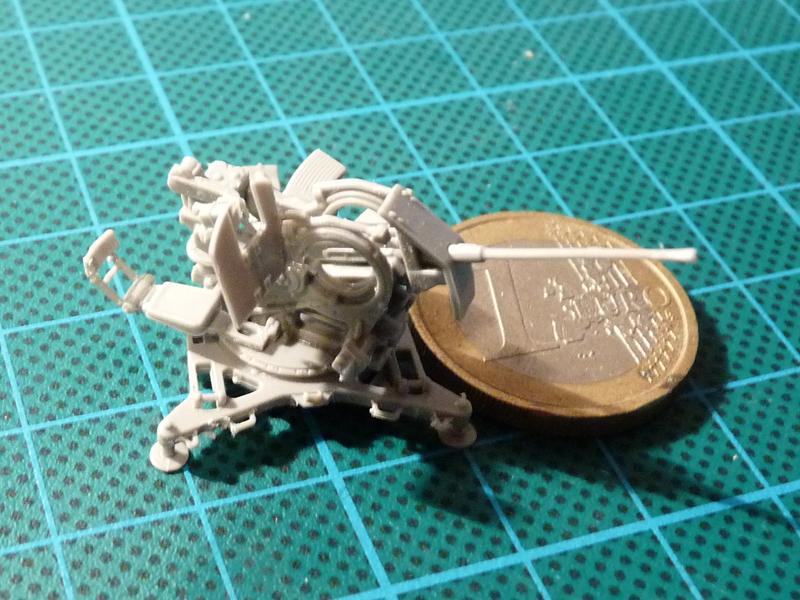
I elected to model my gun dismounted and with a bit of horizontal traverse, so the trailer is a separate affair here. Its frame, suspension and fenders are a single, nicely detailed slide-molded part.
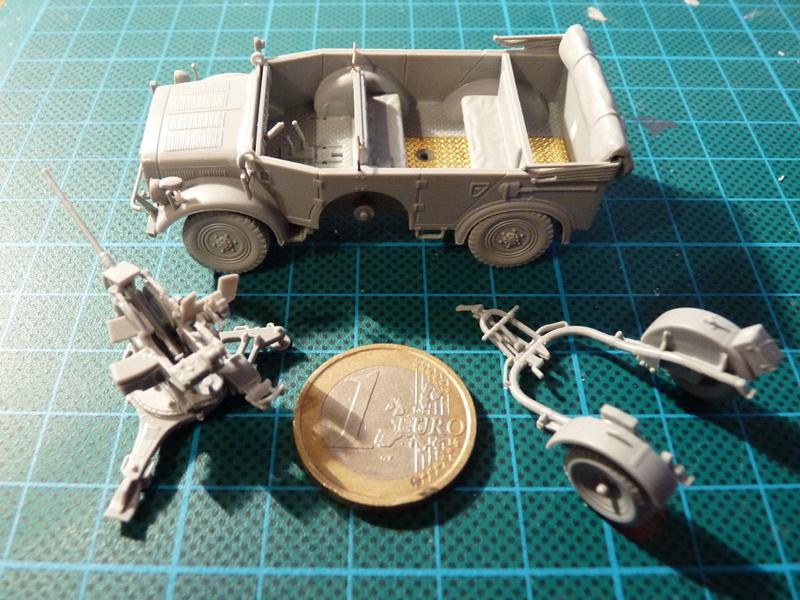
I suggest adding the handles atop the mudguards (parts A30 and A31) last, as they are very tiny and can be easily broken while handling the trailer.