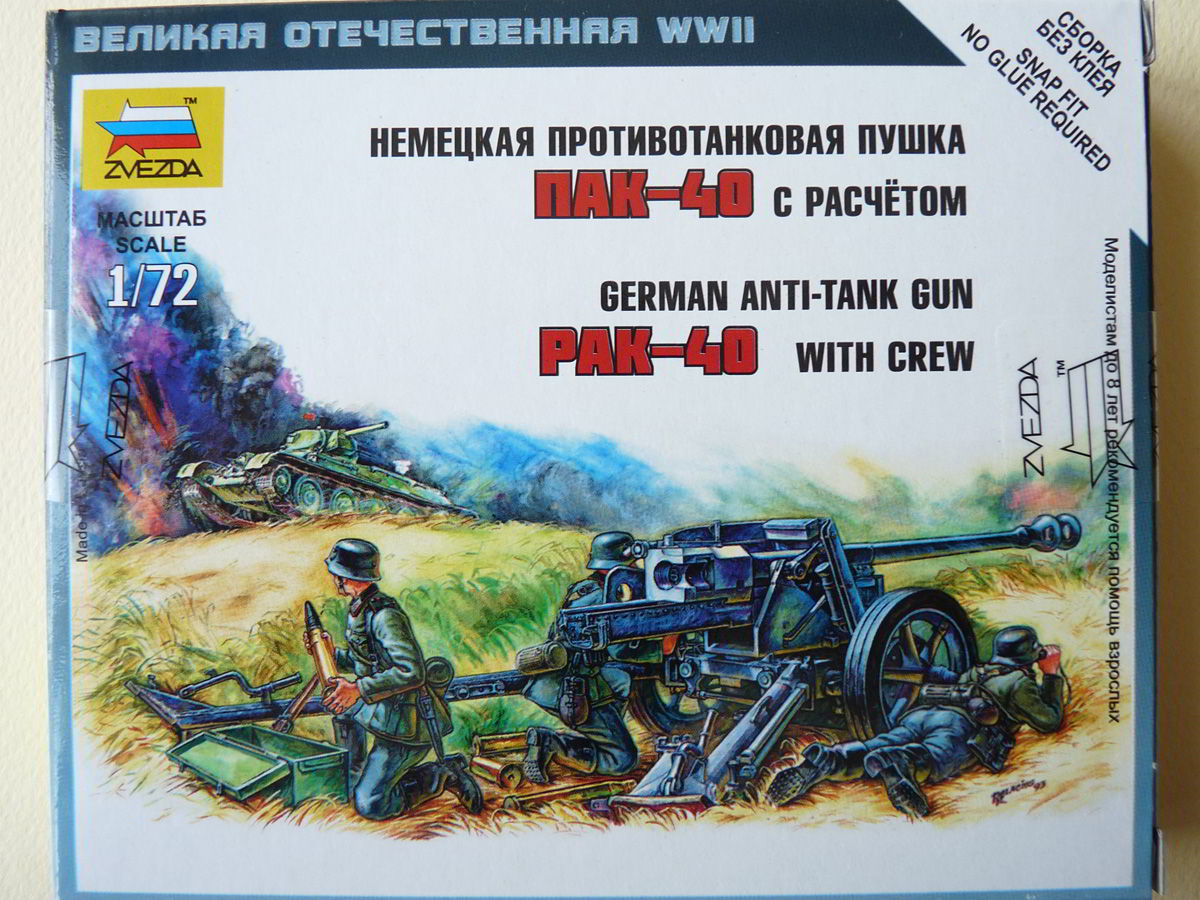
Italeri, Heller, and more recently Roden and Dragon have released PAK-40 in 1/72. There have also been wargaming models in the scale.
Italeri’s crew are softer plastic than I like, Dragon’s “bundle” with the PAK-36 and 5 crewfigures is excellent, but hard to find and expensive. Preiser’s 5-member gun crew is similarly elusive, but tops all of them.
The cons above – along with aggressive pricing of about $3 – puts Zvezda’s new set at a very competitive position, despite the crew consisting of just 3 figures. The two sprues are molded in grey and reasonably well-detailed.
Today I received two of OKB’s latest releases – their Winterketten and Ostketten resin tracks for the Pz III/IV family of armored vehicles. I was impressed with the casting and level of detail, so I am in a hurry to show you what the fuss is all about.
First thing about the track sets is that they are provided in 4 bands per set, each about 102mm long, like so:
OKB Grigorov Ostketten set S72057
Considering you need about 175mm per vehicle side for the lenghtened III/IV chassis on which a Hummel or Nashorn was based – you’re pretty well catered for in terms of spares.
Earlier on I’ve shown you both the contents of the box and the ready model. Now let’s get a look “behind the scenes”, or how the model was actually built about 6 months ago.
Some simple statistics. There are over 1200 parts in the box, yet in the 14 constructions steps only about 600 are used.I’ll just go over the tricky moments in each step.
Steps 1 and 2 is about assembling the wheels and the rear hull plate and adding a bunch of details to the latter.
– build the exhausts, but set them aside to paint and weather them later. They will fit if you keep the attachment points clean;
This kit is fantastic to the point that I am not afraid of building 1/35 anymore. It’s very detailed, yet builds together nicely, fitting pretty well, and looks accurate to boot.
Despite the serious part count building up of the main components/subassemblies is something a modeler can achieve within 8-10 hours. Clean molding means that filling and sanding will be done to a minimum. I’ve only used putty in a couple of spots, which can’t be said for most kits I’ve worked on in other scales (bar Eduard’s MiG-21 MF built last year).
After leading for years with its early model StuG IV, in the spring of 2012 DML has released a kit representing the late variety – a welcome addition to the fleet of German vehicles.
Box top
The model is a mix of sprues from existing sprues and a new parts that cater for the parts that are specific to the late production vehicles. Let’s go through the box.
The first thing you notice is that the box is packed with 29 (!) sprues, 4 sheets with metal parts and 216 Magic Link tracks for 1242 parts (if my counting is correct). Sprues are carefully packed together to save space, and putting them back in could turn to be quite the 3D puzzle 🙂
If you’ve previously worked on the Mk. IV kit – this one can be a quick and pleasant OOB build – few parts and the fit is rather good (no filler on this one).
A few letdowns, though:
– no parts for the deep-wading equipped Canadian Churchills for operation Jubilee;
– no corrections made for the errors in the instructions;
– thicker sprue gates.
As you can see from the images the results of the last problem are quire evident on the tracks and that’s partially my fault – had I selected the proper run placement these would have faced INSIDE instead of outside.
You do remember from the Mk. IV article I’ve started with the turret – and I did it with this kit, too. It’s very quick build, all you need to do is blank off the turret luggage bin, as the side facing the turret is open. I also filled what looks like angular ejector marks next to the locating holes for the fire extinguishers on it.
As the hull is directly taken from the Mk. IV kit the instructions will – again – make you glue the wrong halves for the driving sprockets and the idler wheels. To sum it up:
Dragon has moved ahead with their Churchill saga and just a few months later released a Mk. III to the delight of some of us and the horror of others.
Box top
Thanks to the kind editors of Armorama I’ve had the chance to play with the newer release, numbered 7396. Basically it’s the same hull as the Mk. IV release (kit 7424) with a brand new cupola, an extra fuel tank and a different engine deck.
Parts are spread over 5 separately packed sprues – 71 grey styrene and 2 DS runs. There are paint references and decals for three tanks:
I painted the entire composition with Revell enamels – 79 being the main color and 57 as well as mixes of the two used to vary the shades in different places. I also added the white rectangles on both the Horch and trailer fenders, but these almost disappeared under the dust I applied later.
Seats were brushed with Revell 381 and given a thin acrylic wash to accentuate the molded-on uneven surface (again a nice touch by Dragon). Tires were sprayed Revell 78 to simulate a bleached/dusty effect, and then added to the vehicle body and the trailer. The exhaust pipes and muffler were basecoated with Revell 37 to simulate rust and glued on the vehicle. I then proceeded to add some metal chips by drybrushing Tamiya’s X11.
Since I got the kit to build as a reviewer for Armorama I started almost immediately after taking the pics. Here’s how the build went through.
I started by adding the lower engine compartment/radiator face and the firewall to the vehicle body.
Horch front
Other than filling the seam line in the front wheel arches these fit fine.
Wheel arc seam
Next step was the suspension. After carefully studying reference images I glued parts B9 and B10 first, and then proceeded to add the suspension arms.
Frame and suspension
Please note that all 4 parts are labeled B7, but the parts intended for the rear axle have an extra pair of locating pins. With these fixed I glued the 8 springs (parts B8) to parts B10 and B11. So far fit has been very good. I cut off the representation of the rubber mudguards and replaced them with thick aluminum foil.